
Internal Moves
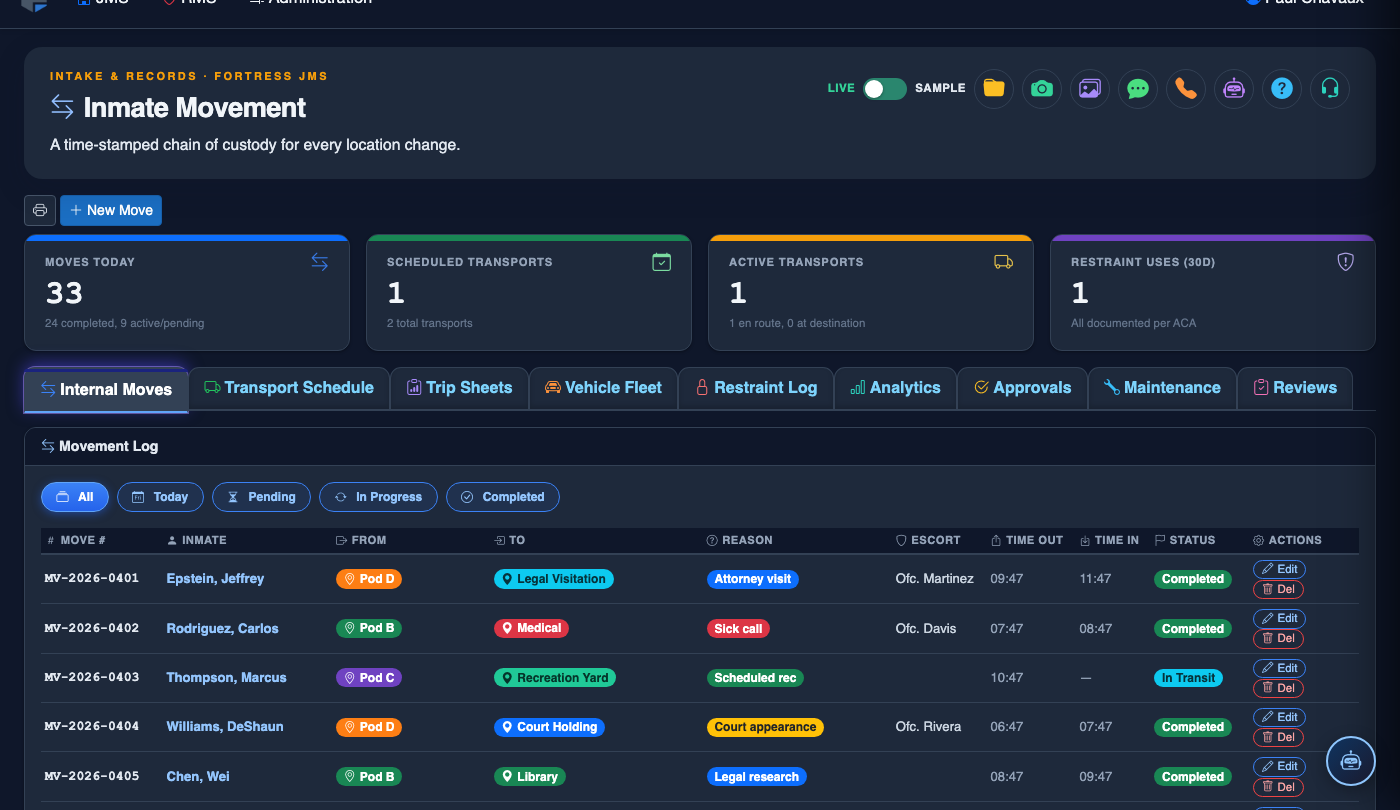
The Internal Moves tab handles every location change that takes place entirely within your facility — including cell-to-cell reassignments, pod transfers, unit upgrades, and moves to or from administrative segregation or protective custody. FortressDMS validates each proposed move against separation orders and bed capacity limits before confirming, giving officers a fast, safe workflow that eliminates the guesswork of manual housing coordination.
Facility Map Bed Picker
An interactive map of housing units shows bed availability in real time, letting officers confirm an open slot before initiating the move.
Instant Separation Validation
The system checks the destination bed and unit against all active keep-separate orders before allowing the move to complete.
Swap Moves
Simultaneously exchange two inmates between beds using the Swap workflow, which validates both directions before executing either move.
Timestamp & Officer Attribution
Every internal move is logged with exact departure and arrival times and the badge numbers of all officers involved.
Step-by-Step: Processing an Internal Move
Select the Internal Moves Tab
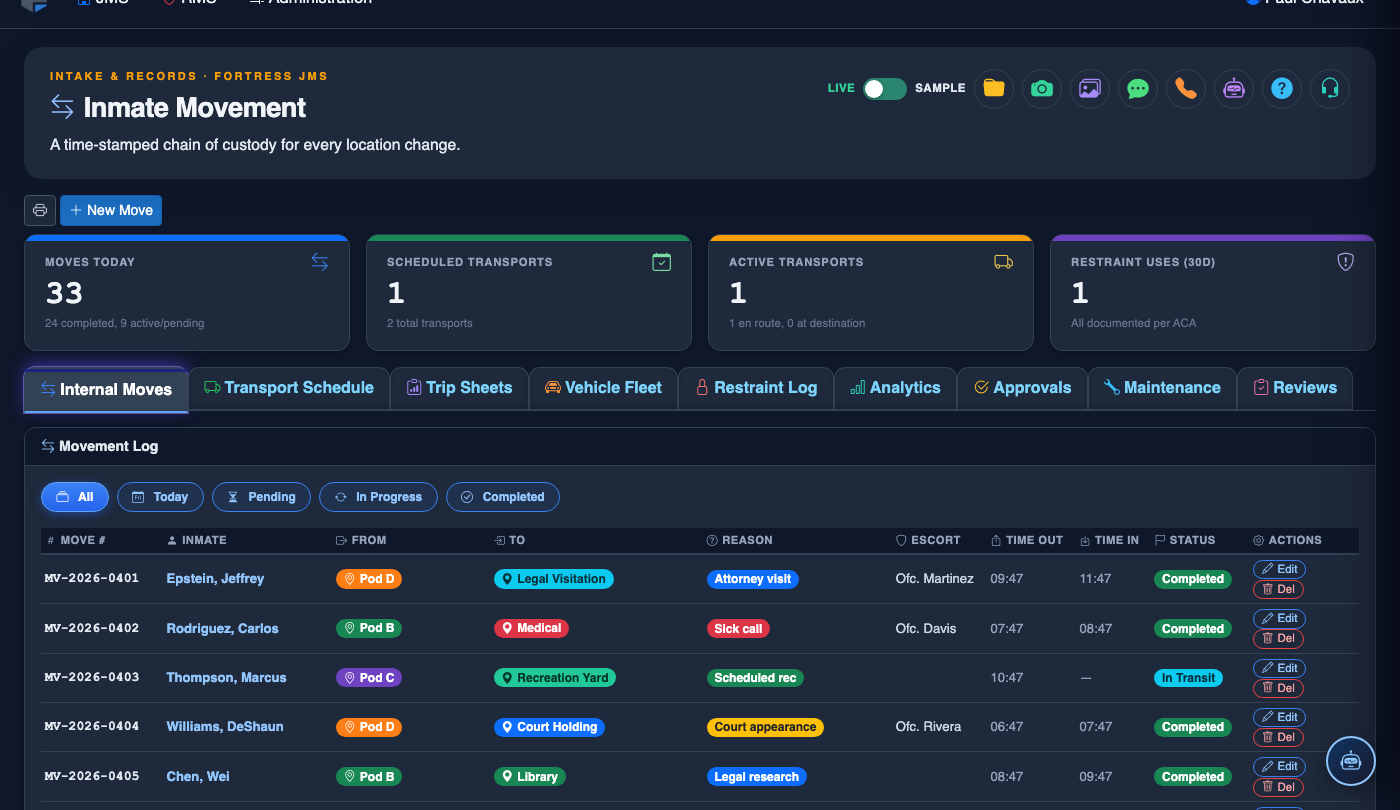
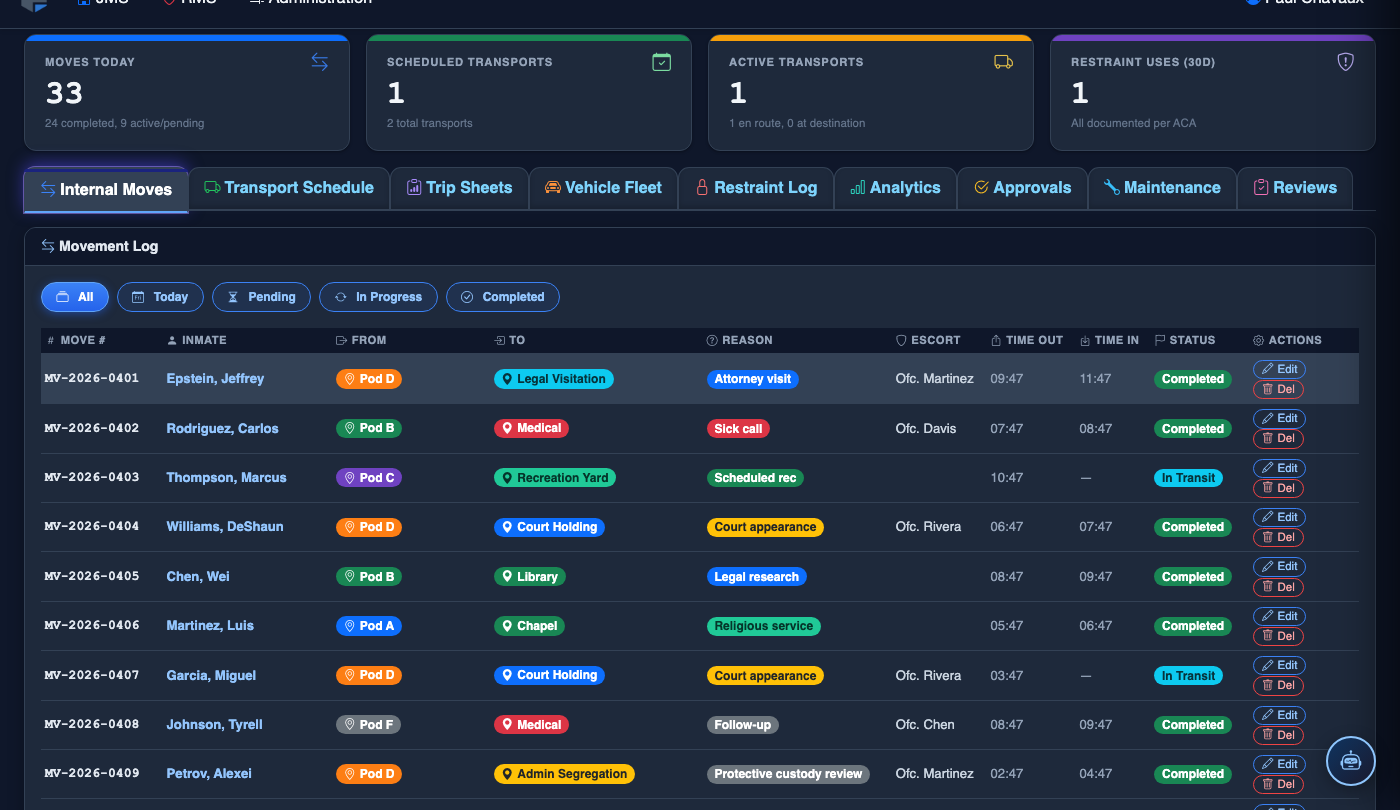
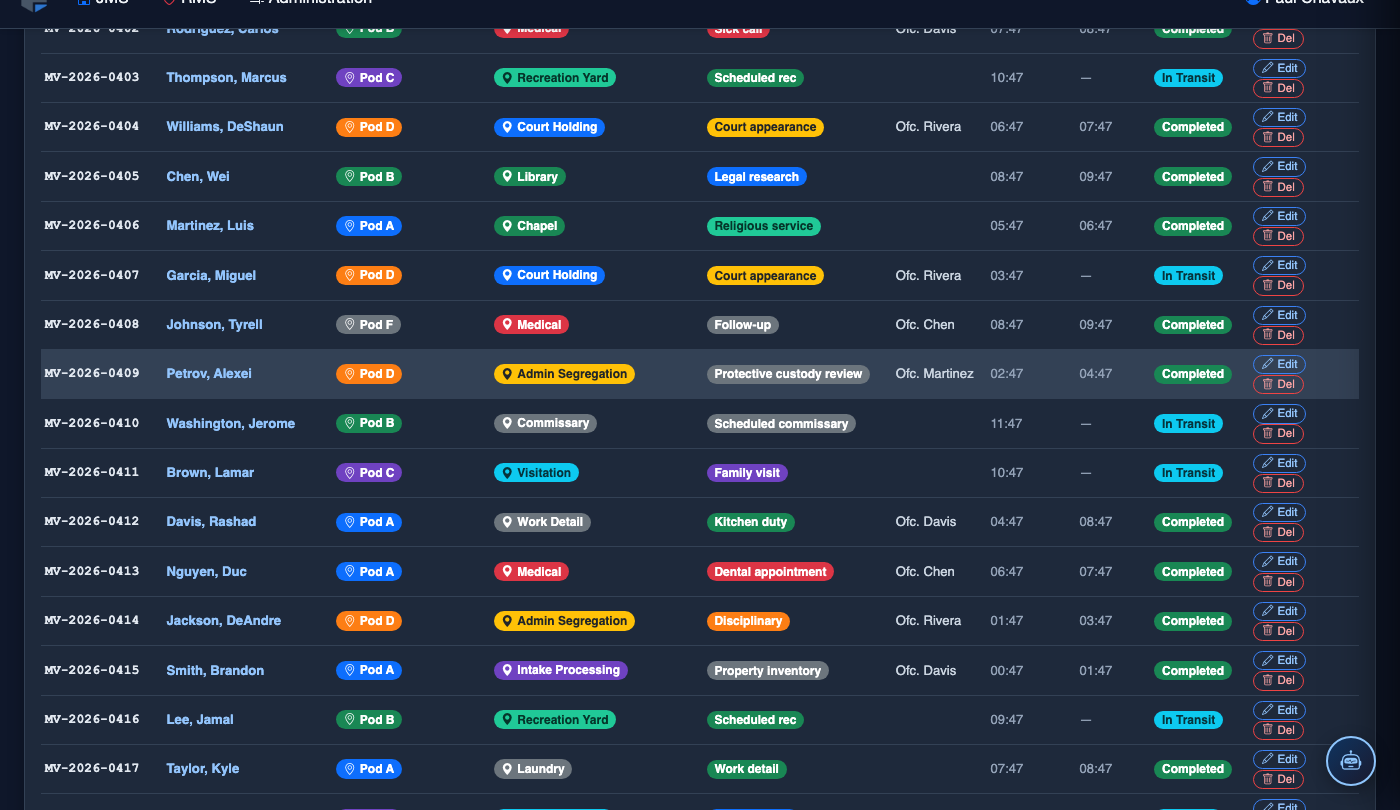
Navigate to Inmate Movement > Internal Moves. The tab opens to a list of all internal moves initiated or completed during the current shift, along with a New Move button in the upper-right corner. Pending moves awaiting officer confirmation appear highlighted at the top of the list.
Click New Move and Search for the Inmate
Click New Move. Use the Search Inmate field to find the inmate by name, booking number, or state ID. The search result card shows the inmate’s current cell assignment, custody level, and any active keep-separate flags that will be enforced during destination selection.
Select the Destination Using the Bed Picker
Click Choose Destination to open the interactive bed picker. Available beds are shown in green, occupied beds in gray, and beds with separation conflicts in red. Hover over a bed to see the current occupant. Click a green bed to select it as the destination.
Review Separation and Capacity Validation Results
After selecting the destination, the system displays the validation summary. Any keep-separate conflicts with other inmates in the destination unit are listed with the reason for separation (e.g., Co-Defendant, Gang Conflict, PREA Flag). If the unit is at capacity, the system blocks selection and displays the current headcount vs. the certified maximum.
Enter the Move Reason and Assign Escort
Select the Move Reason from the dropdown (e.g., Disciplinary Sanction, Protective Custody Request, Program Placement, Bed Management). Then assign the escorting officer from the on-duty roster using the Escort Officer field.
Confirm the Move
Review the move summary screen showing origin, destination, reason, and escort. Click Confirm Move. The inmate’s location record updates instantly and the originating cell is marked available. A move receipt can be printed for the physical move order if your policy requires it.
Log Inmate Arrival at Destination Cell
Once the escort completes the physical move, click Log Arrival on the move record. This stamps the arrival time, closes the move event, and marks the move status as Complete. Unlogged arrivals remain flagged as In Progress and appear in the shift supervisor’s dashboard as open items requiring resolution.
Log a New Movement
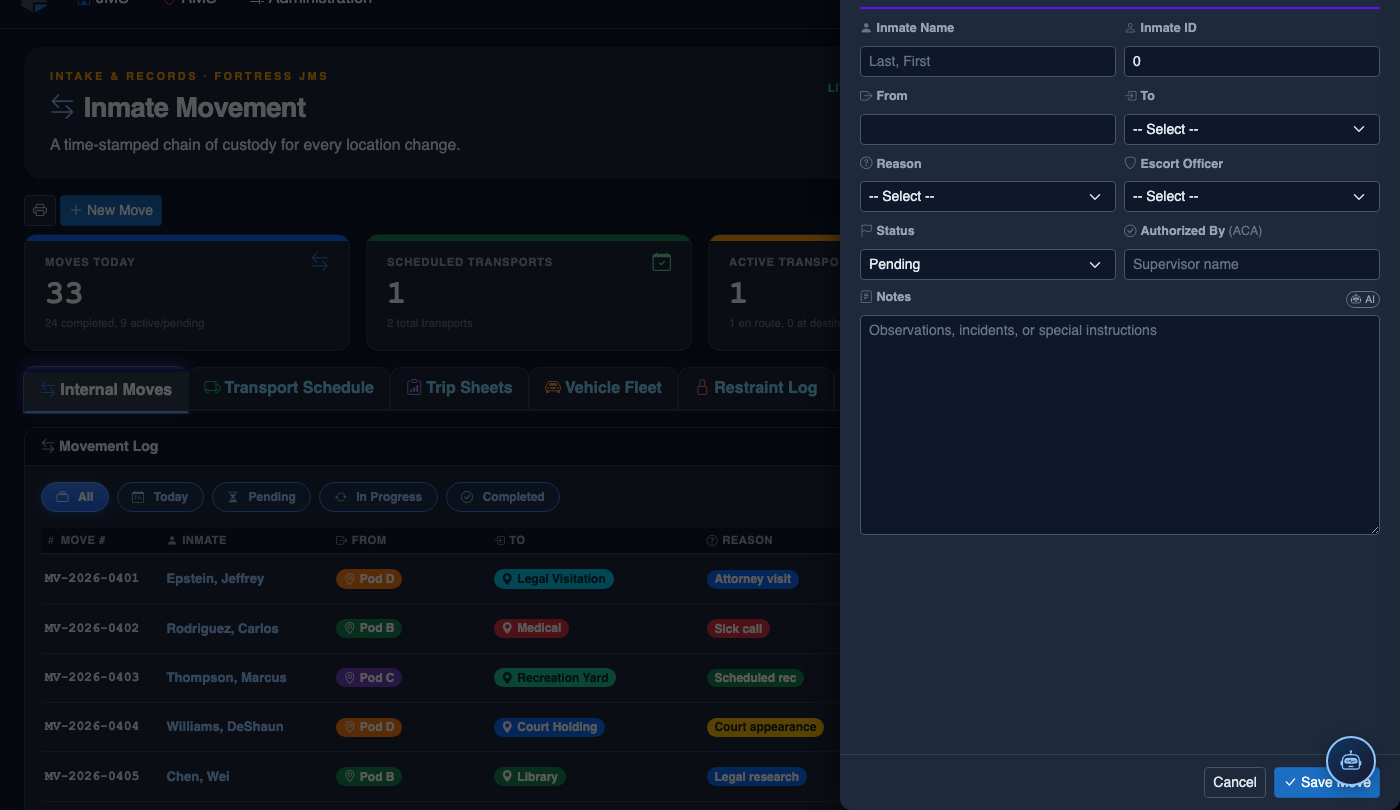
Click New Move in the module toolbar. Complete the movement record:
- Inmate — search by name or booking number.
- From Location — select origin unit, pod, and cell.
- To Location — select destination; the system flags restricted or unavailable beds.
- Movement Type — Internal Transfer, Court Transport, Medical, or Emergency.
- Reason — Classification Change, Disciplinary, Safety, Court Hold, etc.
- Authorizing Officer and Escorting Officer.
- Scheduled Date/Time — defaults to now for immediate moves.
- Click Save Movement. Bed Roster and Assignment records update automatically.
💡 Pro Tips
- Use the Swap Move option when two inmates need to exchange cells — it validates both directions simultaneously and executes as a single atomic transaction so neither move leaves an intermediate conflict state.
- If an inmate refuses a move, do not cancel the move record — instead use the Refusal Logged status option and document the refusal. This preserves the accountability record and generates an automatic supervisor notification.
- Sort the Internal Moves list by Status: In Progress at the start of each shift to quickly identify any moves from the previous shift that were never closed with an arrival log.
- Moves to Administrative Segregation (Ad-Seg) automatically trigger a 72-hour review reminder for the classification supervisor — verify this is configured in your facility’s Ad-Seg settings.
Mobile View — Internal Moves
FortressDMS is fully responsive. Officers can access the Internal Moves on a phone or tablet directly from the field — no app install required.
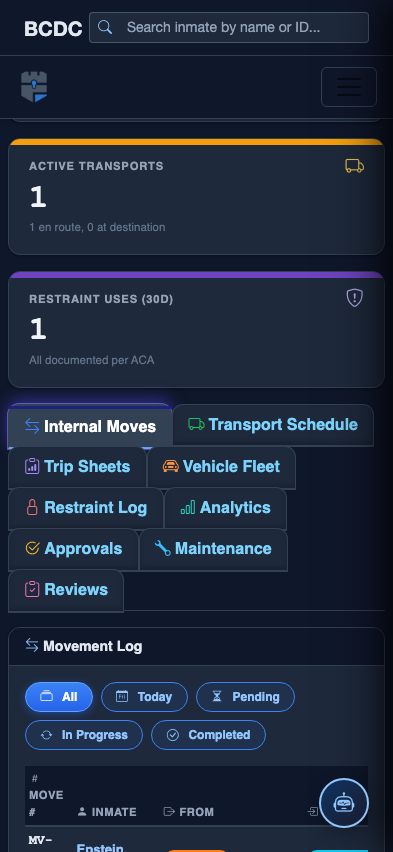
Tab view with data rows
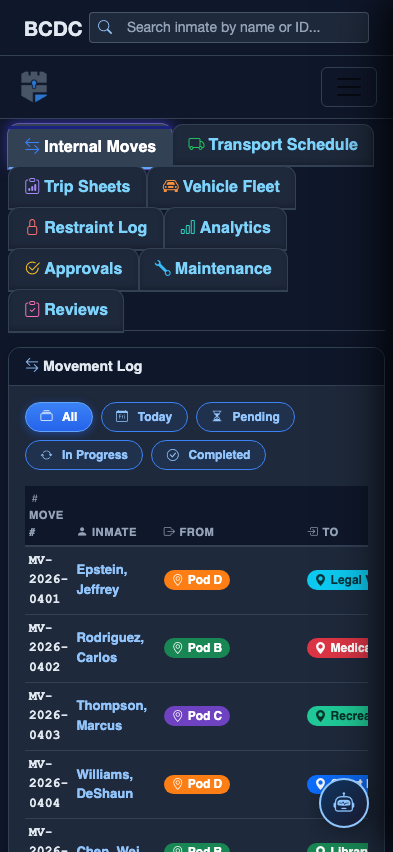
Scrolled / detail view