
Booking Photos
The Booking Photos tab manages the capture, storage, and retrieval of inmate mugshots and identifying photographs taken at intake. FortressDMS integrates with facility camera hardware to automatically attach photos to the booking record, with version history maintained whenever new photographs are taken during subsequent bookings.
Live Camera Capture
Capture mugshots directly from integrated booking station cameras without leaving the booking workflow.
Photo Version History
All booking photos are retained chronologically, allowing staff to view how an inmate’s appearance has changed across multiple incarcerations.
Photo Tagging
Tag photos by type (front, profile, tattoo/scar/mark) and body region for identification and gang intelligence purposes.
ID Card Printing
Generate and print inmate ID wristbands or ID cards directly from captured booking photos.
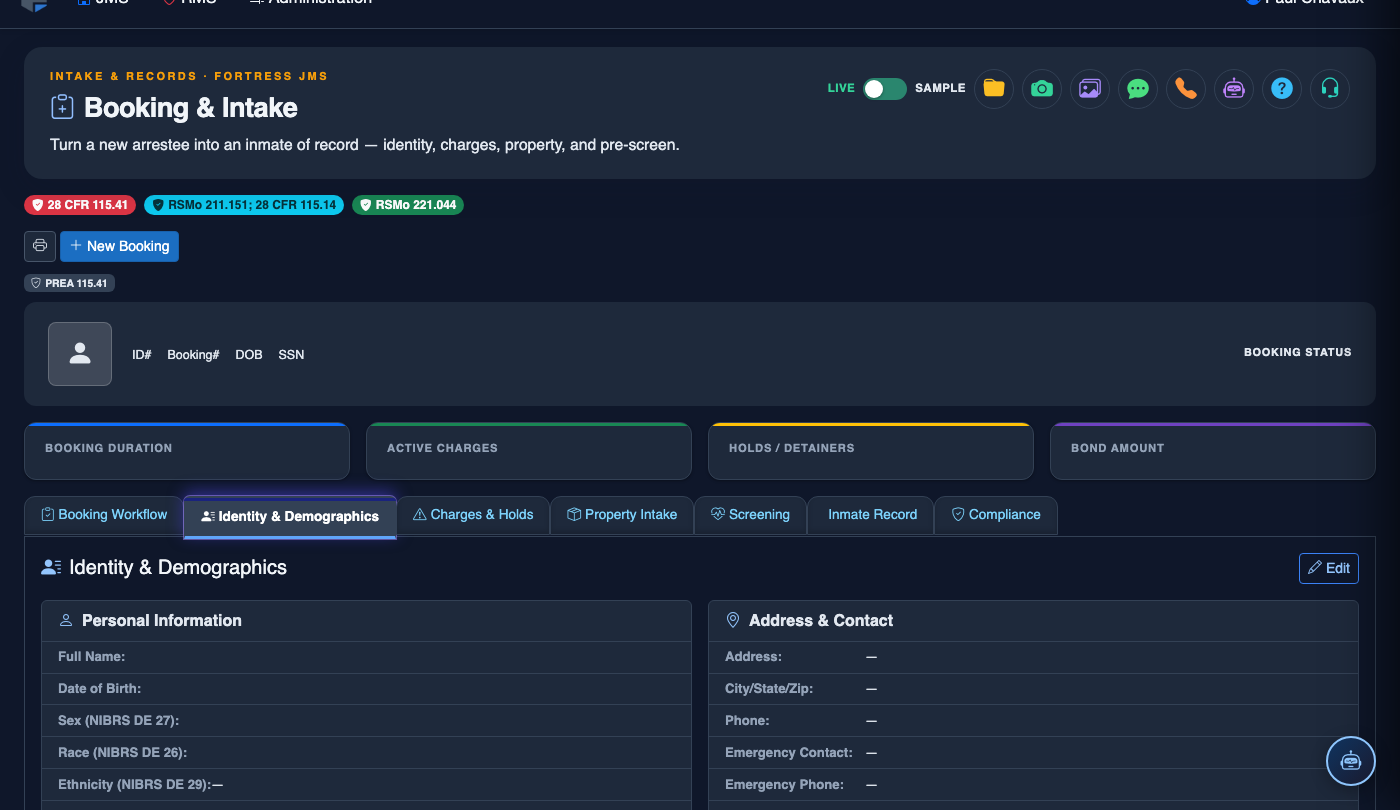
Step-by-Step: Capturing Booking Photos
Open the Booking Photos Tab
Navigate to the Booking Photos tab (Tab 6) in the booking intake screen. The live camera preview will appear automatically if a compatible booking station camera is detected. Ensure the inmate is seated at the designated photo position with proper lighting before proceeding.
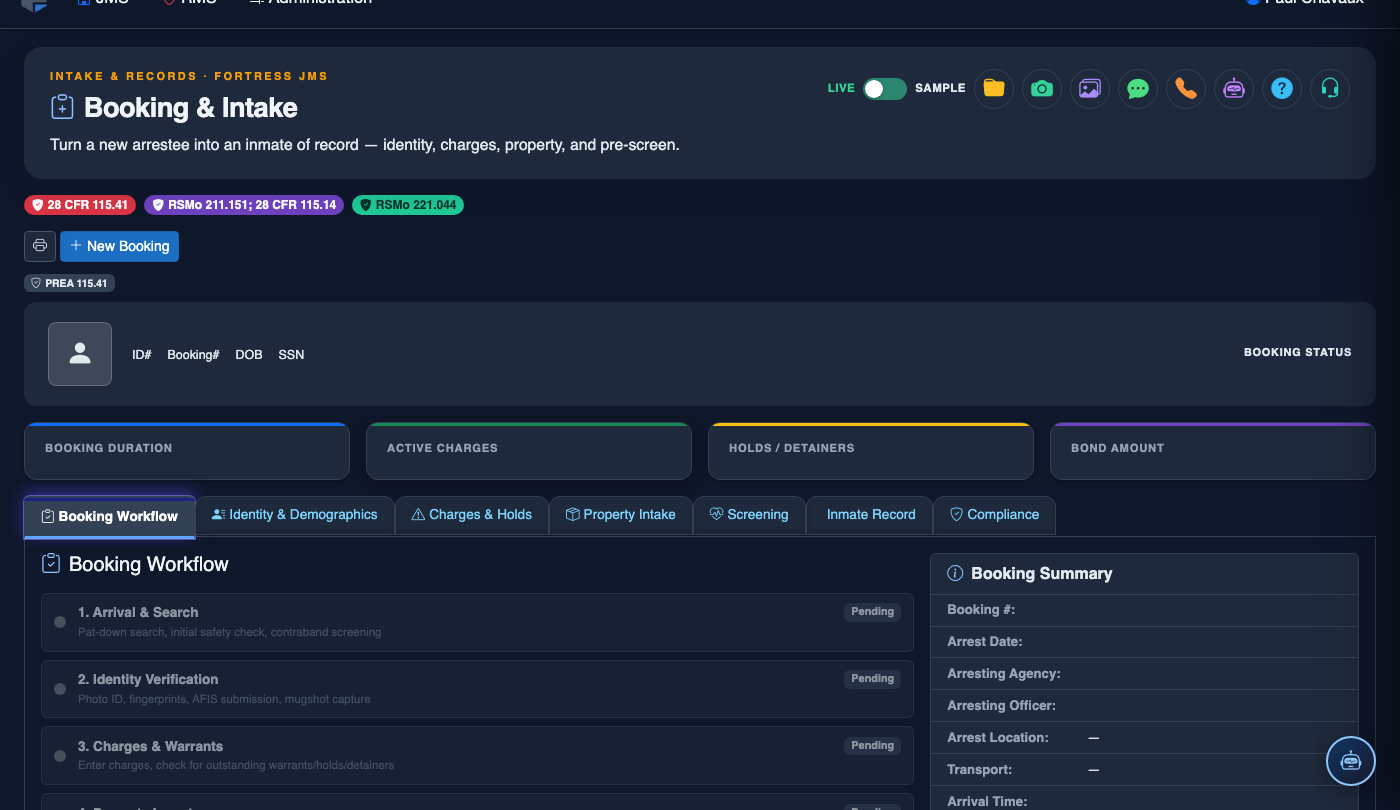
Select Camera and Photo Type
Choose the correct camera from the Camera Source dropdown if multiple cameras are available. Select the Photo Type: Front Face, Left Profile, Right Profile, or Tattoo/Scar/Mark. Adjust the camera angle guide overlay to ensure the inmate’s face is properly centered for the mugshot.
Capture the Mugshot
Click Capture Photo to take the mugshot. The captured image will appear in the preview panel. If the photo is acceptable in quality and framing, click Accept to attach it to the booking record. If not, click Retake to capture a new image.
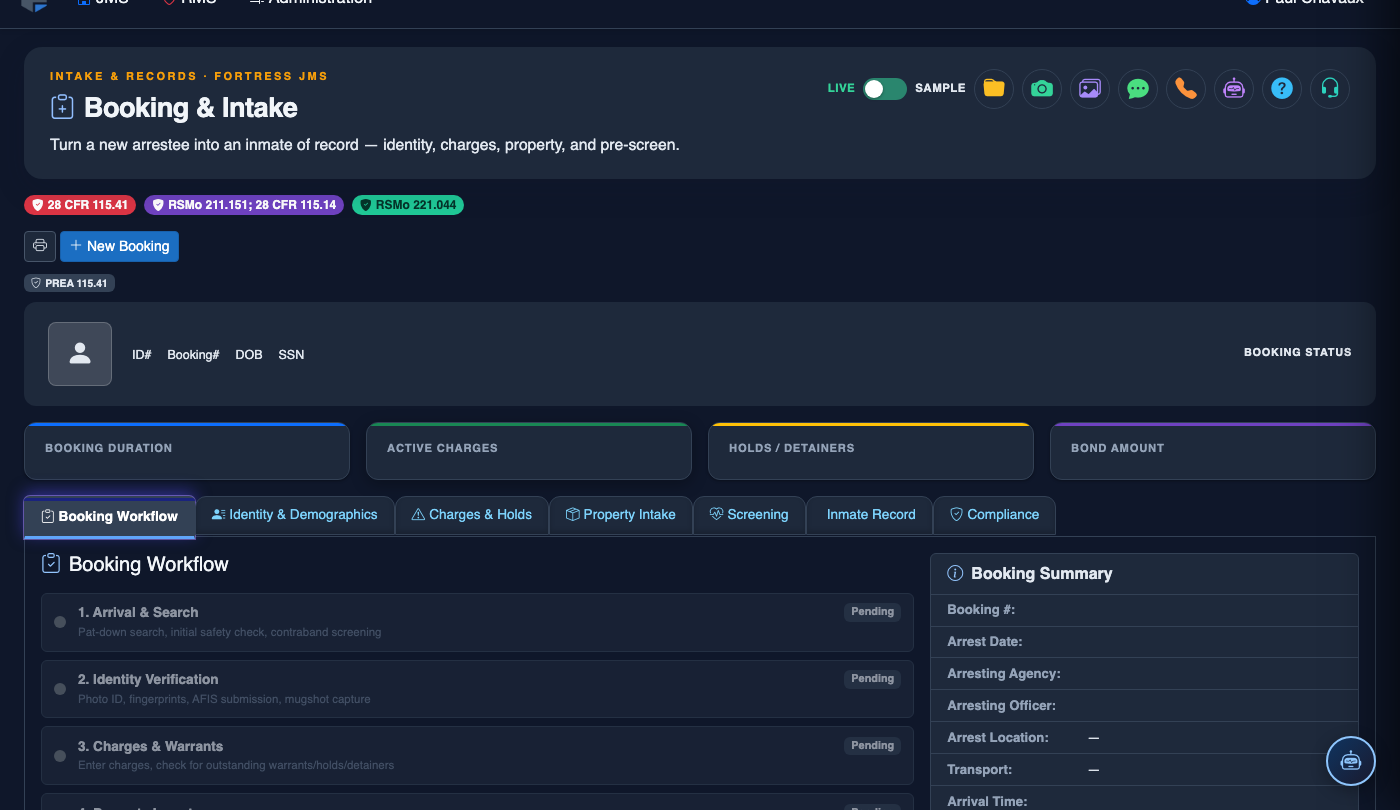
Add Tattoo and Identifying Mark Photos
For each visible tattoo, scar, or identifying mark, click Add TSM Photo. Select the Body Location from the dropdown (e.g., Left Forearm, Neck, Back), capture the photo, and enter a brief Description of the mark. These records support identification and gang intelligence tracking.
Review Photo Gallery and Previous Bookings
After capturing all required photos, review the Photo Gallery panel. If the inmate has been booked previously, prior booking photos are displayed in the Booking History panel below. Compare current and prior photos to verify identity and note any significant appearance changes.
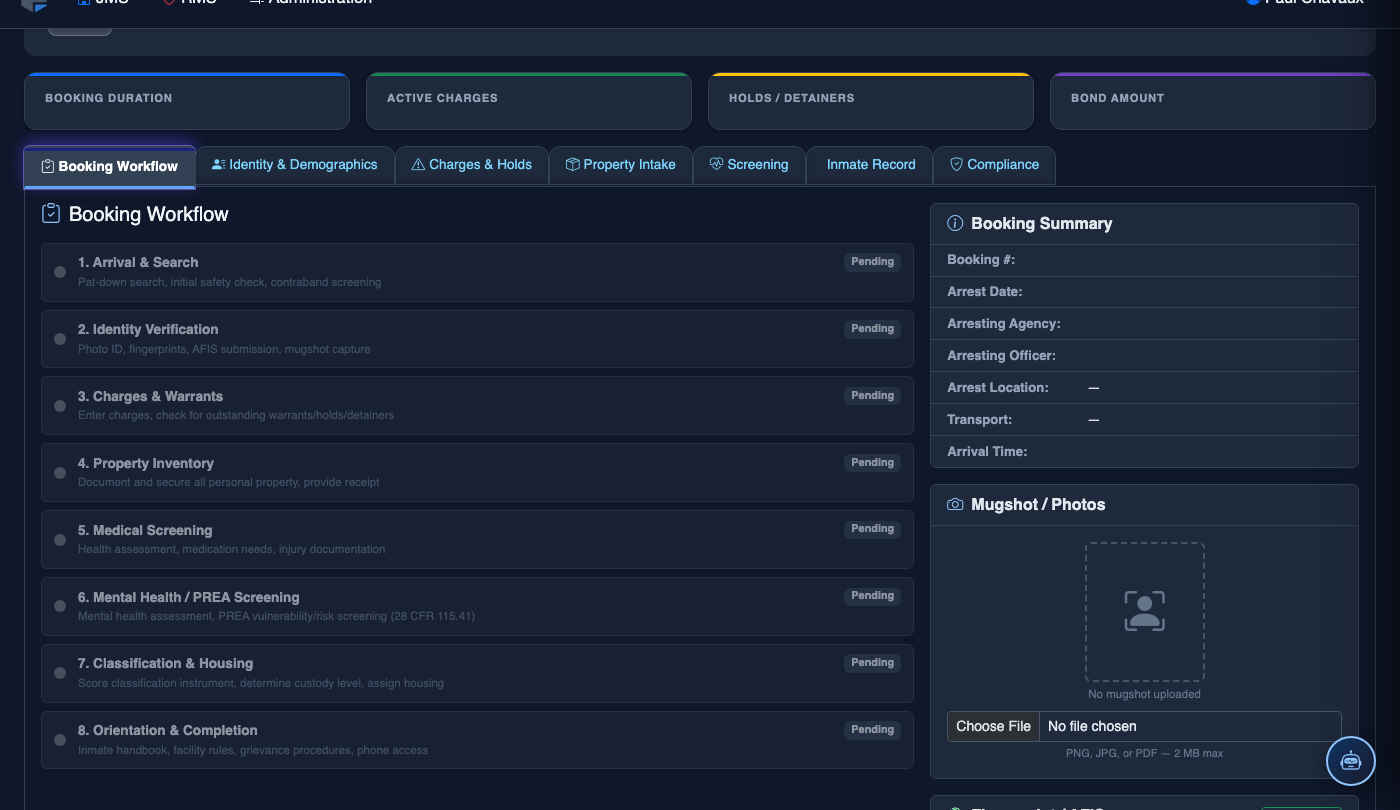
Print Inmate ID Wristband
Click Print ID Wristband or Print ID Card to generate the inmate identification credential from the captured mugshot. Select your designated ID printer from the print dialog. The printed ID includes the inmate’s name, booking number, booking date, and mugshot thumbnail.
💡 Pro Tips
- Ensure the inmate removes hats, excessive jewelry, and sunglasses before the front-face mugshot — standardized photos are essential for later identification purposes.
- Document all visible tattoos thoroughly at booking; incomplete TSM records create problems during classification and intelligence analysis.
- If the camera hardware is offline, photos can be uploaded manually from a file — use this only as a fallback and ensure IT is notified of the hardware issue immediately.