
RMS Case Management
The Records Management System (RMS) Case Management module centralizes the entire lifecycle of inmate-related cases — from initial incident documentation through investigation, prosecution referral, and case closure. Officers and investigators can link case files to specific inmates, attach evidence, track court dates, and collaborate across shifts without losing continuity. Every case action is tied directly to the inmate’s permanent record for instant retrieval during legal proceedings or classification reviews.
Unified Case Files
All case-related documents, incident reports, evidence logs, and court correspondence are stored in a single case folder linked to the inmate record.
Court Date Tracking
Automatically sync court appearances from the court scheduling feed and receive transport reminders so no inmate misses a court date due to a clerical oversight.
Incident Linkage
Link any in-facility incident report directly to an open case, giving investigators a complete picture of behavior patterns across the inmate’s detention period.
Multi-Officer Collaboration
Assign cases to lead investigators, add contributing officers, and leave internal notes — all shift-change handoffs remain documented within the case file.
Step-by-Step: Managing RMS Cases
Open the RMS Case Management Module
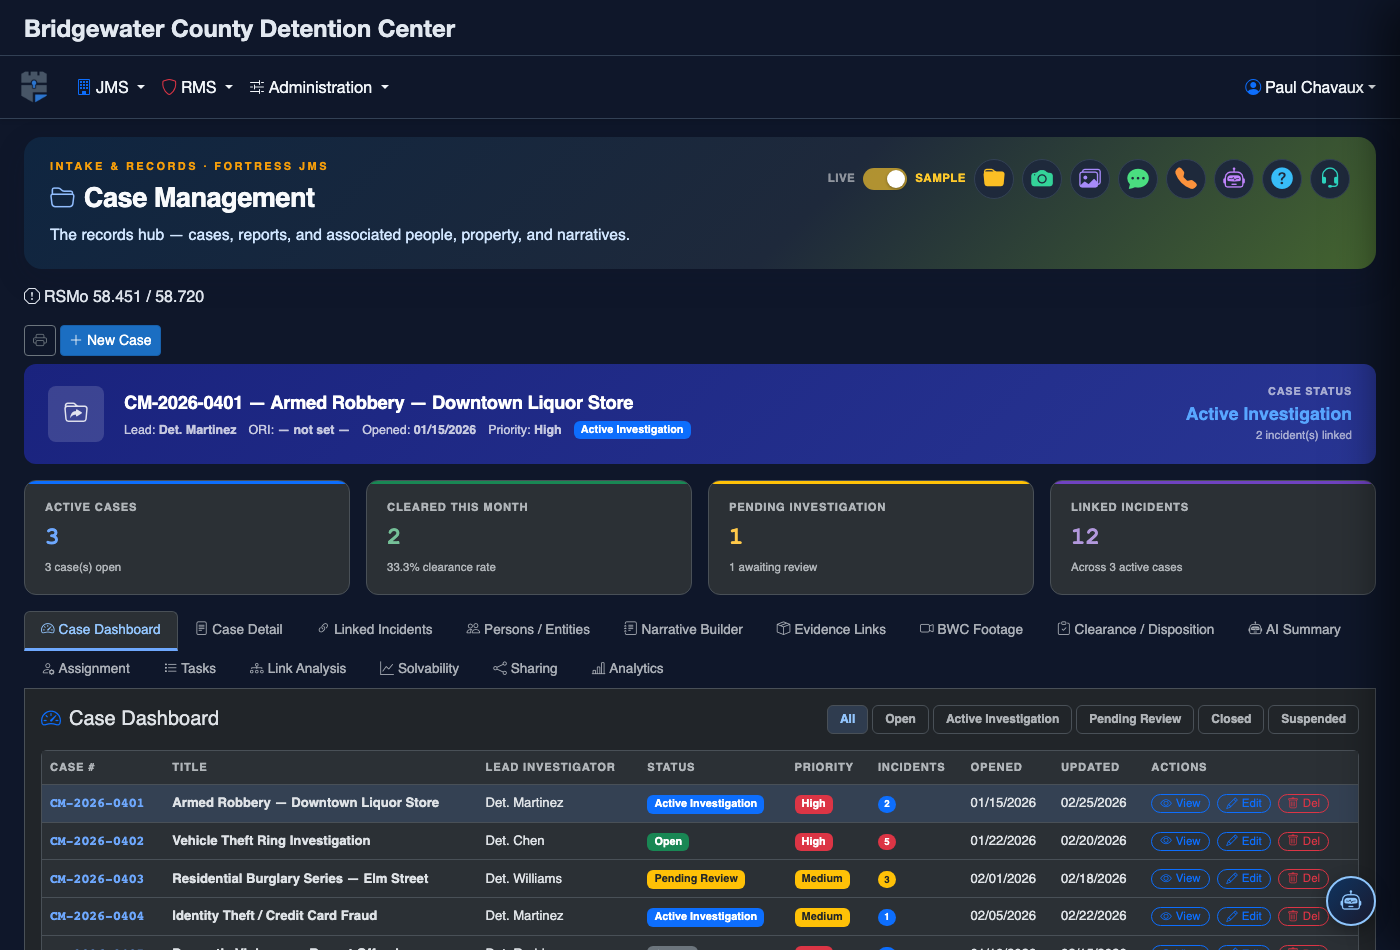
Click RMS in the main navigation and select Case Management. The case list view shows all open cases assigned to your facility, sortable by Case Number, Inmate Name, Status, and Next Court Date. Use the My Cases toggle to filter to only cases where you are the lead investigator.
Create a New Case
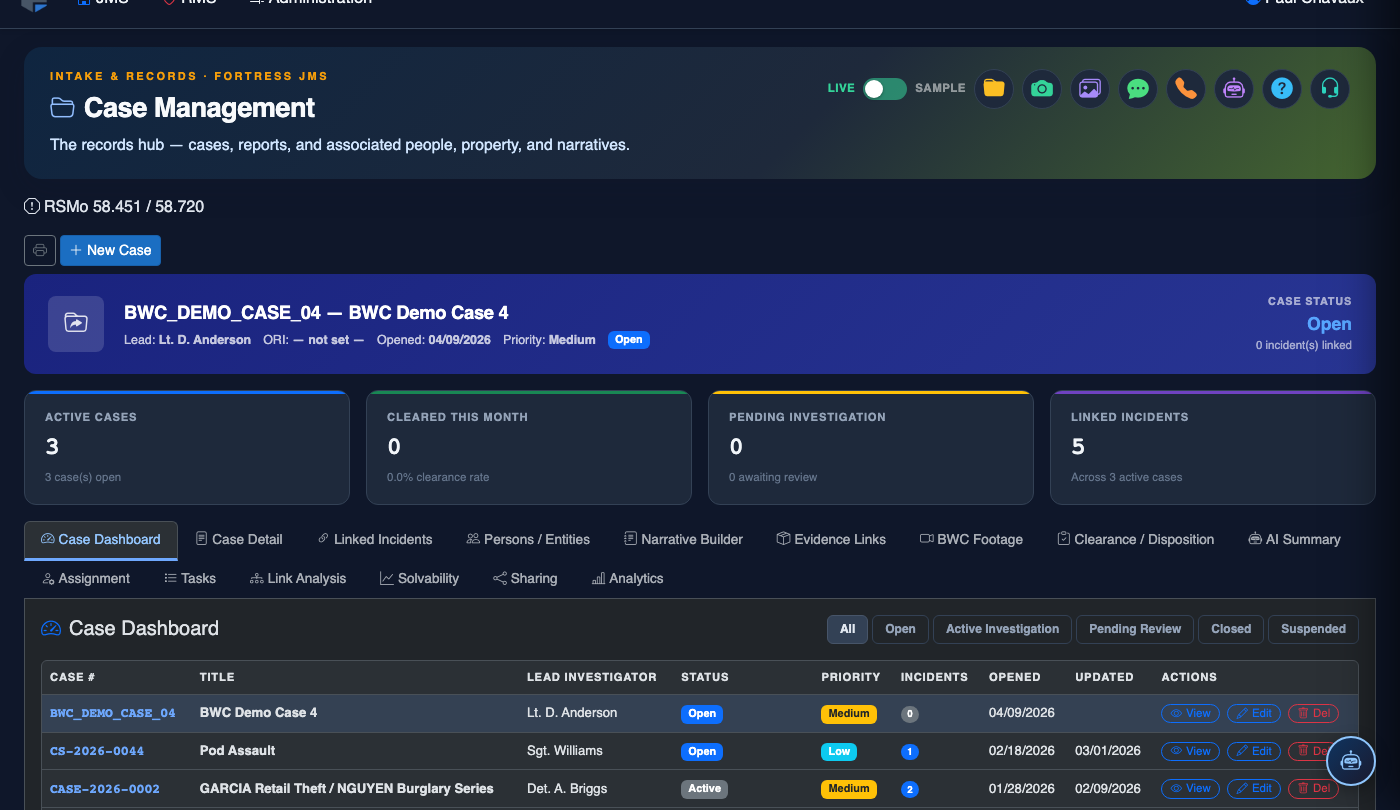
Click + New Case. Search for the inmate by Booking Number or last name and select them to auto-populate their demographic and booking details. Enter a Case Title, select the Case Type (Disciplinary, Criminal Referral, Civil, or Administrative), set the Priority level, and assign a Lead Investigator. Click Create Case to generate the case number.
Attach Incident Reports and Evidence
Inside the case file, click the Documents tab. Use Link Incident Report to attach any existing incident report from the Incident Reporting module. Click Upload Evidence to attach photographs, video clips, or scanned documents. Each attachment is timestamped and attributed to the uploading officer for chain-of-custody documentation.
Add Court Dates and Transport Orders
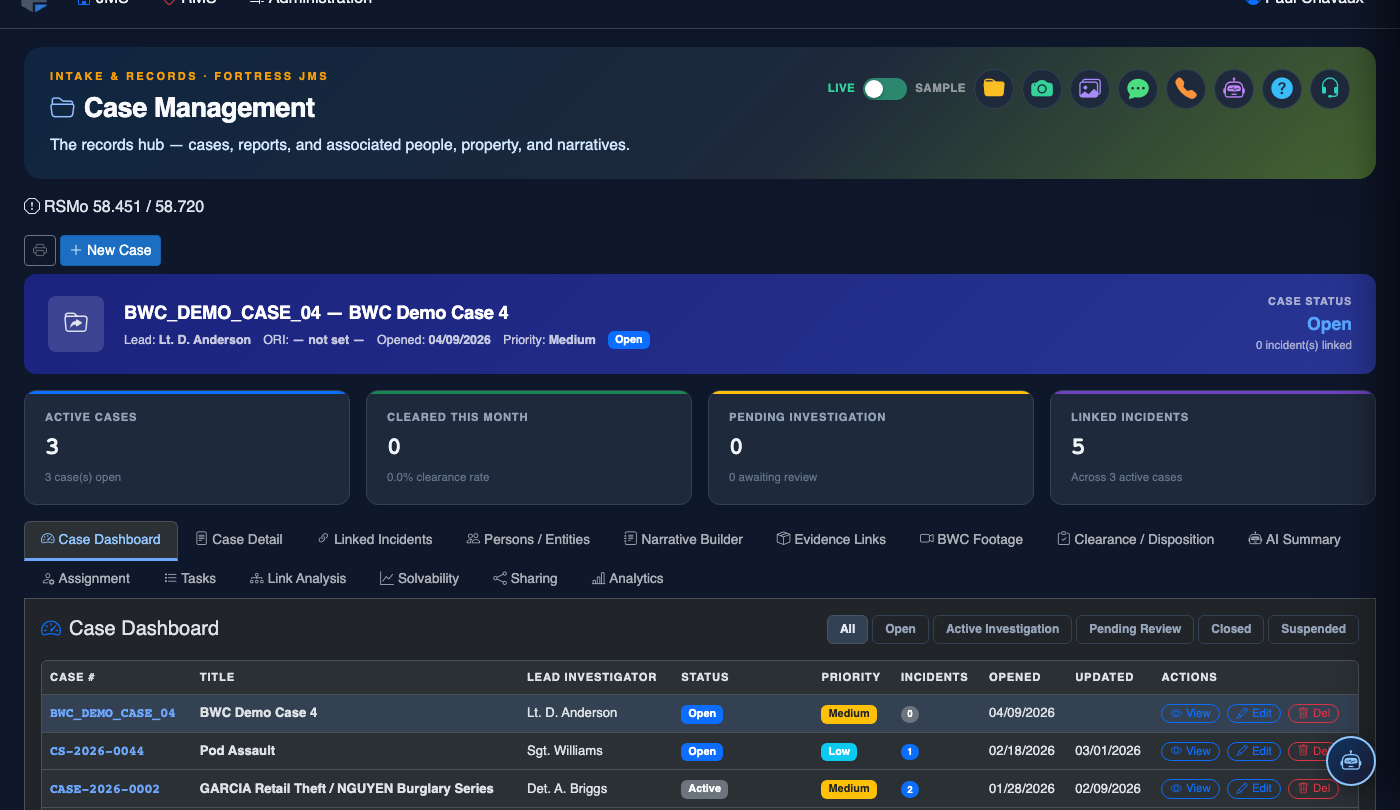
Click the Court Dates tab and select Add Appearance. Enter the court name, judge, date, time, and hearing type. Check Requires Transport to automatically generate a transport order and notify the transport team 48 hours in advance. Court dates appear on the facility transport calendar and trigger automated pre-court screening reminders.
Add Case Notes Across Shifts
Use the Notes tab to log investigative updates, witness interview summaries, or observations at any time. Notes are append-only and cannot be edited after submission, maintaining evidentiary integrity. Mention additional officers using @name to flag a note for their review — they receive an in-app notification and can add a response note.
Update Case Status
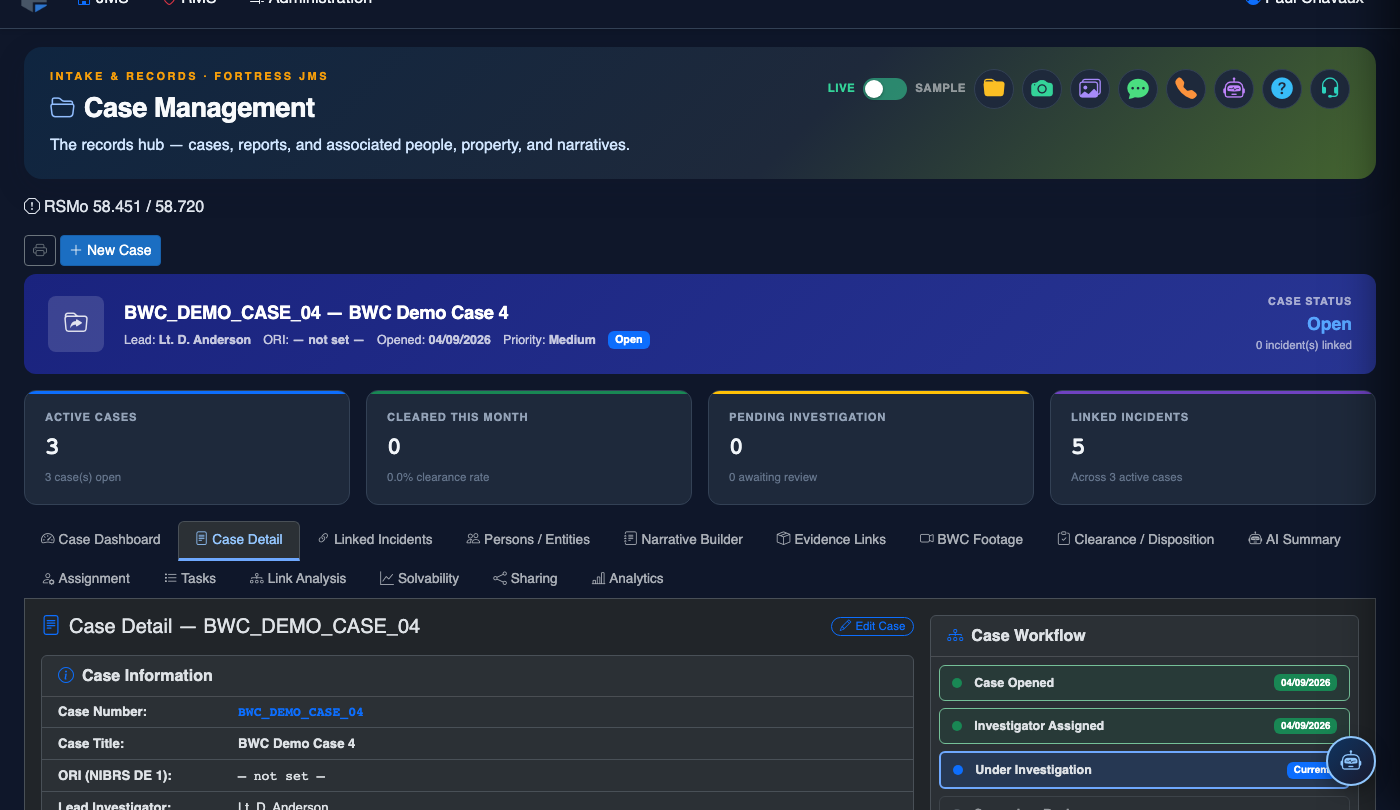
Click the Status dropdown to move a case through its lifecycle: Open → Under Investigation → Referred to Prosecutor → Pending Court → Closed. Each status change prompts you to enter a summary note and notifies the lead investigator and assigned supervisor. Closed cases are archived but remain fully searchable for future reference.
Export the Full Case Package
Click Export Case to generate a consolidated PDF package containing the case summary, all linked incident reports, the evidence inventory list, court dates, and the complete notes history. This package is formatted for direct submission to the prosecuting attorney’s office or to defense counsel under discovery obligations.
💡 Pro Tips
- Create a new RMS case immediately when an in-facility assault or use-of-force incident occurs — even before the full investigation is complete. Opening the case early ensures all subsequent incident reports, medical records, and witness notes are linked from the start rather than retrospectively reconstructed.
- Use the Case Priority: High flag for any case involving a court date within 30 days — these cases appear at the top of the case list and are highlighted red so they are never overlooked during staff briefings.
- The Export Case function produces a Bates-numbered PDF when the Discovery Format option is checked — always use this format when responding to defense discovery requests to meet standard legal production requirements.