
Incident Details Tab
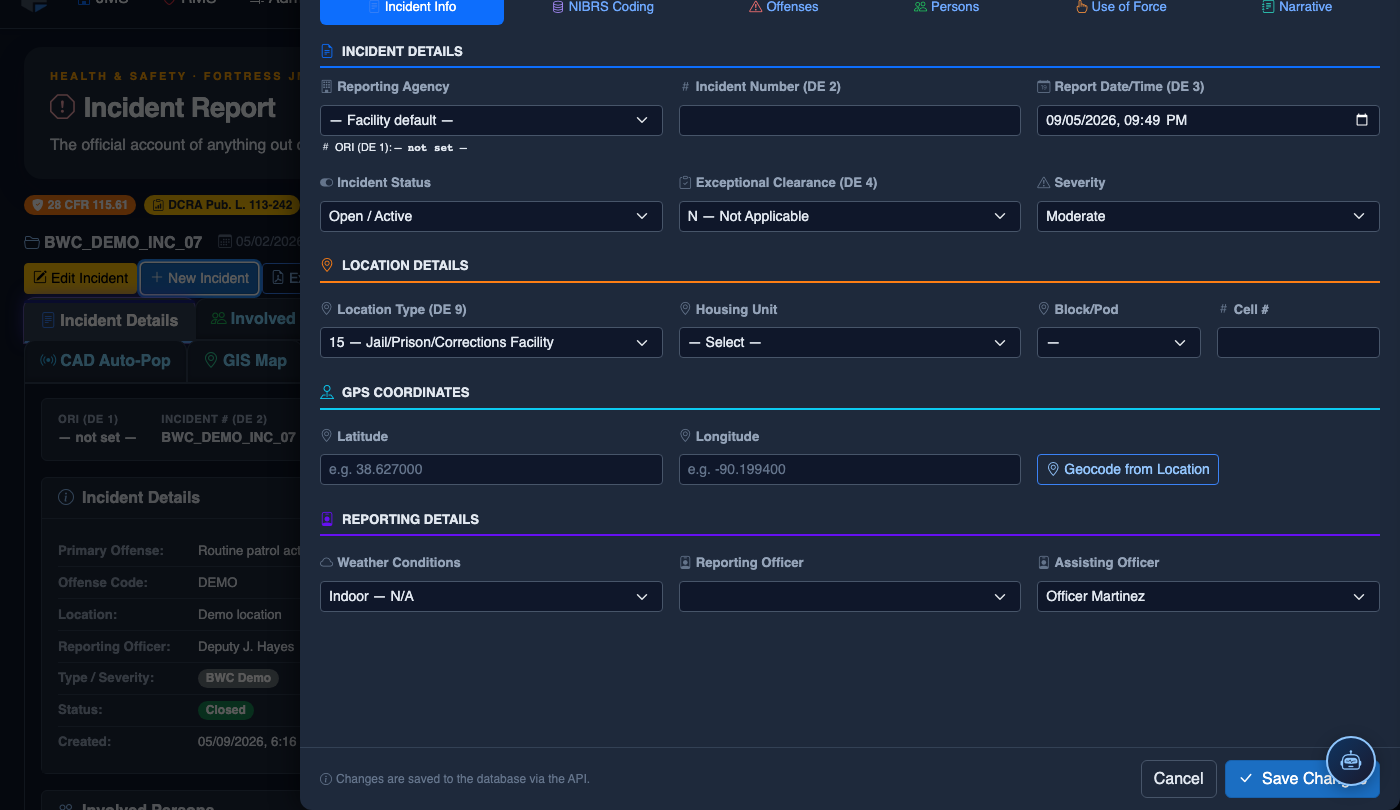
The Incident Details tab is the primary data-entry view for a new or in-progress incident report. It captures the core factual record of the incident — type, date and time, facility location, involved parties, and the officer’s narrative — in a structured, validated form that meets documentation standards required for disciplinary proceedings, prosecution referrals, and accreditation compliance reviews.
Incident Classification
Select from your facility’s configured incident types and sub-types to classify the event and load the appropriate required-field template automatically.
Precise Date & Time Entry
Capture the exact date and time the incident occurred — separate from the report submission timestamp — to establish a legally defensible chronology of events.
Facility Location Picker
Select the exact location within the facility from a structured hierarchy — housing unit, pod, cell number, or common area — ensuring location data is consistent and reportable.
Guided Narrative Field
A structured text editor with built-in spell check, minimum length validation, and a real-time word count helps officers write thorough, professional narratives the first time.
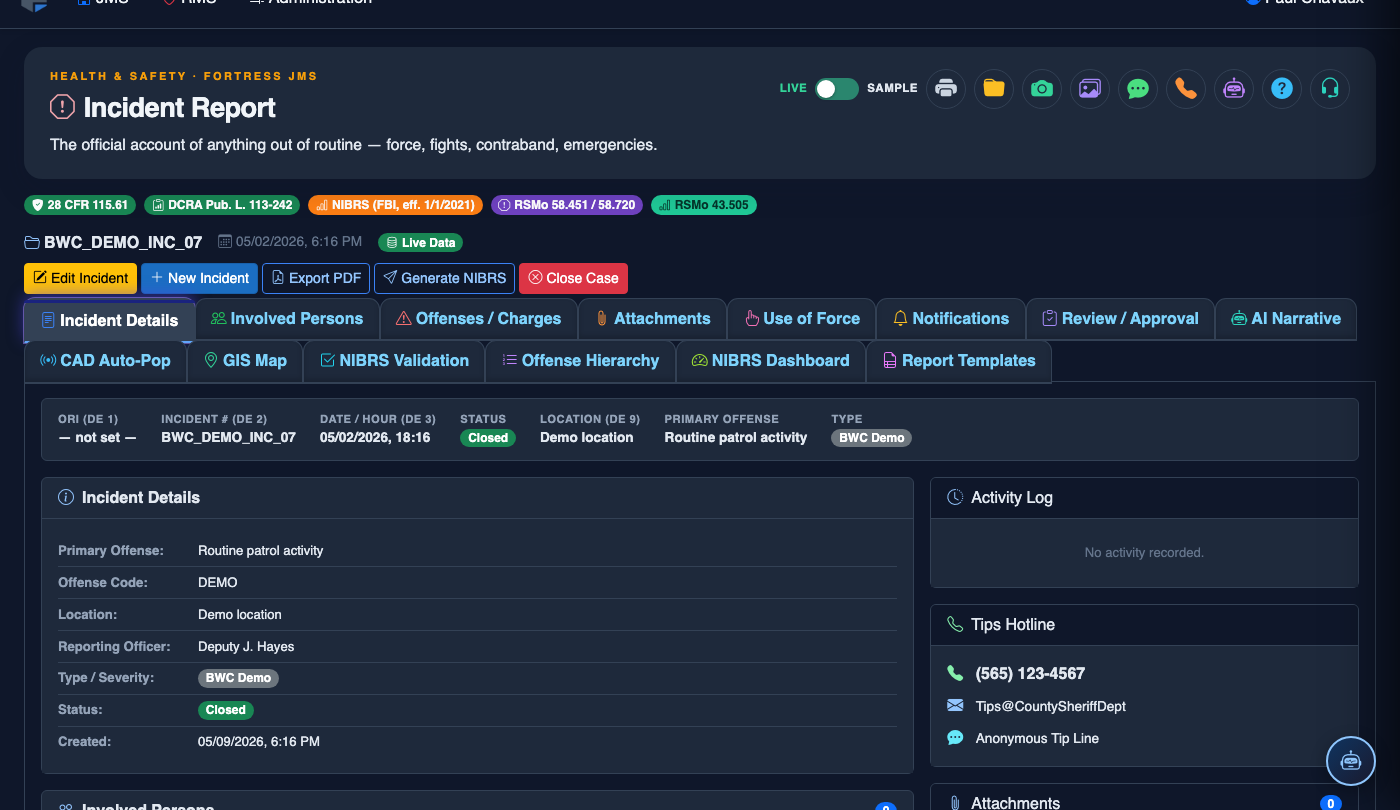
Step-by-Step: Completing the Incident Details Tab
Open a New or Draft Incident Report
From the Incident Reporting module, click + New Incident Report or open an existing Draft from your report list. The Incident Details tab loads first by default. A progress bar at the top shows which sections are complete and which require attention before submission.
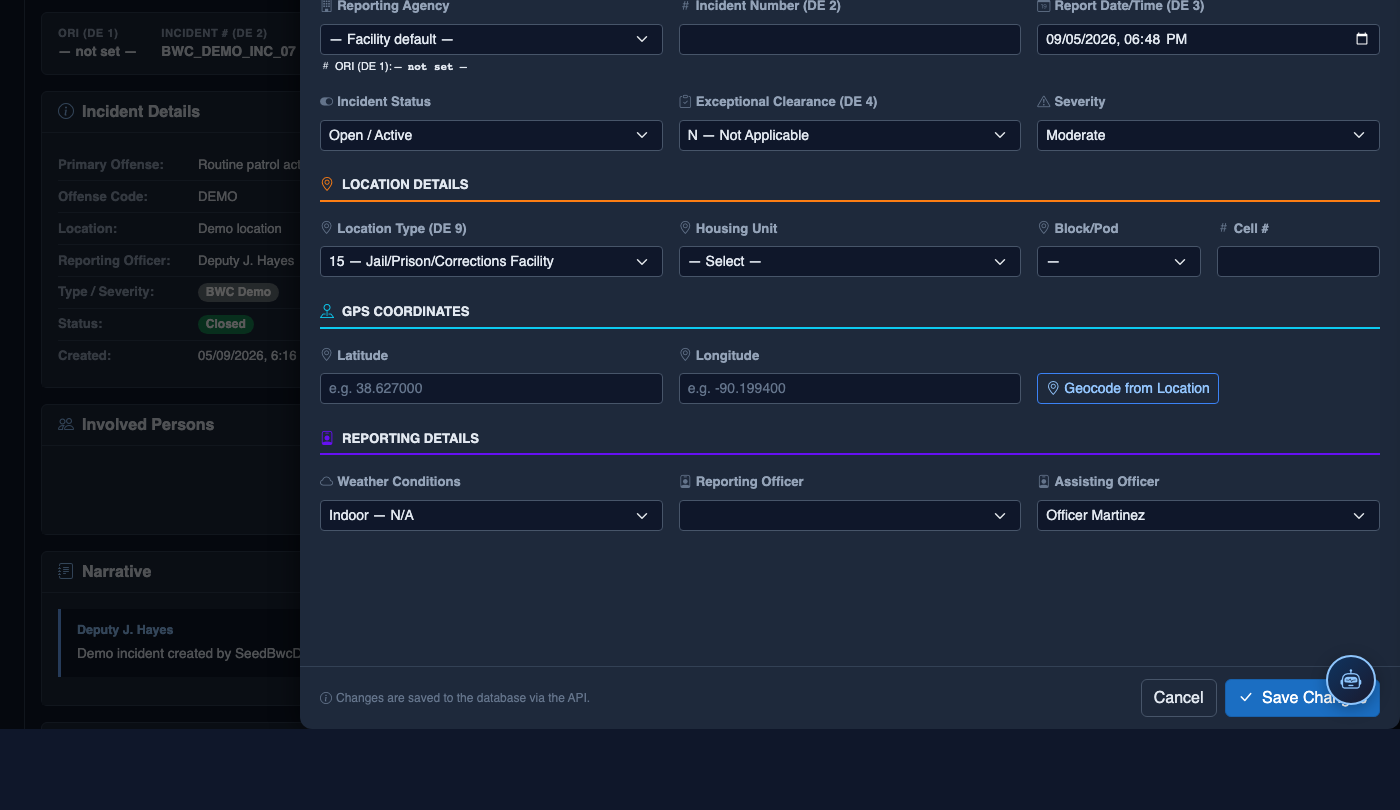
Select the Incident Type
Click the Incident Type dropdown and choose the category that best describes the event (e.g., Inmate-on-Inmate Assault, Use of Force — Restraint, Medical Emergency, Contraband — Weapons, PREA Allegation). The selection immediately adjusts the form to show the required sub-fields for that type. If you are unsure of the type, consult your facility’s incident type guide before selecting.
Enter the Incident Date, Time, and Location
Set the Incident Date and Incident Time fields to reflect when the event actually occurred — not when you are completing the report. Use the Location picker to select Housing Unit, then Pod/Block, then Cell Number or Common Area from the cascading dropdown. Accurate location data is essential for pattern analysis and post-incident facility reviews.
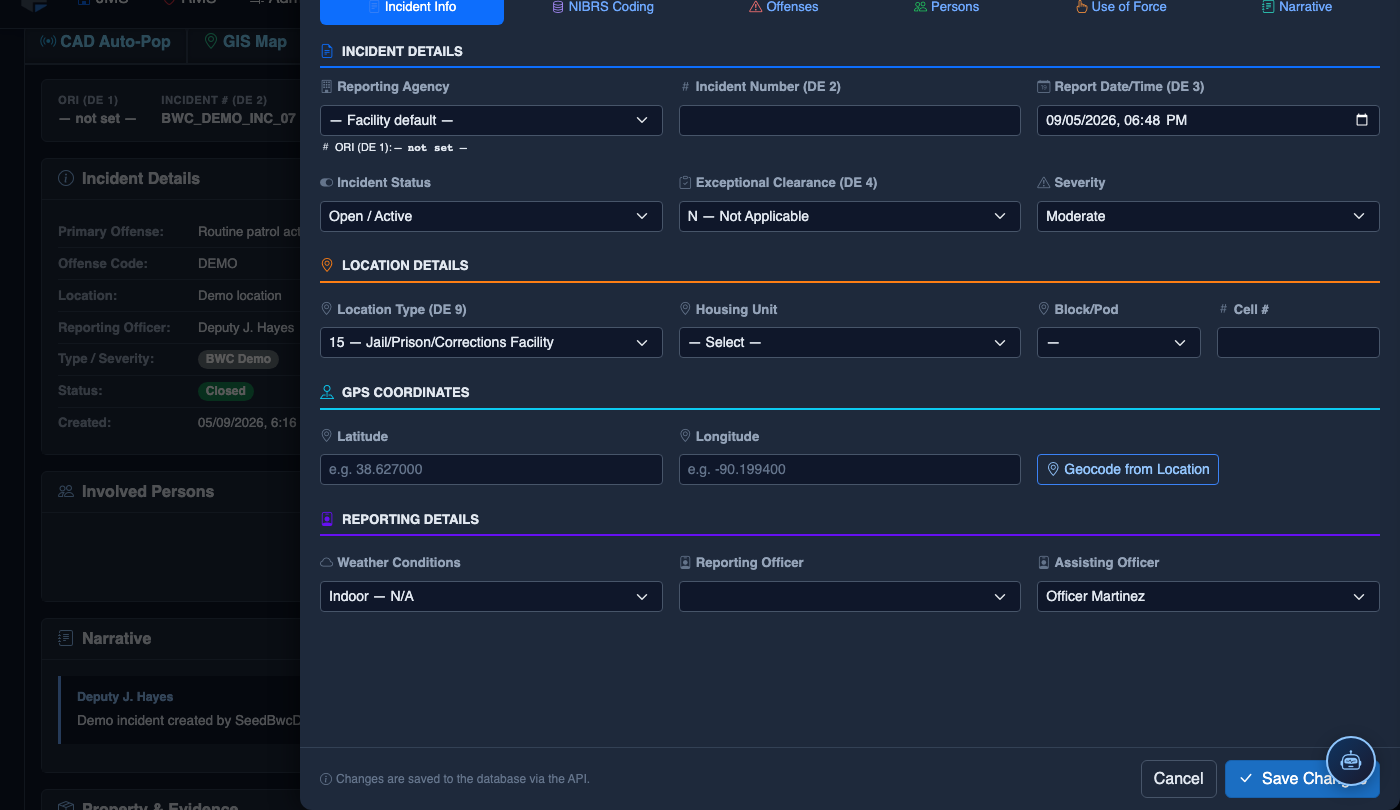
Complete Type-Specific Required Fields
Below the standard fields, the form displays required fields specific to the selected incident type. For a Use of Force report these include Force Type Used, Medical Evaluated (Yes/No), and Camera Footage Available. For a Contraband report, enter Item Description, Quantity, and Disposition. Red asterisks mark every required field — the form will not submit with any required field blank.
Write the Officer Narrative
In the Narrative field, write a first-person, chronological, factual account of the incident. Begin with your position and observation (“On [date] at approximately [time], while conducting rounds in Pod 3B, I observed…”). The system requires a minimum of 150 words for use-of-force reports and 75 words for other types. The live word counter turns green when the minimum is met. Click Spell Check when finished.
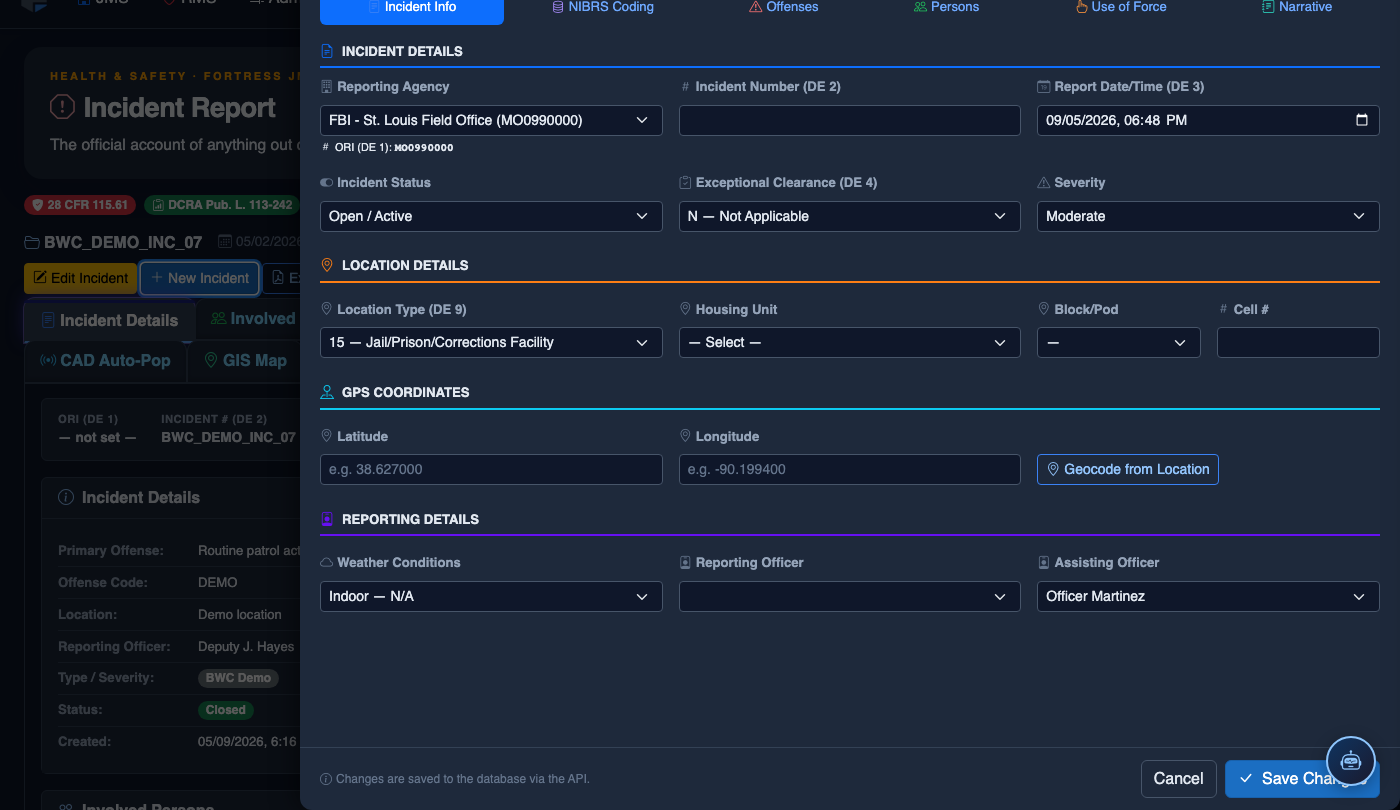
Save as Draft or Advance to the Next Tab
Click Save Draft at any time to preserve your work without submitting — the report will appear in your My Drafts list and can be resumed later. When the Incident Details tab is fully complete, click Next: Involved Parties to advance to the party identification tab without losing any entered data.
File a New Incident Report
Click New Incident. Complete the incident report:
- Incident Type — select the category (Altercation, Medical Emergency, Escape Attempt, Property Damage, Use of Force, etc.).
- Date, Time, and Location — the precise time and place of the incident.
- Involved Persons — add all Inmates, Staff, and Witnesses using the search tool.
- Narrative — write the factual incident description in first person, past tense. The AI Narrative Assist can draft based on your bullet points.
- Severity — Minor, Moderate, or Major. Major incidents trigger automatic supervisor notification.
- Attachments — upload photos, BWC footage, or medical documentation directly.
- Click Save Draft to continue later, or Submit for Review to route to your supervisor.
💡 Pro Tips
- Always set the Incident Time to when the event began, not when it ended — if an altercation started at 14:32 and was resolved by 14:39, the incident time is 14:32. Courts scrutinize time discrepancies between incident reports and body-camera metadata.
- If you selected the wrong Incident Type and already began entering data, use the Change Type link rather than closing and restarting — your narrative and date/time entries are preserved and only the type-specific fields reset.
- Use the Save Draft function before leaving your workstation even briefly — FortressDMS session timeouts are enforced for security, and an unsaved report will be lost if your session expires before you click Save.
Mobile View — Incident Details
FortressDMS is fully responsive. Officers can access the Incident Details on a phone or tablet directly from the field — no app install required.
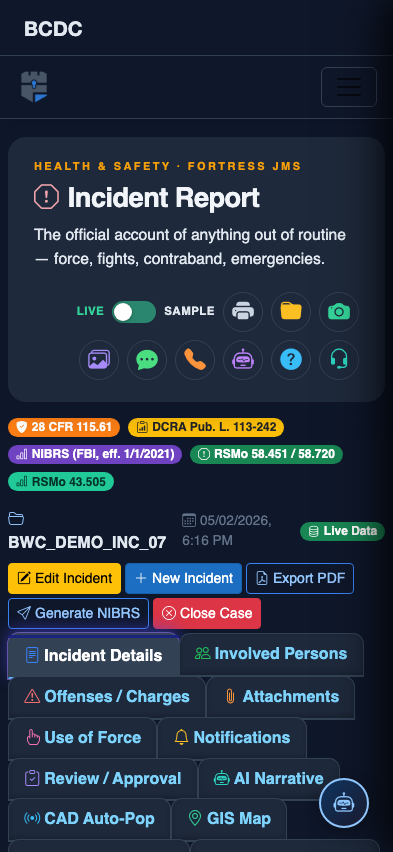
Tab view with data rows
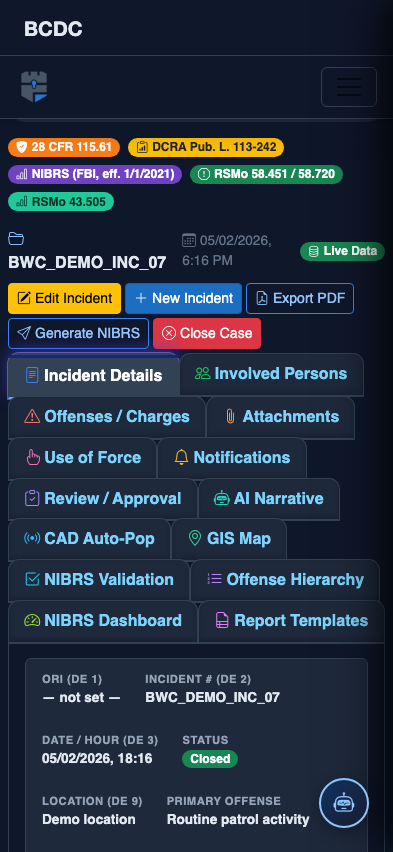
Scrolled / detail view