
Video Conferencing
The Video Conferencing module enables secure, attorney-client privileged video visits and family visitation sessions directly within Fortress JMS. Administrators can schedule sessions, provision guest access without requiring app downloads, and review video session logs — all on the existing LiveKit SFU infrastructure with per-facility room isolation.
Zero-Install Guest Access
Visitors and attorneys join video sessions via a secure browser link — no app download or account required.
Scheduling & Calendar
Book video visit slots with configurable time blocks, automatic conflict detection, and SMS reminders to guests.
Facility-Isolated Rooms
Each facility receives isolated video rooms (fac_{id}_ prefix) preventing cross-facility access at the infrastructure level.
Session Logs & Audit Trail
All video sessions are logged with participant identities, session duration, and join/leave timestamps for compliance review.
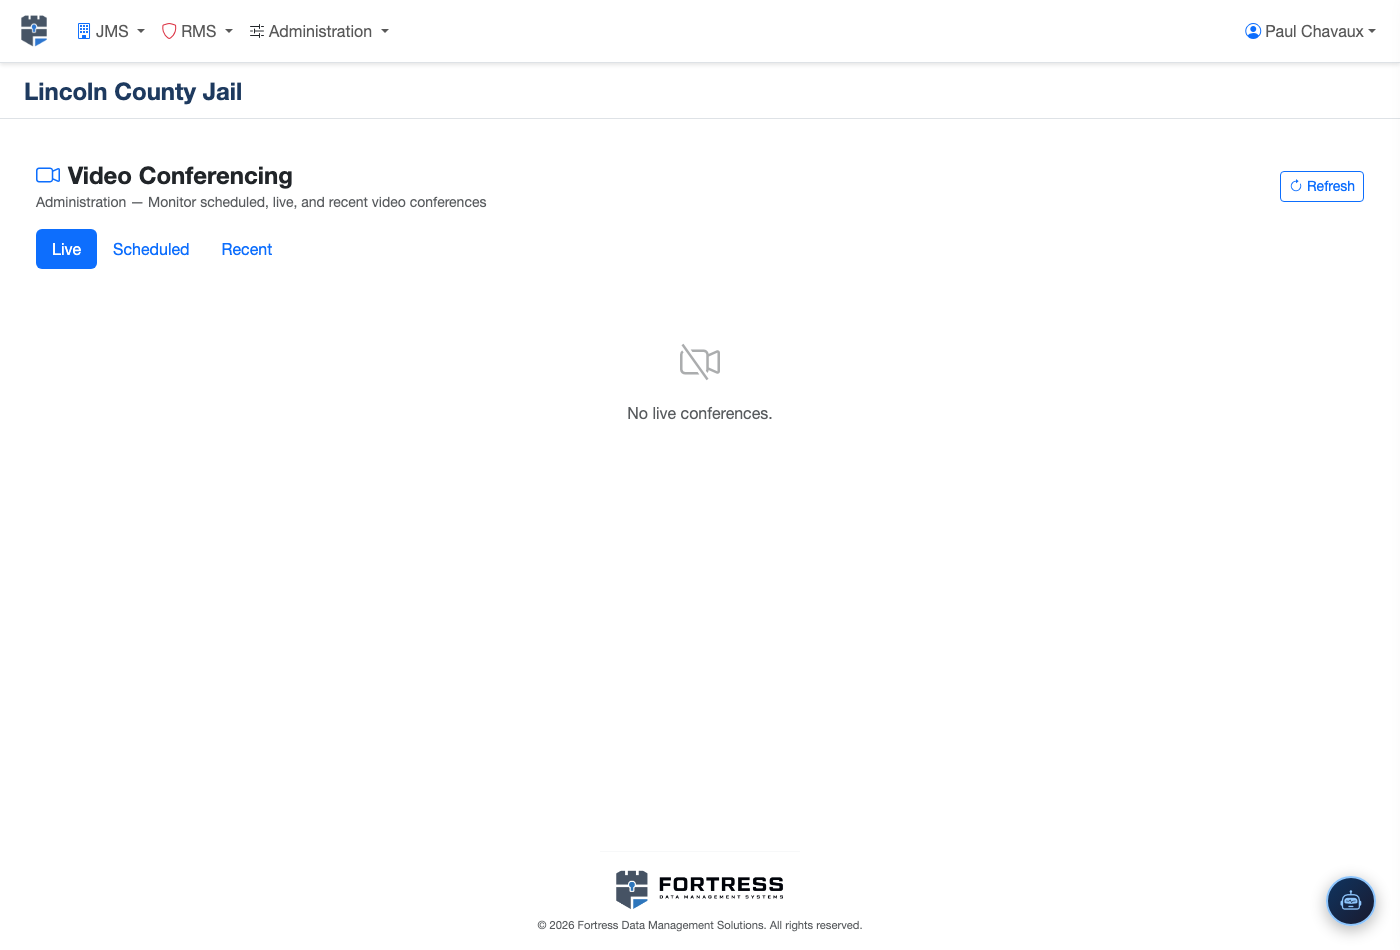
Step-by-Step: Video Conferencing
Open the Video Conferencing Module
From the Fortress JMS navigation menu, click Video Conferencing. The module landing page displays a calendar view of upcoming sessions and a list of pending visit requests awaiting approval.

Schedule a New Video Visit
Click New Session, select the inmate from the Inmate Search field, choose the Session Type (Family Visit or Attorney-Client), and pick an available time slot on the scheduling calendar. Confirm the guest’s name and contact information for the invitation.
Send Guest Invitation Link
After saving the session, click Send Invitation. The system generates a unique, time-limited guest link and delivers it via SMS or email to the visitor. Guests click the link in any modern browser — no app download is needed.

Approve or Deny Pending Requests
Visitor-initiated requests appear in the Pending Approvals queue. Click any request to review the requestor’s name, relationship to the inmate, and requested time slot. Click Approve or Deny, then the system automatically notifies the visitor of the decision.
Monitor Live Sessions
Staff can observe active sessions from the Live Sessions panel. The panel shows each session’s status, duration, and participant count. Use the Terminate Session button to end a call immediately if a security concern arises.

Review Session Audit Logs
Click Session Logs to access the complete audit trail. Filter by inmate, date range, or session type. Each log entry includes participant identities, session start and end times, and the total duration — exportable as PDF for court or compliance use.
Configure Session Settings
Under Admin > Video Settings, configure default session durations (e.g., 30 minutes for family, 60 minutes for attorney-client), block blackout periods for shift changes, and set the facility’s daily visit capacity limits to prevent scheduling conflicts.
💡 Pro Tips
- Attorney-client sessions are flagged with a privilege marker in the audit log — never share recordings or notes from these sessions without verified legal authorization.
- Tablet-initiated video visits are disabled by default for security; only facility-kiosk Android tablets under staff supervision have video visit capability enabled out of the box.
- Send guest invitation links at least 2 hours before the session to give visitors time to test their browser connection and resolve any technical issues before the scheduled time.