
Booking Workflow
The Booking Workflow tab is the primary data-entry interface officers use when processing a new inmate through intake. It presents a structured, sequential checklist of all required booking steps — from identity verification through charges, notifications, and final housing assignment — ensuring nothing is missed and every action is timestamped to a specific officer. The workflow enforces your facility’s specific booking SOP and prevents advancement to subsequent steps until all required fields are complete.
Sequential Step Enforcement
Required steps must be completed in order — officers cannot skip medical screening or jump directly to housing assignment.
Timestamp & Officer Attribution
Every completed step records the time and the officer’s badge number, creating a legally defensible booking timeline.
Automated Notifications
System automatically triggers required notifications (medical, classification, housing) as each booking milestone is completed.
On-Demand Document Printing
Generate and print booking summaries, property receipts, and inmate ID wristbands directly from the workflow.
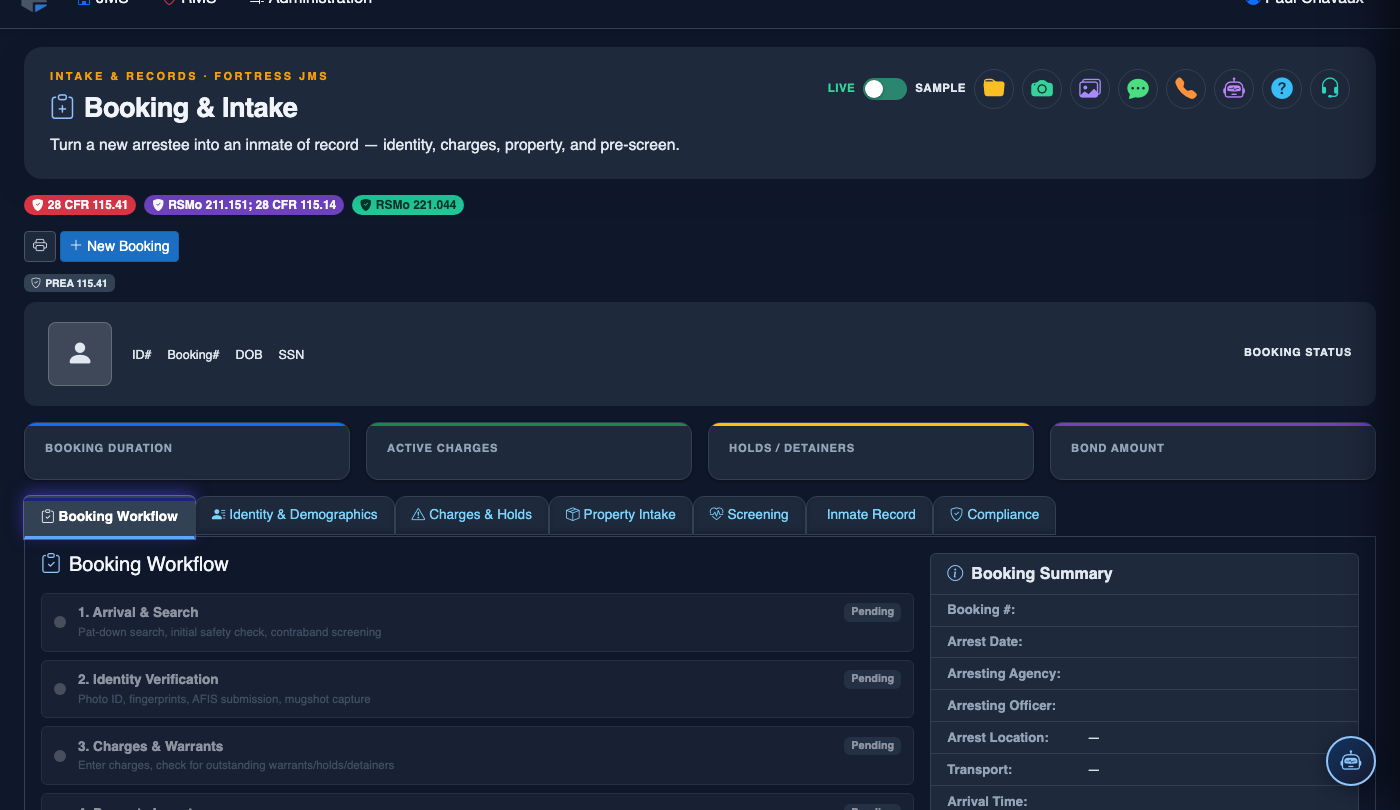
Step-by-Step: Completing the Booking Workflow
Open the Booking Workflow Tab
After creating a new booking record, you are automatically directed to the Booking Workflow tab. The checklist on the left shows all required steps. Steps with a green checkmark are complete; red steps are required before you can advance.
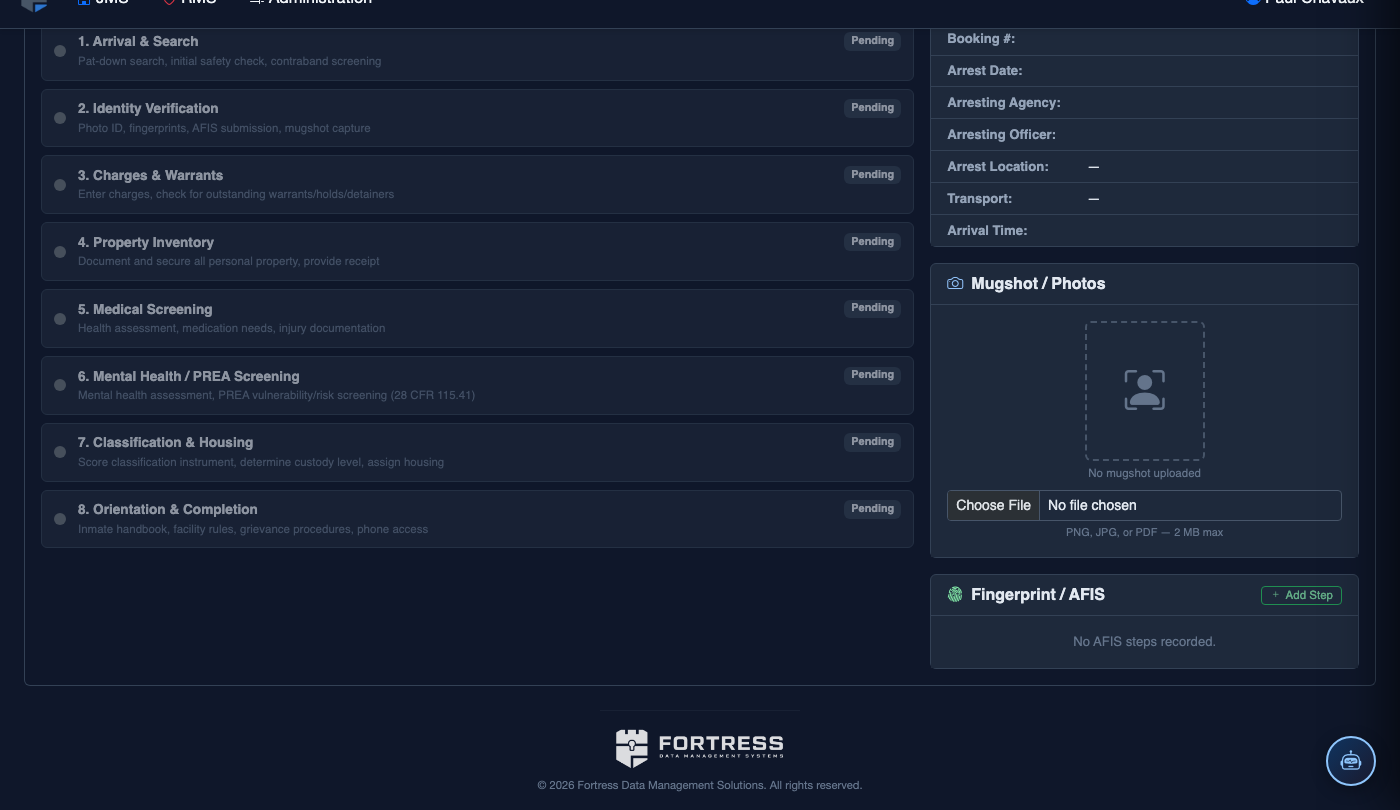
Verify Identity and Check for Warrants
Click Identity Verification. Confirm the inmate’s full legal name, date of birth, and SSN (if available). Click Run Warrant Check to query state and national databases. Any active warrants will appear as alerts requiring supervisor acknowledgment.
Record Charges and Bond Information
Under the Charges step, search and add each statute violation. Set the Bond Type (cash, surety, personal recognizance, no bond) and amount for each charge. The system calculates an aggregate hold recommendation based on charge class and prior history.
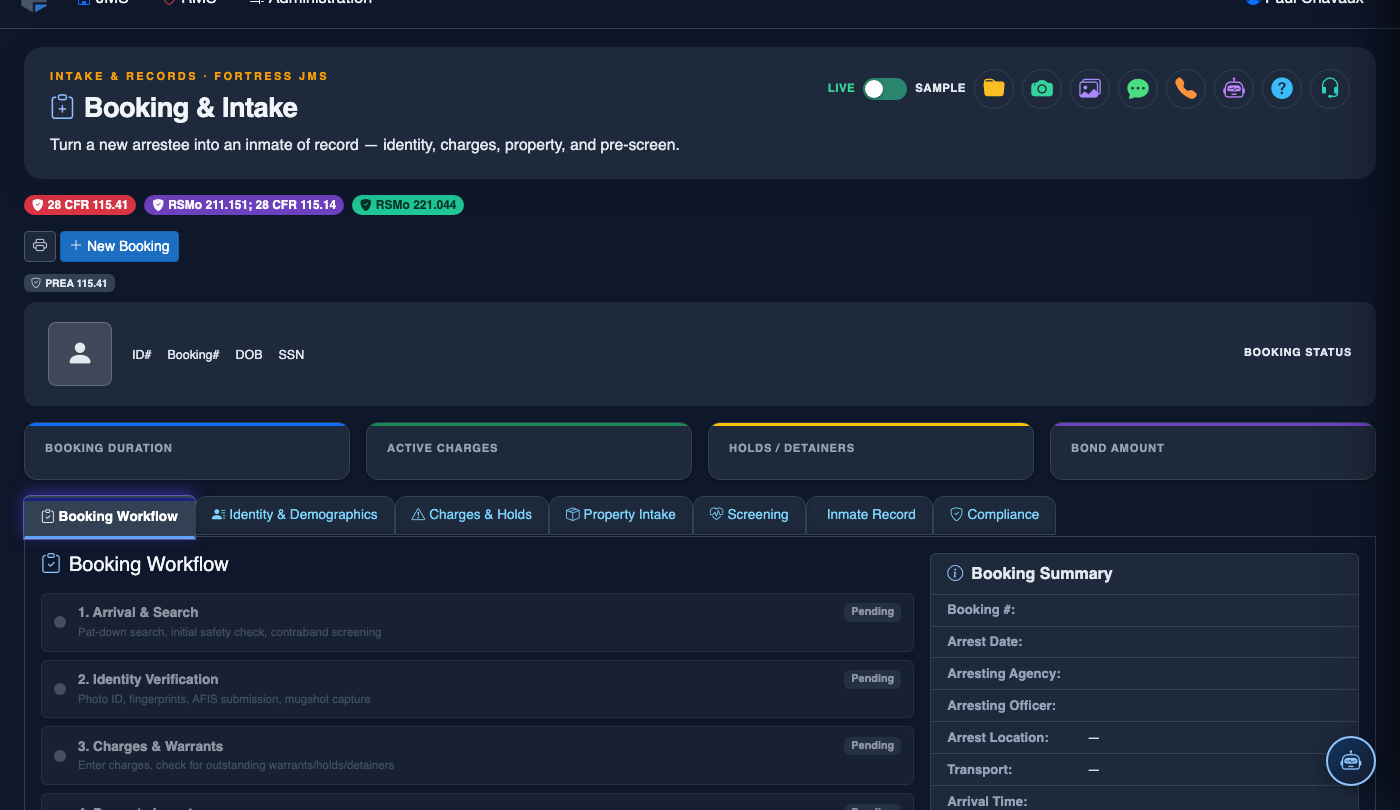
Complete Required Legal Notifications
The Notifications step presents each legally required advisement — Miranda rights, right to counsel, emergency contact notification, and consular notification (if applicable). Check each box, record the time, and sign off. These fields are locked once saved.
Advance Through Medical and Property Steps
The workflow enforces completion of Medical Screening and Property Inventory before unlocking the Classification step. Each completed step is marked green and timestamped — partially completed steps remain amber until all required fields are satisfied.
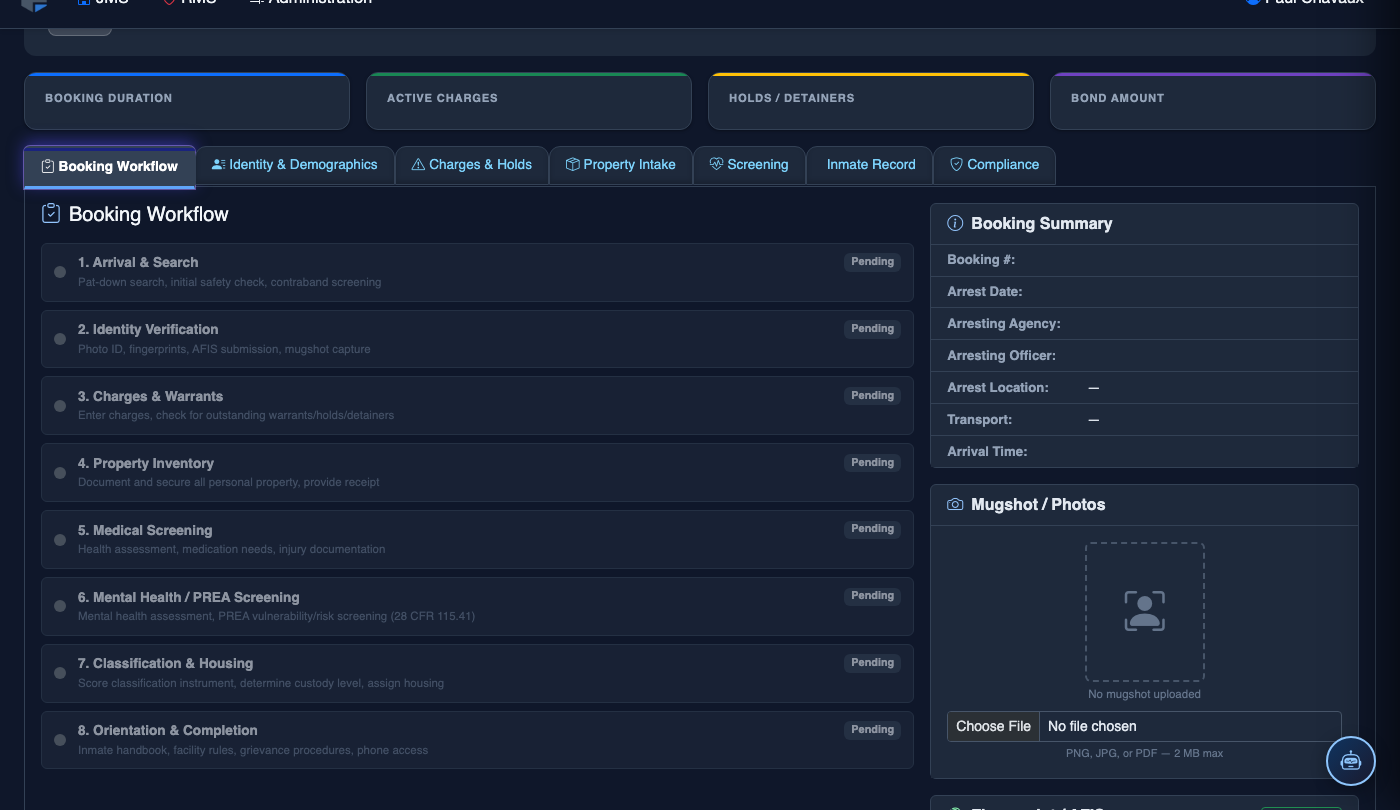
Finalize Housing Assignment
Once all prior steps are complete, the Housing Assignment step unlocks. Select the appropriate housing unit and cell from the filtered grid, confirm there are no Enemy Conflicts, and click Assign. The inmate’s housing status becomes active in the master roster immediately.
Print Booking Documents and Complete
Click Print Booking Packet to generate the full booking summary, property receipt, and inmate ID wristband label. Once all documents are printed and confirmed, click Complete Booking. The record is locked and moved to the active inmate roster.
💡 Pro Tips
- The workflow checklist sidebar is always visible — officers can see exactly which steps remain without losing their place in the current section.
- If a booking must be paused (e.g., inmate requires emergency medical transport), use Save & Hold to preserve all entered data; the booking can be resumed when the inmate returns.
- Supervisors can view all in-progress bookings from the Booking Dashboard to monitor processing times and flag bookings that are taking longer than the SOP threshold.