
Personal Property & Inventory
The Personal Property & Inventory tab provides a complete, itemized record of all belongings surrendered by an inmate at the time of booking — from clothing and cash to electronics, jewelry, and prescription medications. Every item is documented with descriptions, condition notes, photographs, and barcode tracking, and stored with a secure location assignment. This system protects the facility from liability claims while ensuring inmates can reclaim their belongings accurately at release.
Barcode Item Tracking
Each property item receives a unique barcode label linking it permanently to the inmate’s booking record.
Photo Documentation
Photograph items at intake to document condition — eliminating disputes about pre-existing damage at release.
Secure Storage Assignment
Assign property to specific storage bins, lockers, or evidence rooms and track location changes over the inmate’s stay.
Digital Signature Receipt
Capture the inmate’s digital signature acknowledging the property inventory before items are secured.
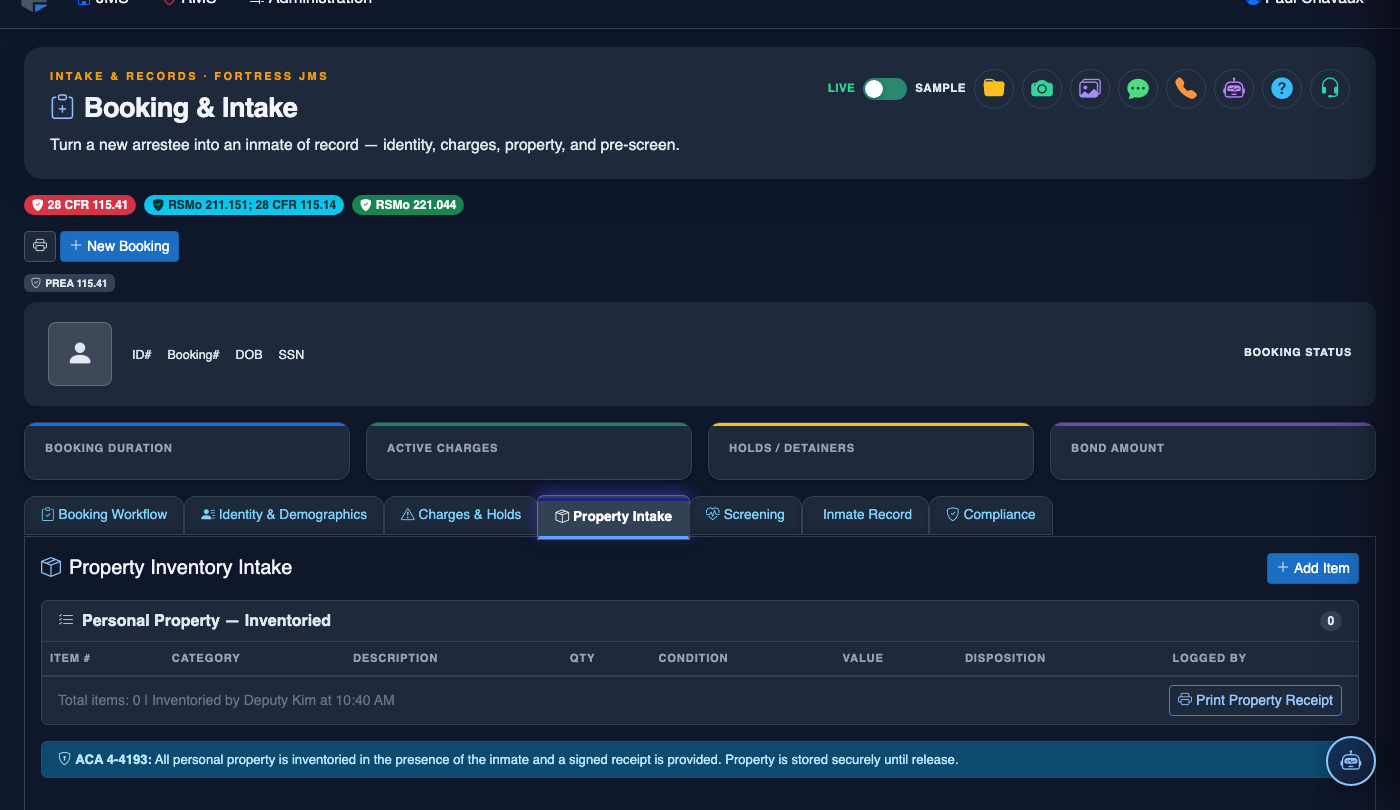
Step-by-Step: Documenting Inmate Property at Intake
Open the Property & Inventory Tab
From within the active booking record, click the Personal Property & Inventory tab. The interface displays the current property list (empty at intake) and the item-entry panel on the right side.
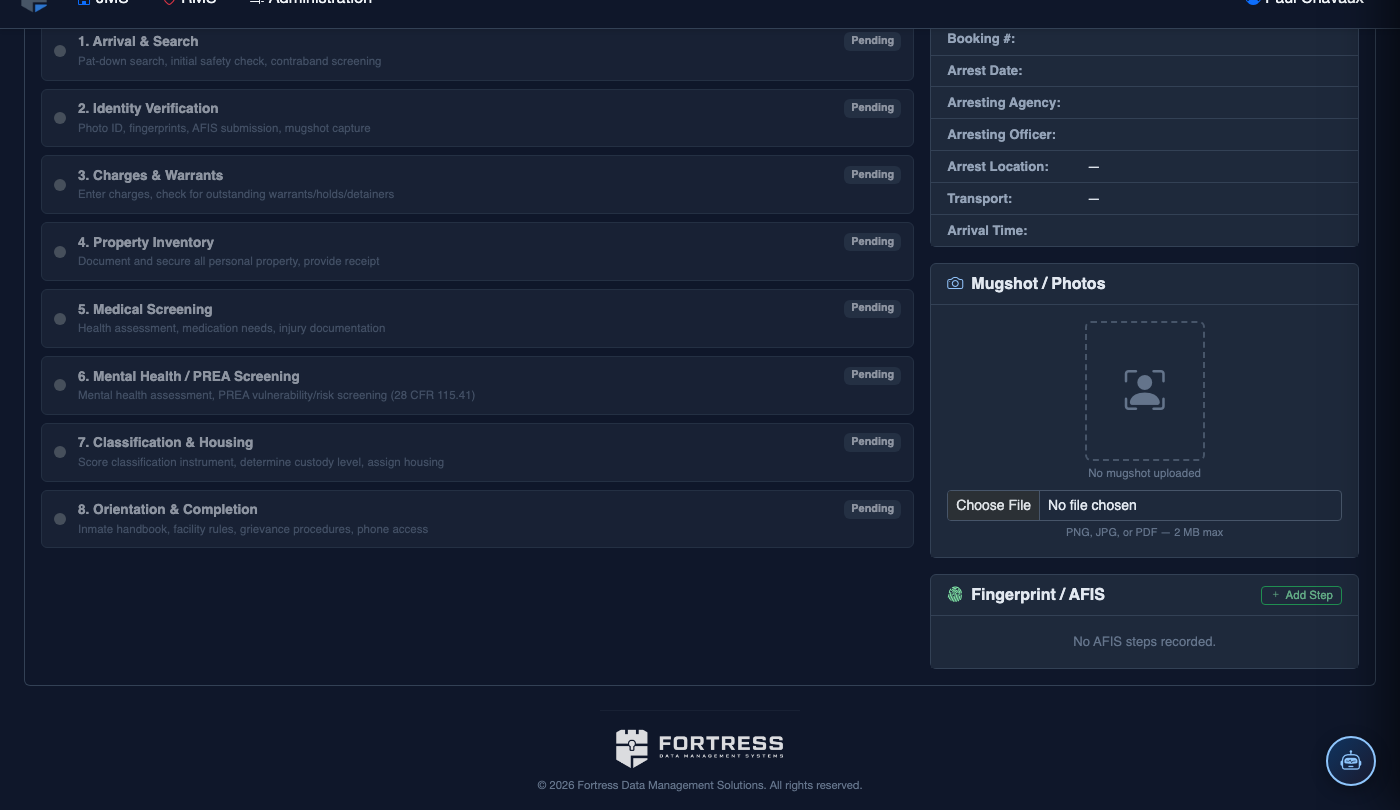
Add Items Using the Category Picker
Click Add Item and select a Category (Clothing, Electronics, Currency, Jewelry, Medication, Documents, Other). The form adjusts to capture category-specific fields — for Currency, enter the exact amount; for Medications, enter the drug name, dosage, and pill count.
Document Item Condition and Photograph
Select the item’s Condition (New, Good, Fair, Damaged) and enter any relevant notes in the Description field. Click Add Photo to capture an image using the connected camera or upload from a device — photos are attached directly to the item record.
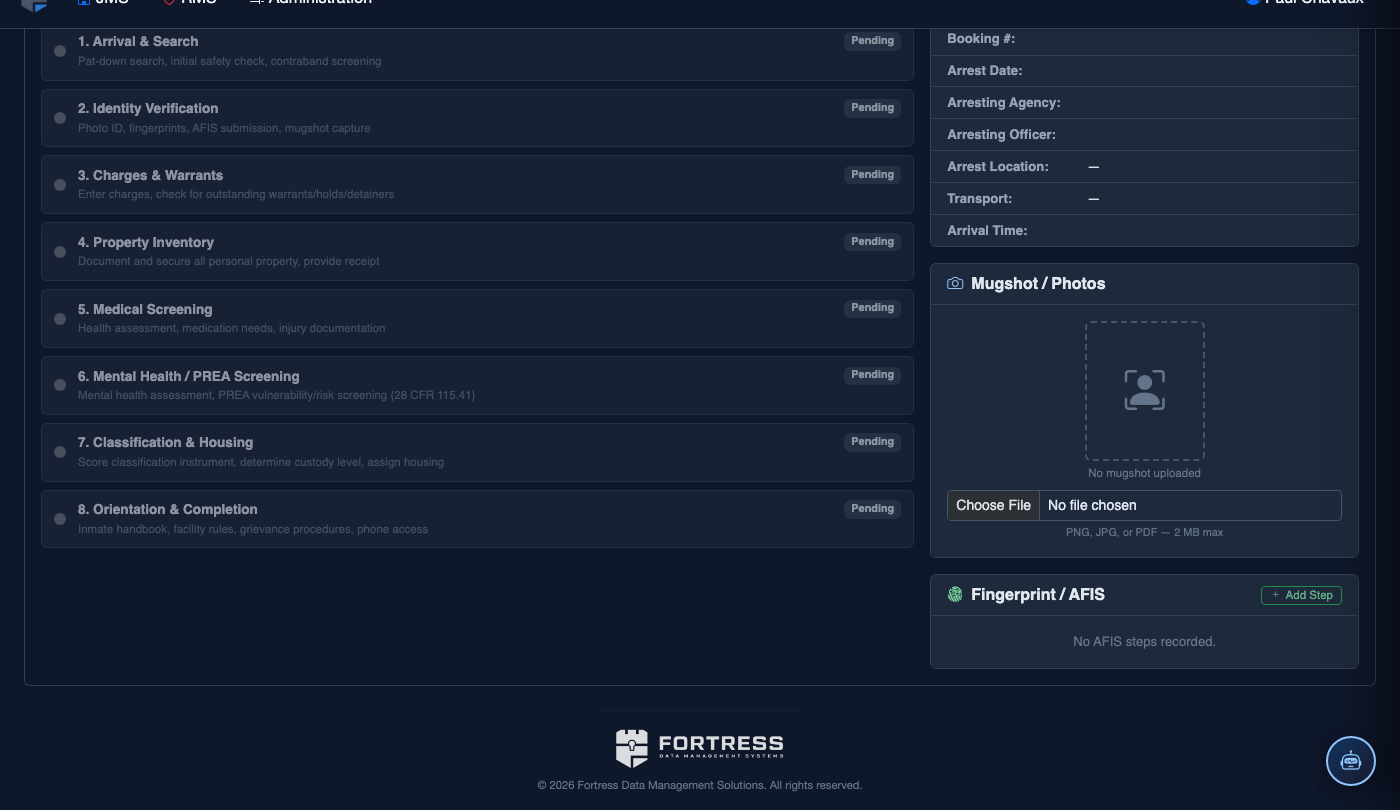
Print and Scan Barcode Label
After saving each item, click Print Label to generate a unique barcode label. Affix the label to the item’s storage bag or container. Scan the barcode back into the system to confirm the label is correctly linked — the item status updates to Labeled.
Assign to Property Storage Location
Once all items are entered, select a Storage Location for the inmate’s property bag (e.g., Locker Row B, Bin 14). High-value items (cash over $50, electronics, jewelry) must be assigned to the High-Value Vault and require a supervisor co-signature to confirm placement.
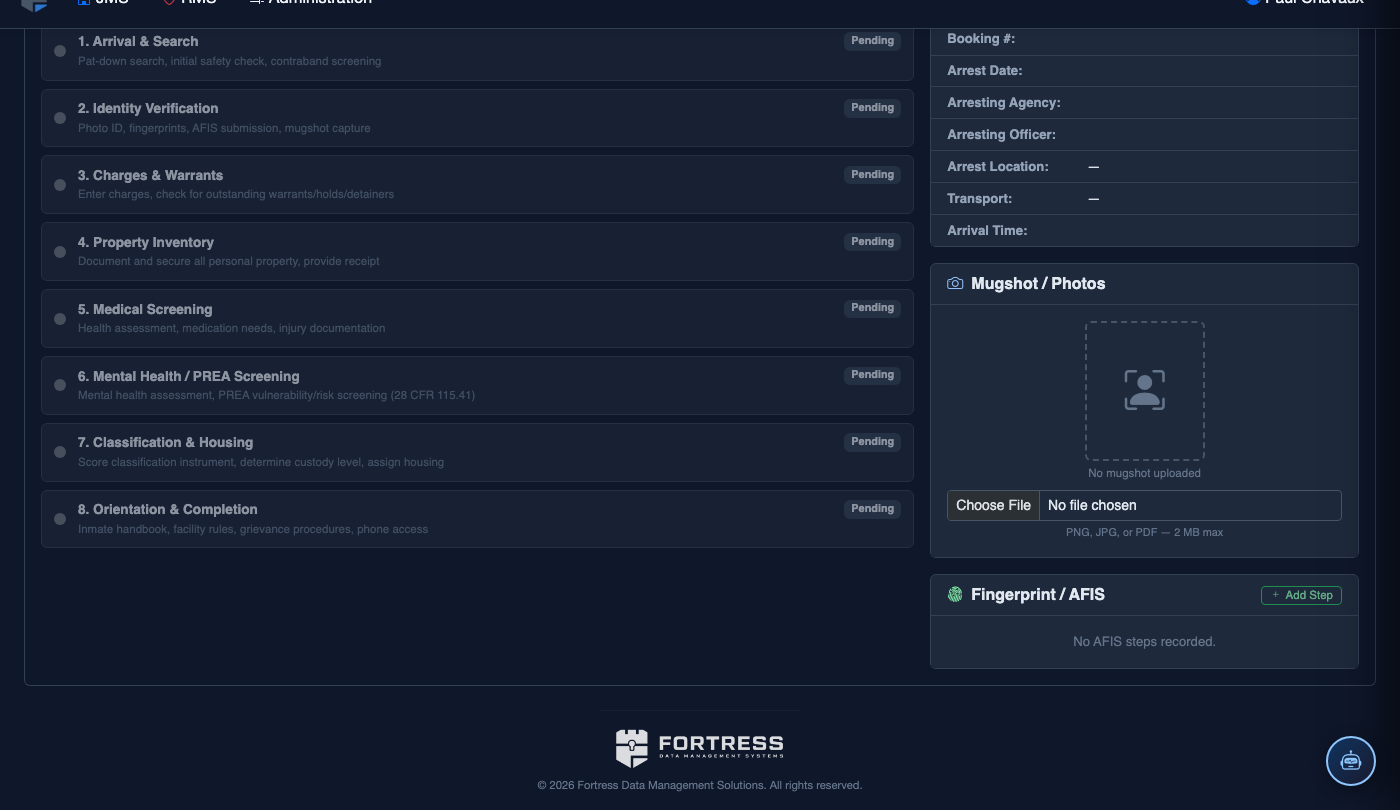
Obtain Inmate Signature on Property Receipt
Click Generate Property Receipt. The system produces a full itemized list for the inmate to review. Use the signature pad to capture the inmate’s digital signature acknowledging the inventory is accurate. Print a copy for the inmate and one for the booking file.
Process Property Release at Discharge
At the time of release, open the inmate’s property record and click Release Property. Scan each item’s barcode to confirm retrieval, obtain a final signature, and mark all items as returned. Any items not returned (e.g., mailed out during incarceration) are flagged with a disposition note.
💡 Pro Tips
- Always photograph currency, jewelry, and electronics even if condition is perfect — photos are your primary defense against claims that items were damaged or missing while in custody.
- For prescription medications, note whether they will be transferred to the medical unit for administration or held in property — this prevents medication access disputes during the stay.
- Use the barcode scanner at release rather than manual confirmation — scanning each item individually ensures nothing is overlooked and creates a complete retrieval audit trail.