
Visitor Badges
The Visitor Badges tab enables staff to issue, print, and track photo ID badges for every approved visitor entering your facility. Badges are tied to the visitor’s approved list entry and include a time-limited QR code that officers at internal checkpoints can scan for instant verification — reducing contraband risk and improving accountability.
On-Demand Badge Printing
Generate and print a visitor badge from any workstation connected to a badge printer in seconds.
Photo Capture Integration
Capture a live photo at intake or upload an existing ID image to embed on the badge for visual verification.
Time-Limited Access Codes
Each badge QR code expires at a configurable time, preventing reuse across visits or after a revocation event.
Checkpoint Scan Log
Every badge scan at an internal checkpoint is recorded with officer ID, station, and timestamp for a full movement audit.
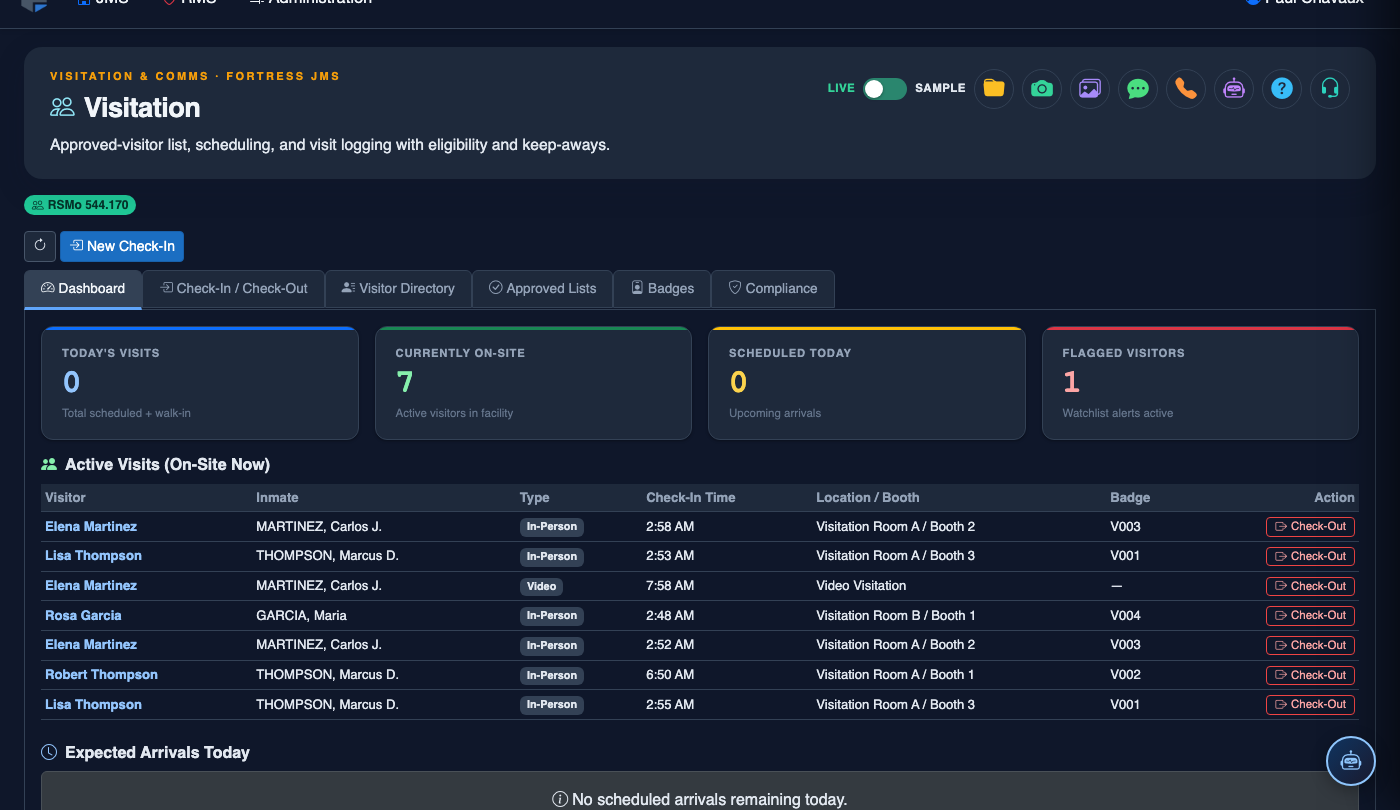
Step-by-Step: Issuing and Printing Visitor Badges
Open the Visitor Badges Tab
Navigate to Visitation in the main menu, then click the Visitor Badges tab. The badge queue displays all visitors who have been checked in for today’s visit but have not yet received a badge.
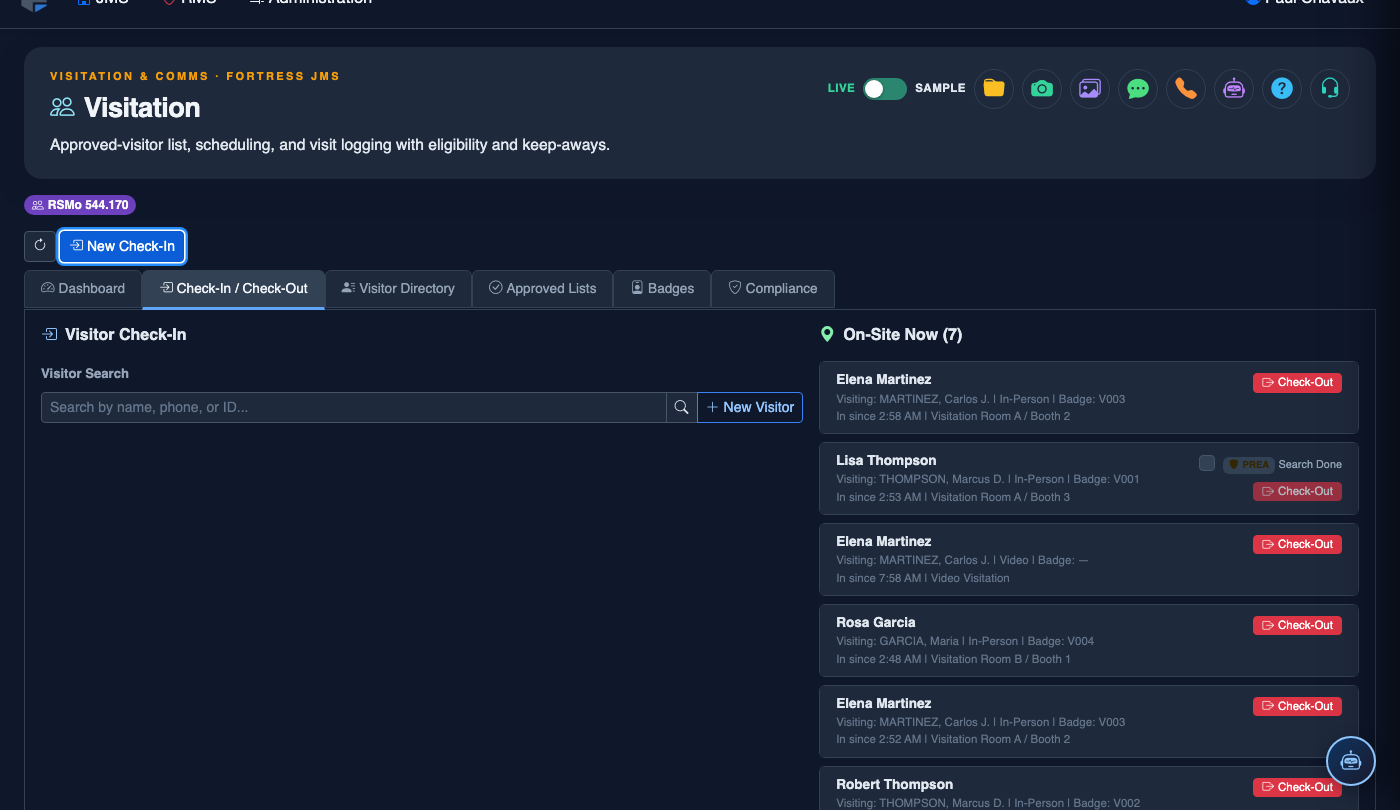
Select a Visitor to Badge
Click a visitor’s name from the queue — or search by name using the Search Visitors bar — to open the badge issuance panel for that individual.
Capture or Confirm Visitor Photo
Click Capture Photo to use the intake camera, or verify the existing photo on file matches the person in front of you. A photo is required before a badge can be printed.
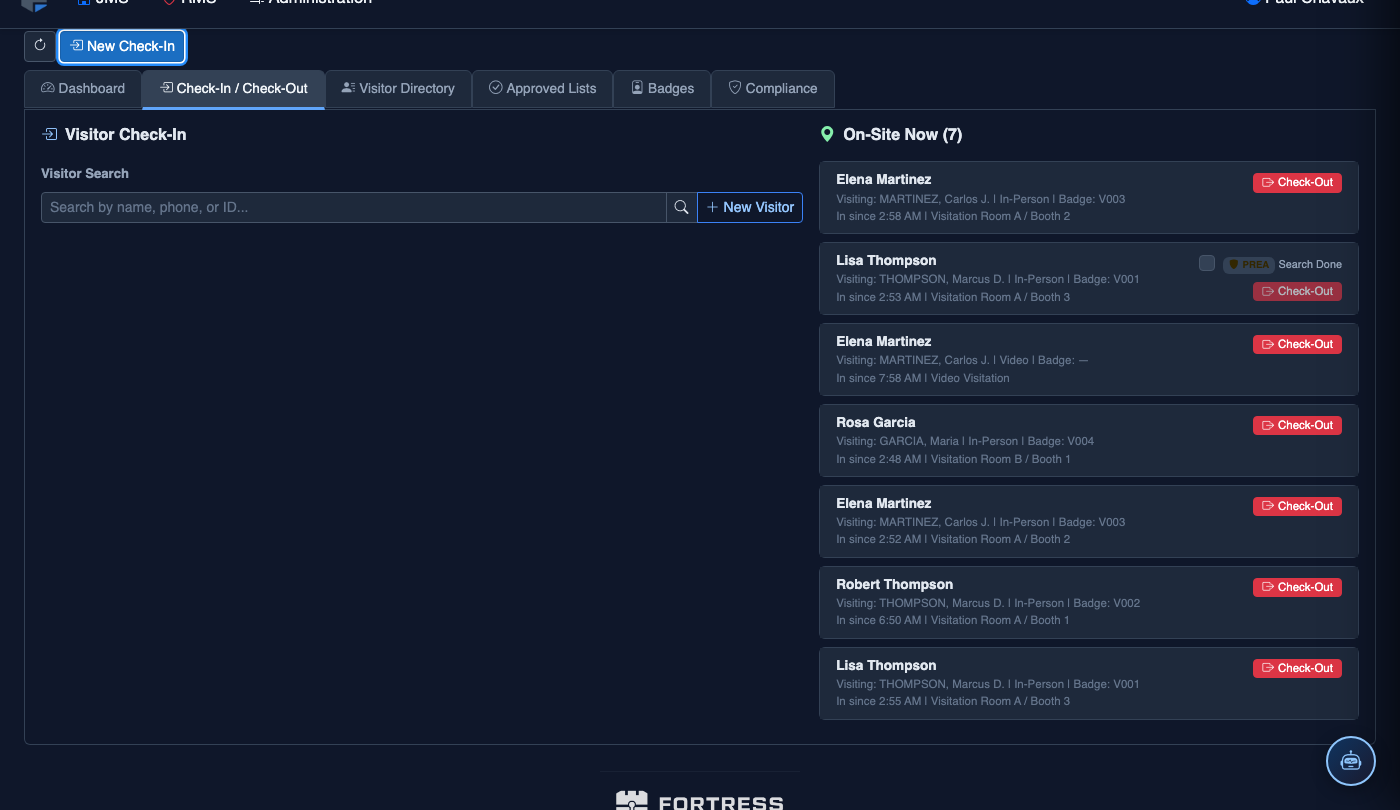
Set Badge Expiry and Access Zone
Choose the Badge Expiry Time (defaults to the scheduled end of visit) and the Allowed Zone from the dropdown. Restricted visitors should be assigned the Supervised Visitation Room zone only.
Print the Badge
Click Print Badge. The system sends the badge layout to your configured badge printer. Confirm the printed badge includes the visitor photo, name, inmate name, date, allowed zone, and QR code before handing it to the visitor.
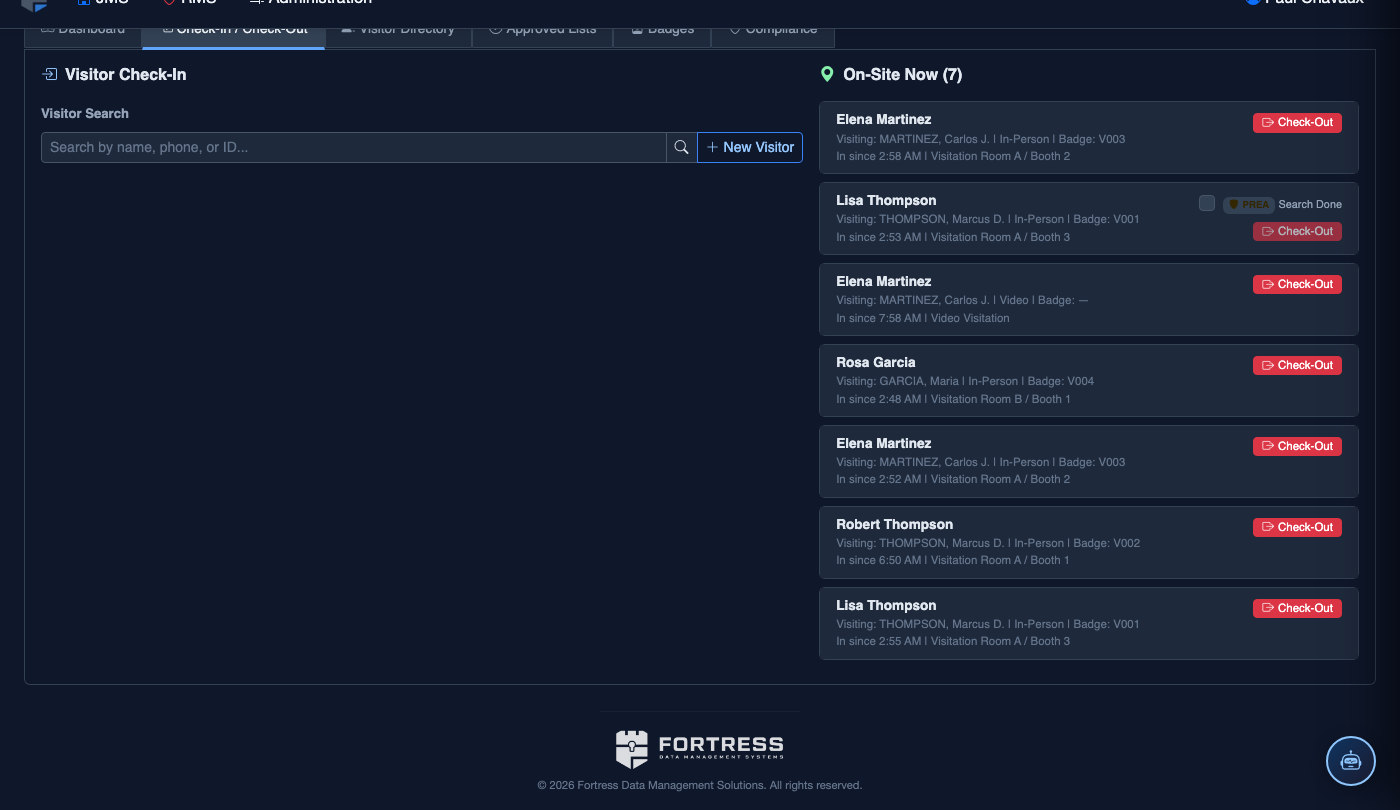
Void a Badge If Needed
If a visitor’s circumstances change mid-visit (e.g., a behavior incident or early termination), click Void Badge from the active badges list. The QR code is immediately invalidated at all checkpoints.
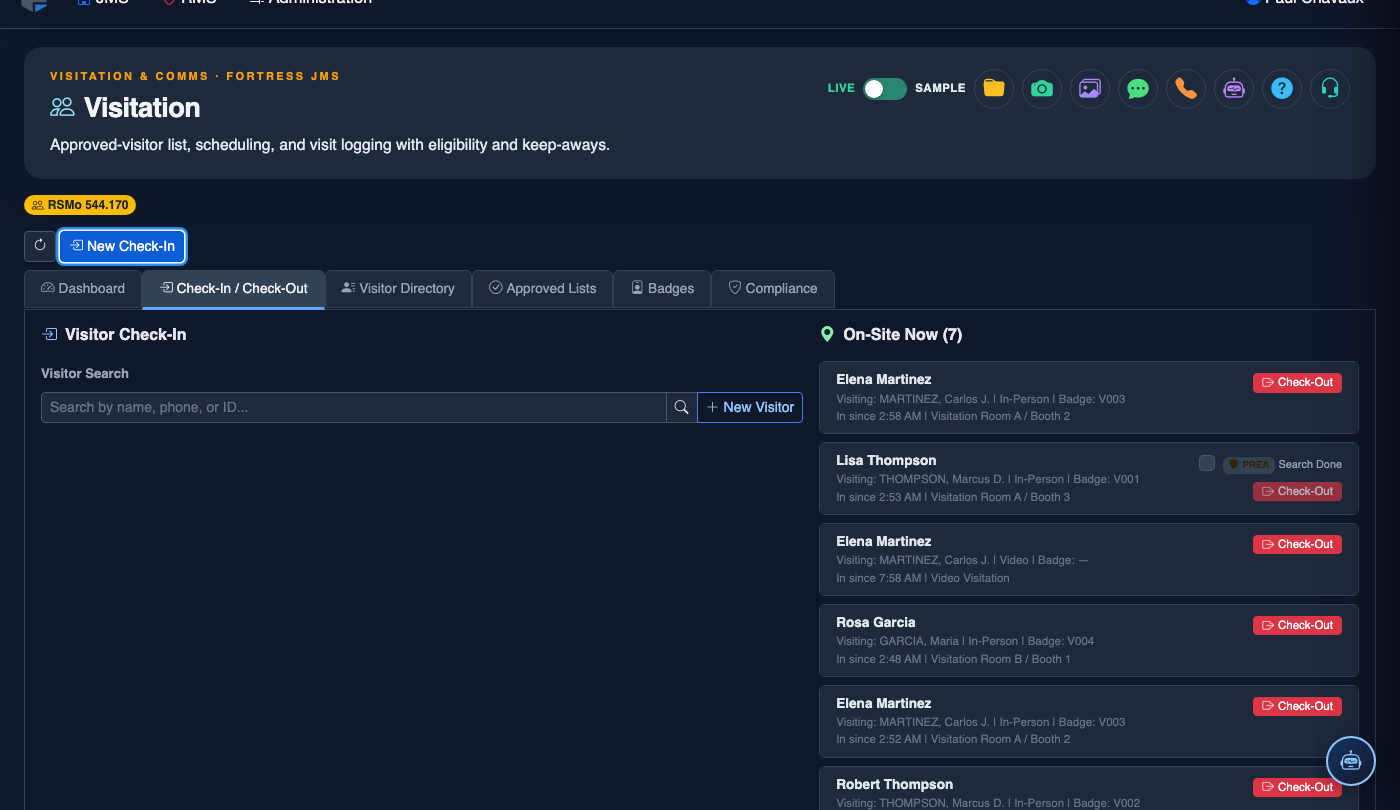
Log a New Visitor Check-In
Click New Check-In. Complete the visitation log:
- Inmate — search by name or booking number.
- Visitor — select from the Approved Visitor List. Visitors not on the list must be added first via Visitor Directory.
- Photo ID Verification — confirm ID type and number; the system compares against the visitor record.
- Visit Type — General, Legal, Clergy, or Official (each has different duration limits and privacy rules).
- Booth / Room Assignment — select the visitation station.
- Scheduled Duration — defaults to facility policy; adjust if authorized for extended visit.
- Click Start Visit. A timer begins and the visitor’s badge logs are updated. End the visit with Check-Out.
💡 Pro Tips
- Configure your badge printer under Settings → Peripheral Devices before first use — the system supports Zebra, Boca, and compatible card printers.
- Set a facility-wide default badge expiry in Visitation Settings so officers don’t need to manually set expiry for every visit — it will auto-populate and can be overridden per visit.
- Scan the QR code with the FortressDMS mobile app at each internal checkpoint to log visitor movement and ensure no visitor accesses unauthorized housing areas.
Mobile View — Visitor Badges
FortressDMS is fully responsive. Officers can access the Visitor Badges on a phone or tablet directly from the field — no app install required.
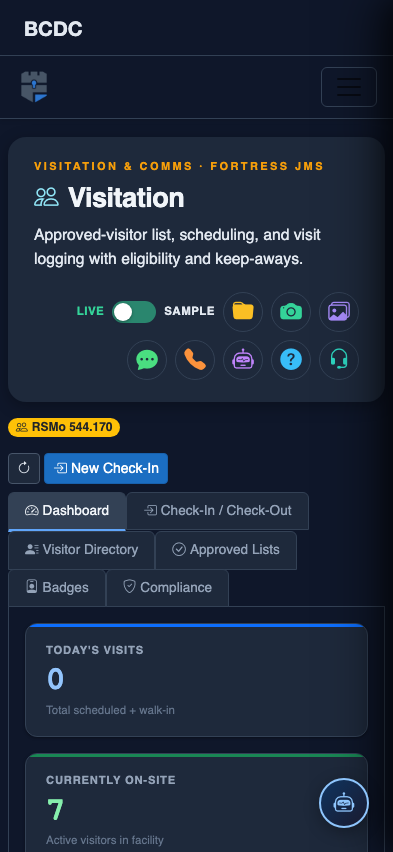
Tab view with data rows
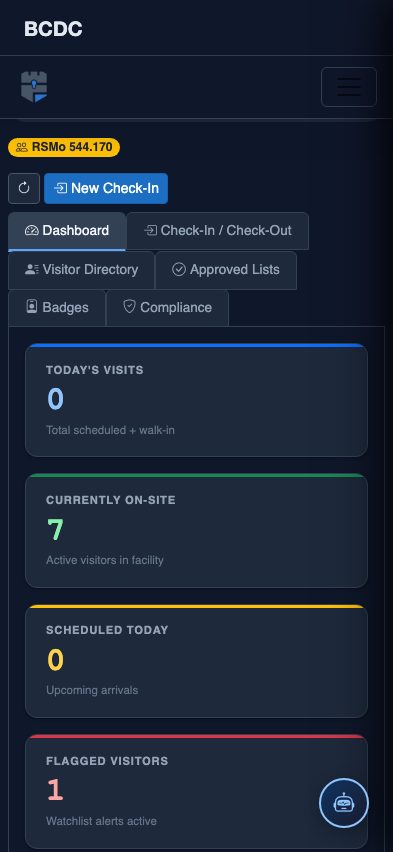
Scrolled / detail view