
Restraint Log
The Restraint Log tab provides a mandatory, tamper-evident record of every restraint device applied to an inmate during transport or in-facility use, satisfying state reporting requirements and accreditation standards. Officers document the type of restraint, application time, supervising officer, justification, duration, and removal event — creating a complete, searchable chain-of-custody record. Supervisors and administrators can audit restraint patterns to ensure policy compliance and identify training needs.
Restraint Type Catalog
Select from a predefined catalog of restraint types including handcuffs, leg irons, WRAP device, restraint chair, and black box — matching your facility’s approved equipment list.
Duration Tracking
Automatic duration calculation from application to removal timestamps, with configurable alerts when restraints approach policy-maximum time limits.
Compliance Reporting
One-click reports for PREA, ACA, or state-mandated restraint audits, pre-formatted to match the most common submission templates.
Medical Condition Flags
Automatic warning when a selected restraint conflicts with a documented medical condition such as circulatory disorders, pregnancy, or recent surgery.
Step-by-Step: Logging a Restraint Event
Open the Restraint Log Tab
Navigate to Inmate Movement > Restraint Log. The log displays a filterable table of all restraint events. Use the Status filter to show Active (currently restrained) versus Closed events, and the Date Range filter to scope the view. Red rows indicate events nearing or exceeding policy time limits.
Create a New Restraint Entry
Click + New Restraint Entry. Search for the inmate by name or booking number. The system immediately checks for medical condition flags and displays any relevant cautions. If the inmate has an active hold or court order limiting restraint options, a yellow advisory banner will appear at the top of the form.
Document Restraint Type and Justification
Select the Restraint Type from the approved catalog dropdown, then enter the Application Time (defaults to now), the Applying Officer, and the Location where the restraint was applied. Select the Justification from the policy-compliant reason codes (Transport, Court Order, Medical Safety, Behavioral Threat) and add any free-text notes required by your facility’s policy.
Link to a Transport or Incident
Use the Link To dropdown to associate this restraint event with an open Transport Record or Incident Report. Linking creates a cross-reference that allows supervisors and auditors to view the full context of any restraint use without searching multiple modules.
Save and Monitor Active Restraint
Click Save Restraint Entry. The entry appears in the Active Restraints dashboard with a live Duration Timer. If your facility has configured a time-limit alert (e.g., 4-hour maximum for restraint chairs), an automated notification will be sent to the officer’s supervisor as the limit approaches. Periodic welfare checks can be logged directly from the active entry.
Log Removal and Close the Entry
When restraints are removed, click Record Removal on the active entry. Enter the Removal Time, Removing Officer, and inmate condition upon removal. Click Close Entry — the system calculates total restraint duration and archives the record. The closed entry is locked and only editable by an administrator.
Generate a Compliance Audit Report
Click Reports and select Restraint Compliance Audit. Choose the date range and any specific restraint types or officers to include. The report summarizes total events, average duration, policy exceedances, and restraint type frequency — ready to export as PDF for accreditation submissions or legal discovery.
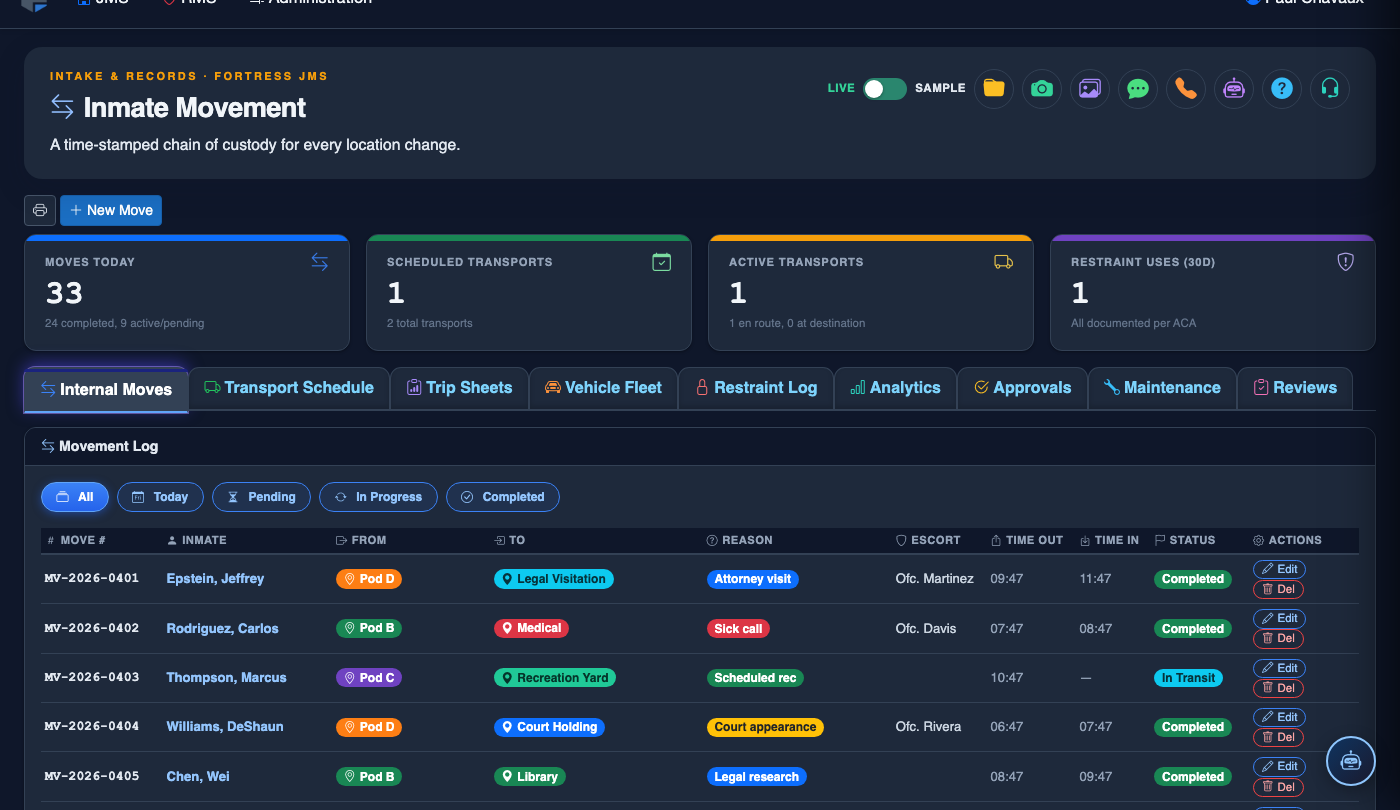
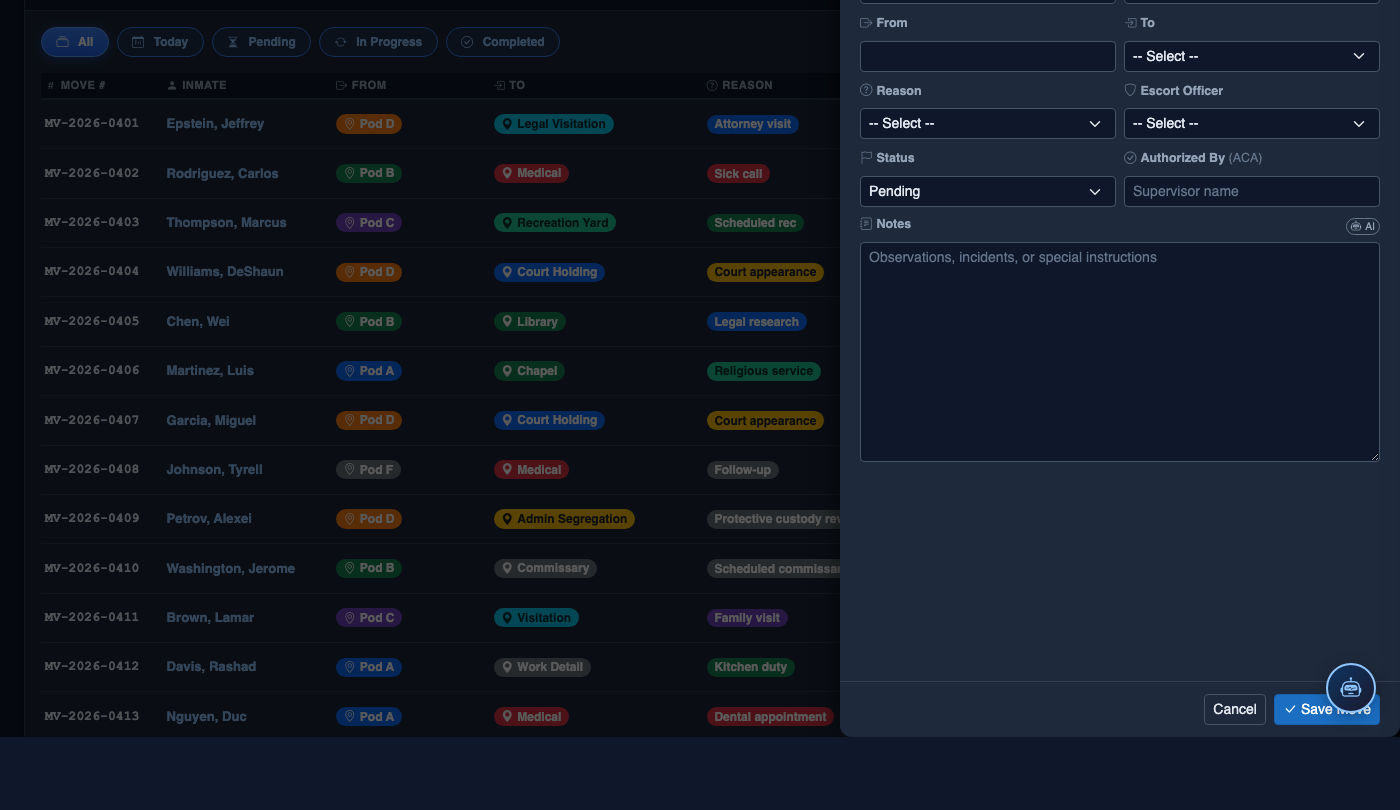
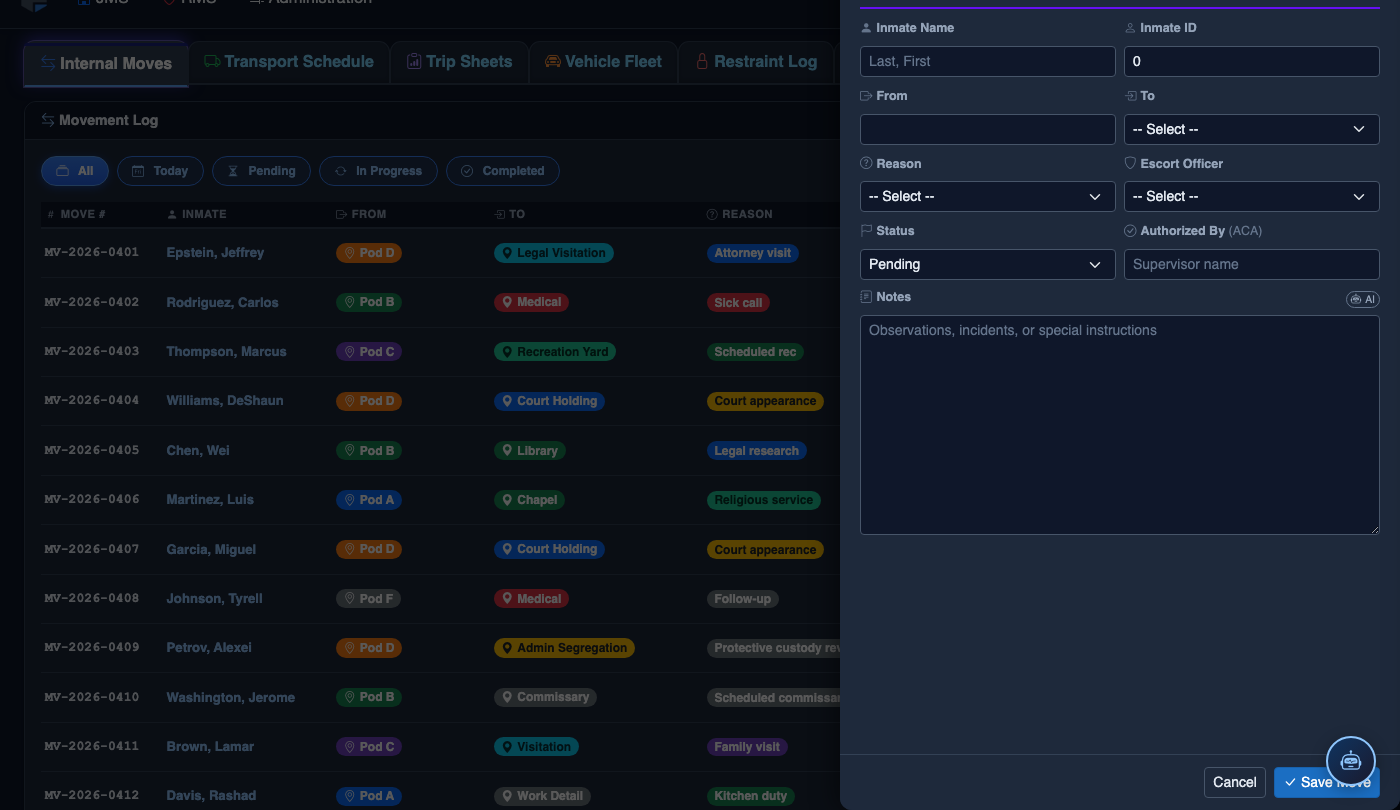
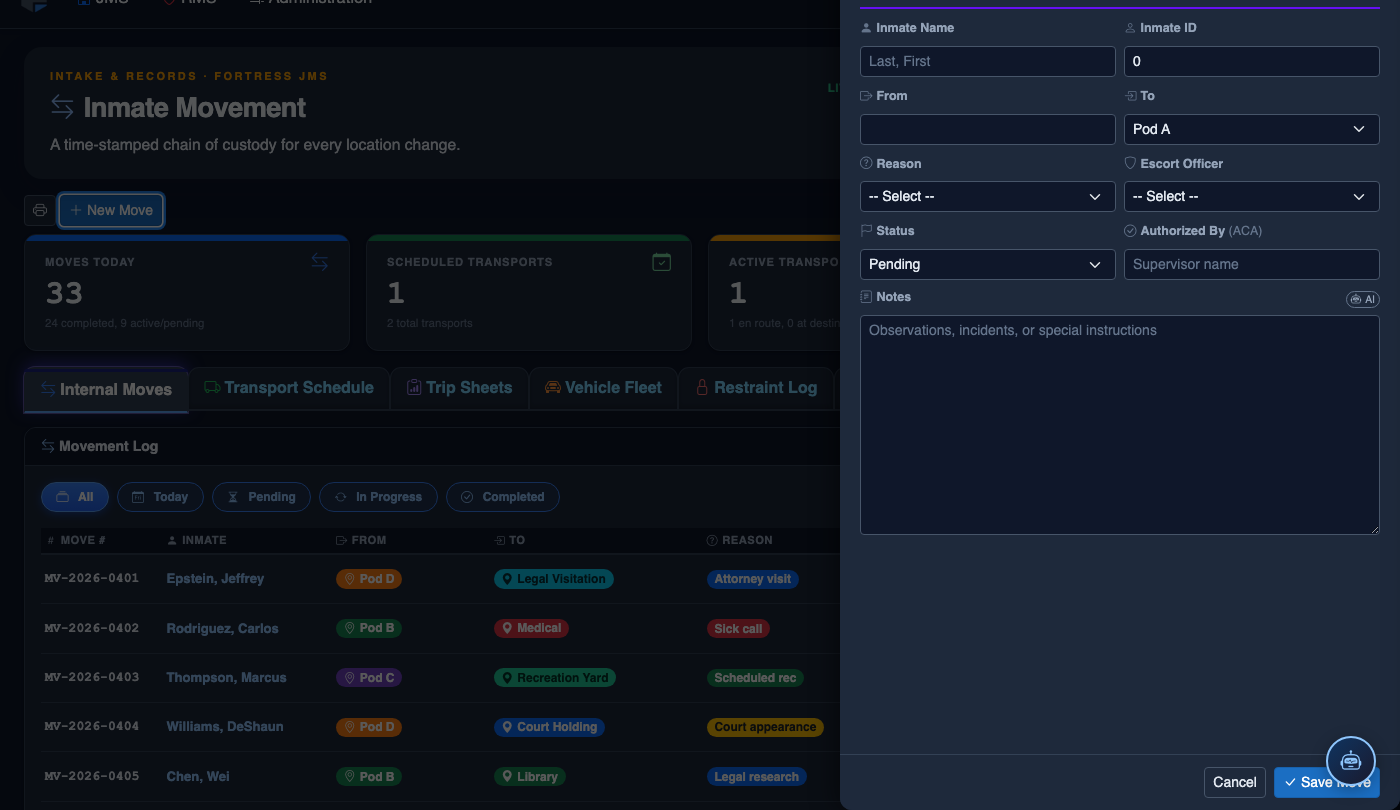
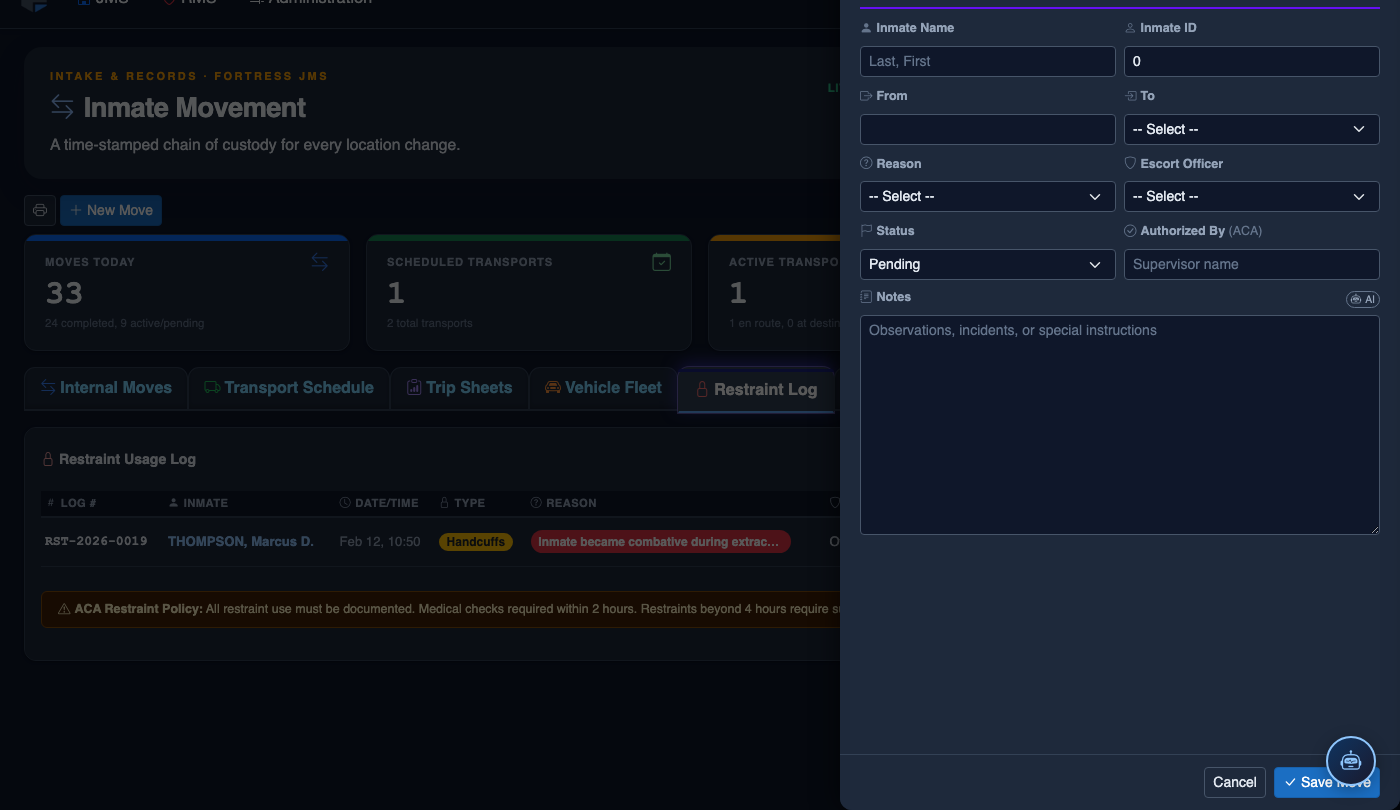
Log a New Movement
Click New Move in the module toolbar. Complete the movement record:
- Inmate — search by name or booking number.
- From Location — select origin unit, pod, and cell.
- To Location — select destination; the system flags restricted or unavailable beds.
- Movement Type — Internal Transfer, Court Transport, Medical, or Emergency.
- Reason — Classification Change, Disciplinary, Safety, Court Hold, etc.
- Authorizing Officer and Escorting Officer.
- Scheduled Date/Time — defaults to now for immediate moves.
- Click Save Movement. Bed Roster and Assignment records update automatically.
💡 Pro Tips
- Log the restraint entry at the time of application, not after the transport — retroactive entries are flagged by the audit system and may require supervisor justification.
- Welfare check entries on the active restraint record provide documented evidence of humane treatment during extended restraint periods — a critical protection in civil rights litigation.
- Run the Restraint Frequency by Inmate report monthly to identify inmates who may benefit from behavioral intervention programs, potentially reducing the need for physical restraints.
Mobile View — Restraint Log
FortressDMS is fully responsive. Officers can access the Restraint Log on a phone or tablet directly from the field — no app install required.
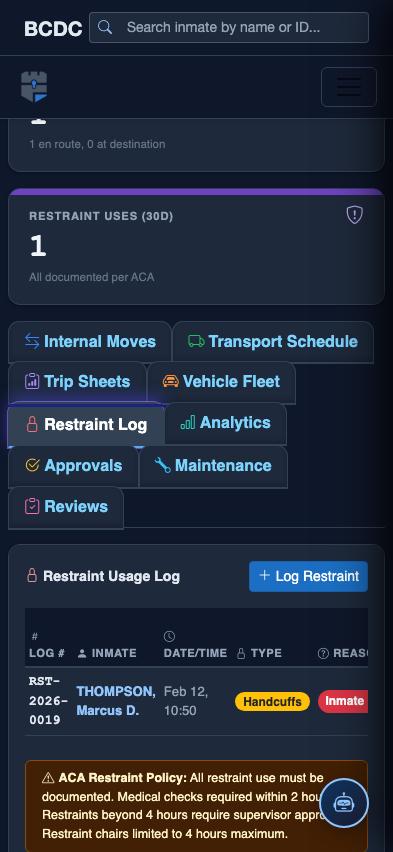
Tab view with data rows
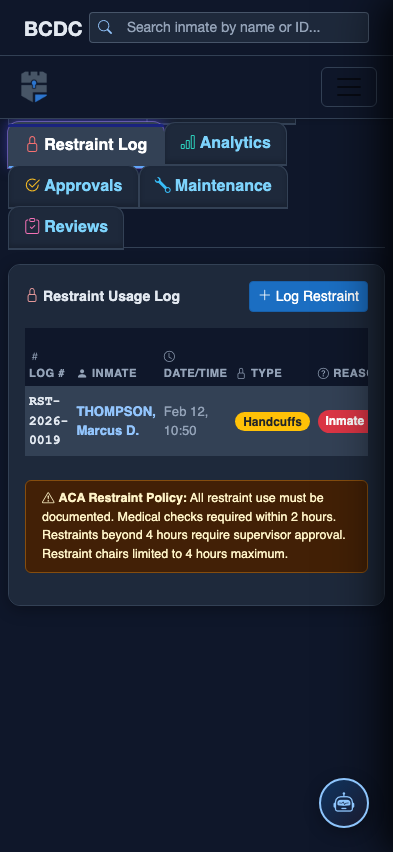
Scrolled / detail view