
Fingerprinting & Biometrics
The Fingerprinting & Biometrics tab manages the capture and submission of inmate fingerprints and biometric data during the booking process. FortressDMS integrates with LiveScan and other certified fingerprint hardware to electronically transmit prints to state and federal repositories, accelerating criminal history retrieval and ensuring accurate identity verification.
LiveScan Integration
Submit fingerprints electronically to state AFIS and federal NGI via integrated LiveScan hardware.
Identity Verification
Match captured prints against existing records to detect alias identities and wanted persons.
Criminal History Request
Automatically request criminal history records (RAP sheet) from state and national repositories upon print submission.
Submission Tracking
Track the status of each fingerprint submission including receipt confirmations and response turnaround times.
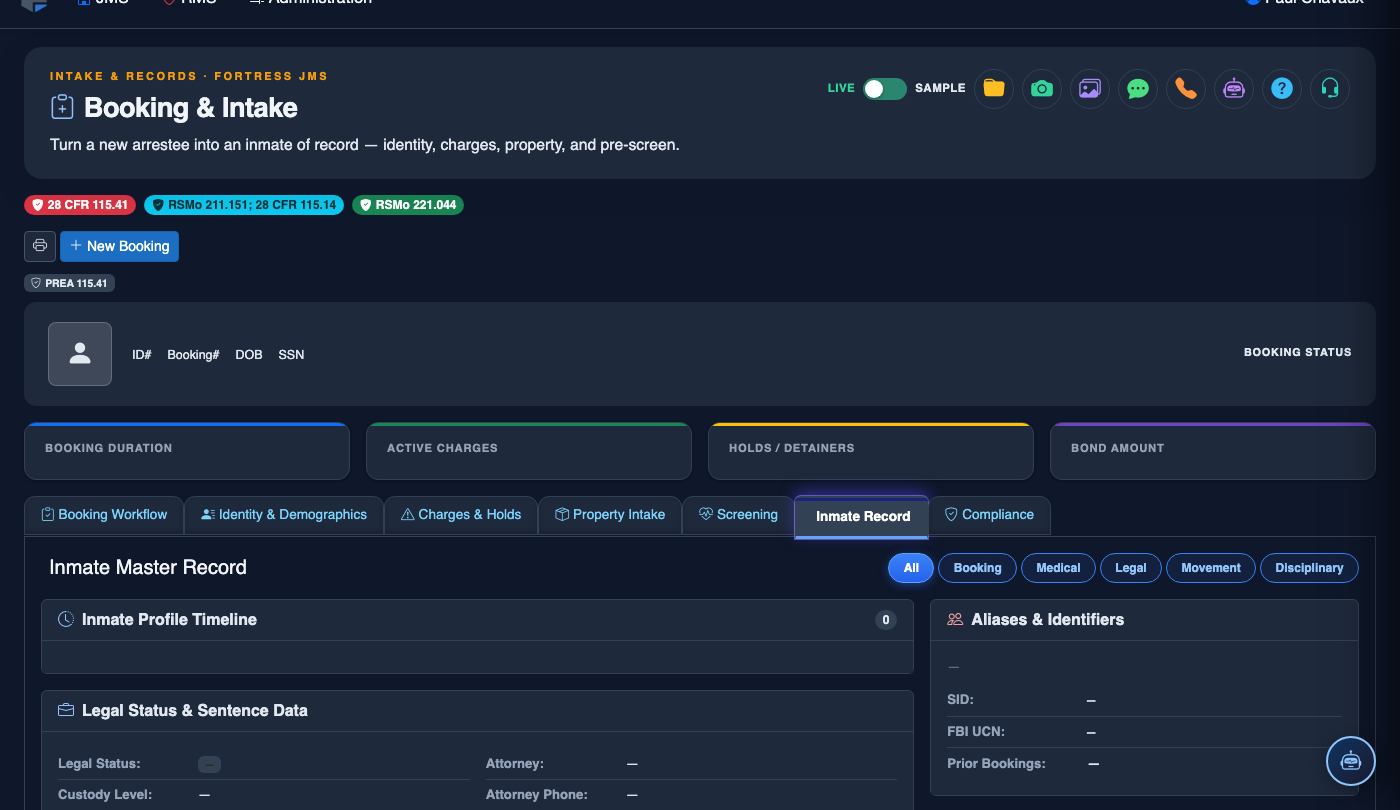
Step-by-Step: Capturing Fingerprints & Biometrics
Open the Fingerprinting & Biometrics Tab
Navigate to the Fingerprinting & Biometrics tab (Tab 7). Verify the LiveScan device shows a Connected status indicator in the top right of the panel. If the device shows Offline, notify your IT support before continuing — incomplete fingerprint submissions may create compliance issues.
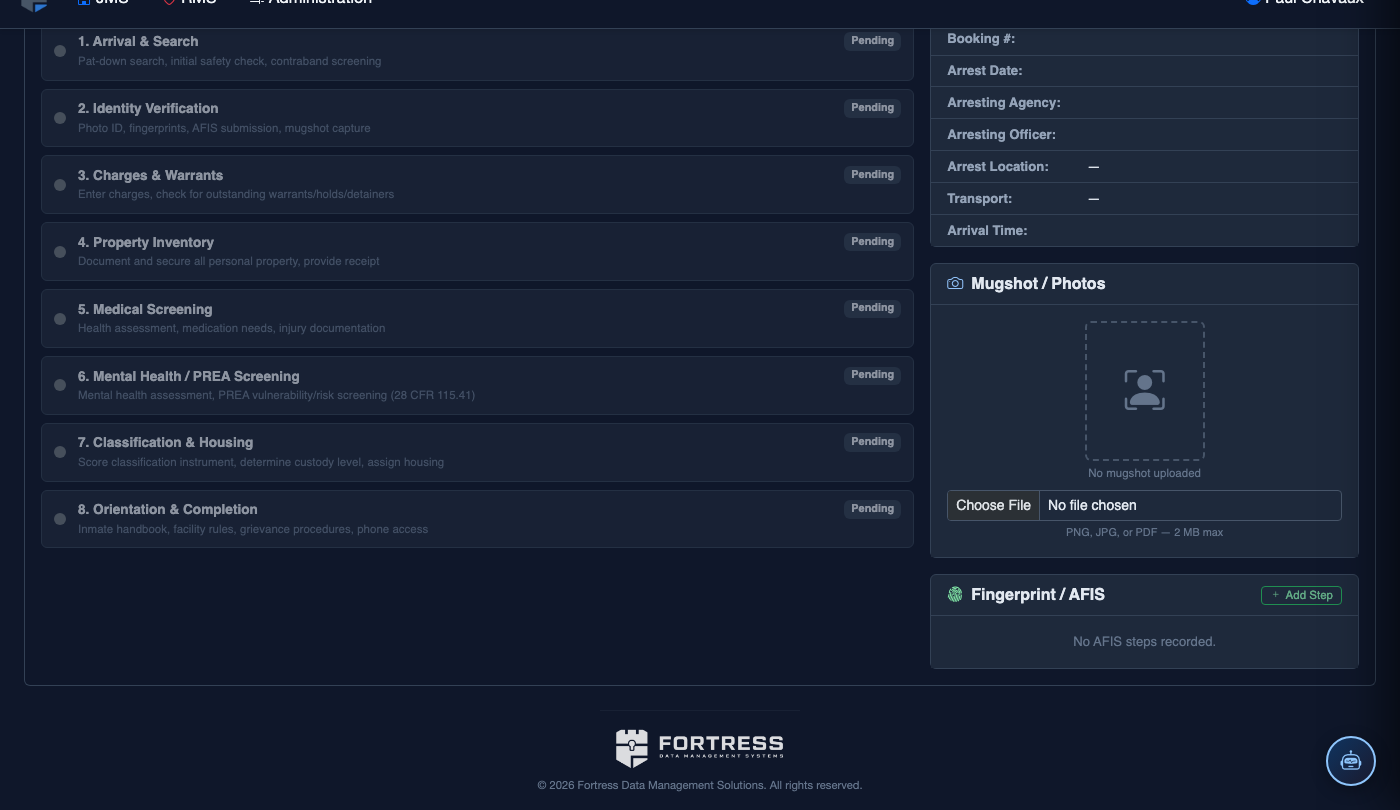
Select Submission Type
Choose the appropriate Submission Type from the dropdown. Common types include Criminal (CR), Sex Offender Registration (SX), Applicant (AP), and Arrest (AR). The submission type determines which state and federal repositories receive the fingerprint packet and what response records are returned.
Capture the Ten-Print Card
Click Start Capture to begin the guided fingerprint capture process. Follow the on-screen prompts to capture each finger individually, then four-finger slaps, and finally thumbs. The system highlights each finger in sequence and shows a quality score — prints scoring below the minimum threshold must be recaptured.
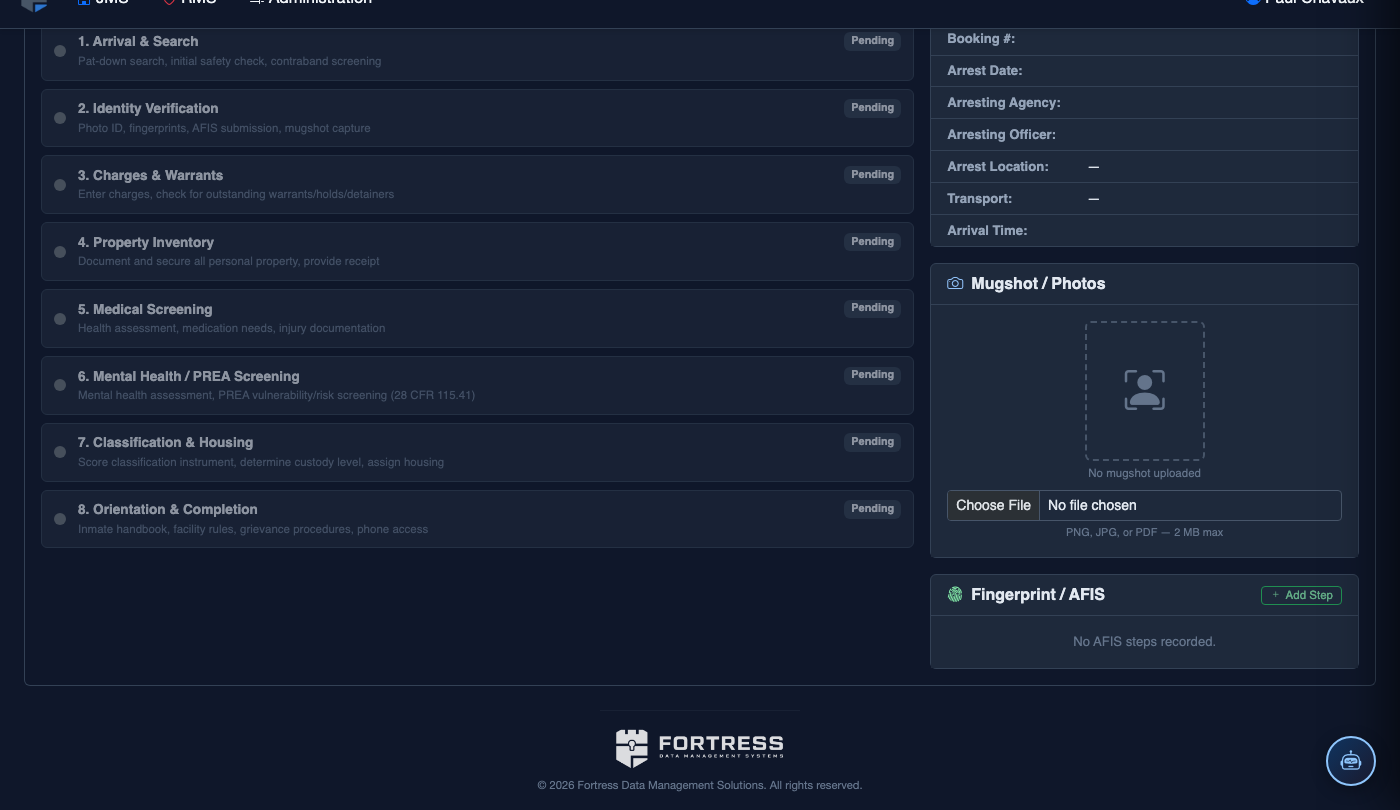
Handle Missing or Amputated Digits
If the inmate is missing fingers or has amputations, click Mark Unavailable for each affected digit and select the reason (Amputated, Bandaged, Scarred, Unable to Obtain). This ensures the submission packet is properly annotated and does not generate false rejection codes from the receiving repository.
Submit to State and Federal Repositories
After all fingers are captured at acceptable quality, click Submit Fingerprints. Select your destination repositories (State AFIS, FBI NGI, or both). The system transmits the electronic fingerprint packet and displays a Submission Confirmation Number — record this for your booking file.
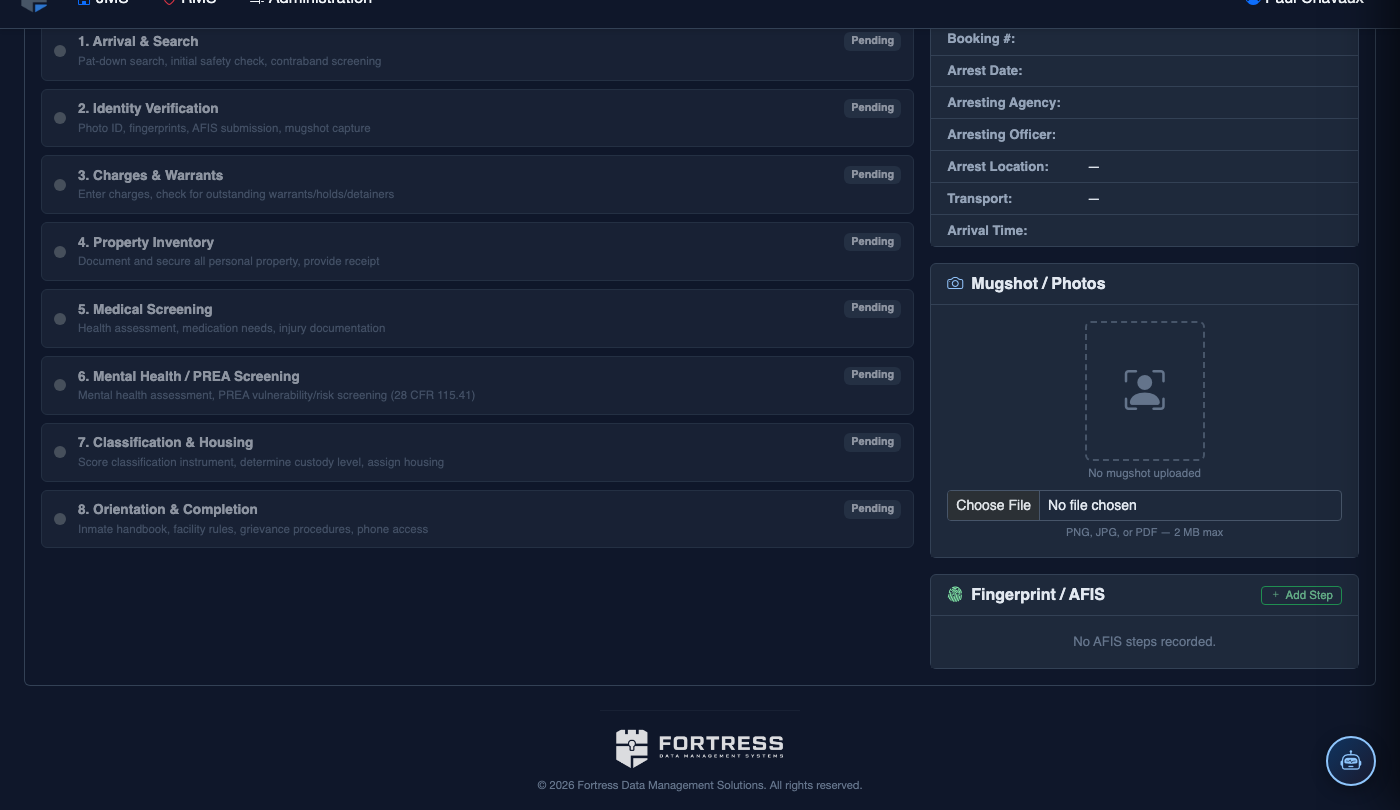
Monitor Submission Status and RAP Response
Use the Submission Status panel to monitor the processing state of the submission. When the criminal history (RAP sheet) response is received, it will appear under the Criminal History section. Review the RAP sheet for prior convictions, active warrants, or sex offender registration requirements that may affect classification decisions.
💡 Pro Tips
- Clean the inmate’s fingertips with an alcohol wipe before capture — dirt, lotion, or cuts significantly degrade print quality scores and increase rejection rates.
- A state response typically arrives within minutes; FBI NGI responses may take longer. Do not delay housing assignments waiting on the federal response if the state response is clear.
- If fingerprints are rejected by the repository, the rejection code is displayed in the submission status panel — refer to your state’s LiveScan rejection code guide to determine the correct corrective action.