
Video Library Tab
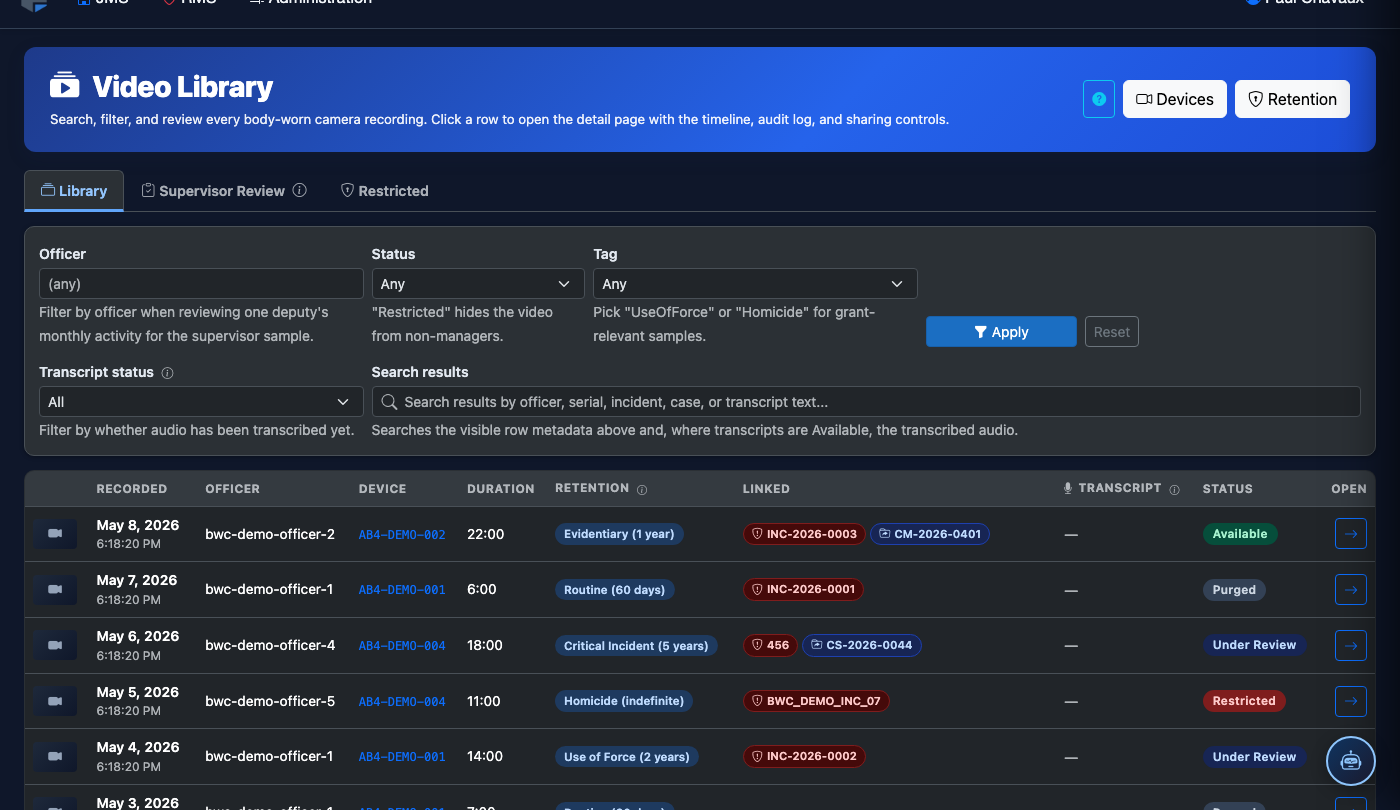
The Video Library tab is the primary browsing and discovery interface for all body-worn camera footage in the facility. Officers and administrators use this tab to locate recordings by date, officer, or incident, open the video player, and initiate tagging or review assignments directly from the footage grid.
Thumbnail Grid View
Recordings display as thumbnails with officer name, date, duration, and review status visible at a glance.
Multi-Field Search
Search simultaneously across officer name, booking number, housing unit, and incident tag to narrow results quickly.
Inline Video Player
Click any thumbnail to open a full-featured player with speed control, timestamp navigation, and annotation tools without leaving the tab.
Export & Legal Hold
Export recordings with a chain-of-custody PDF or place clips on a legal hold directly from the library view.
Step-by-Step: Using the Video Library Tab
Open the Video Library Tab
Navigate to Body-Worn Camera > Video Library and confirm the Video Library tab is selected (it is the default active tab). The page loads a paginated thumbnail grid of the most recent recordings across the facility.
Search and Apply Filters
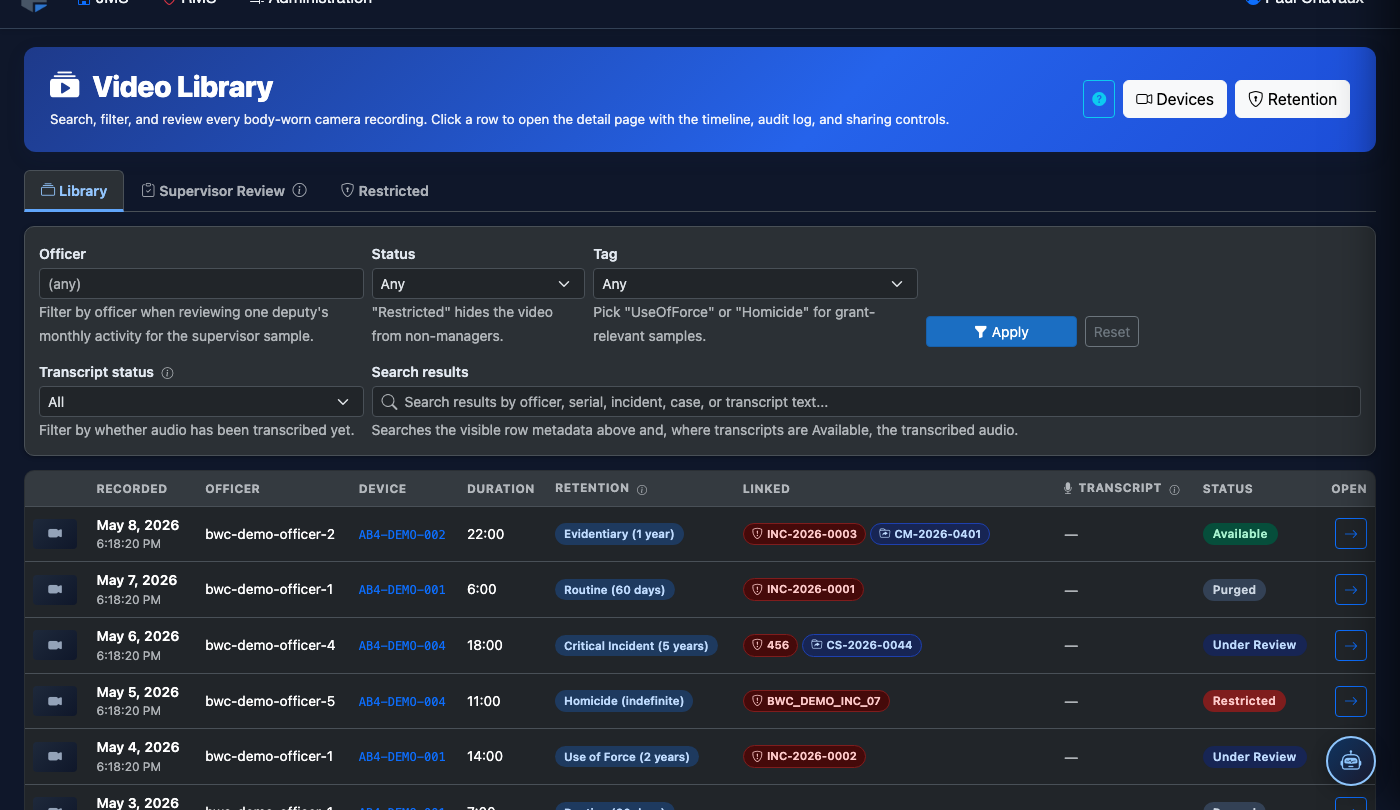
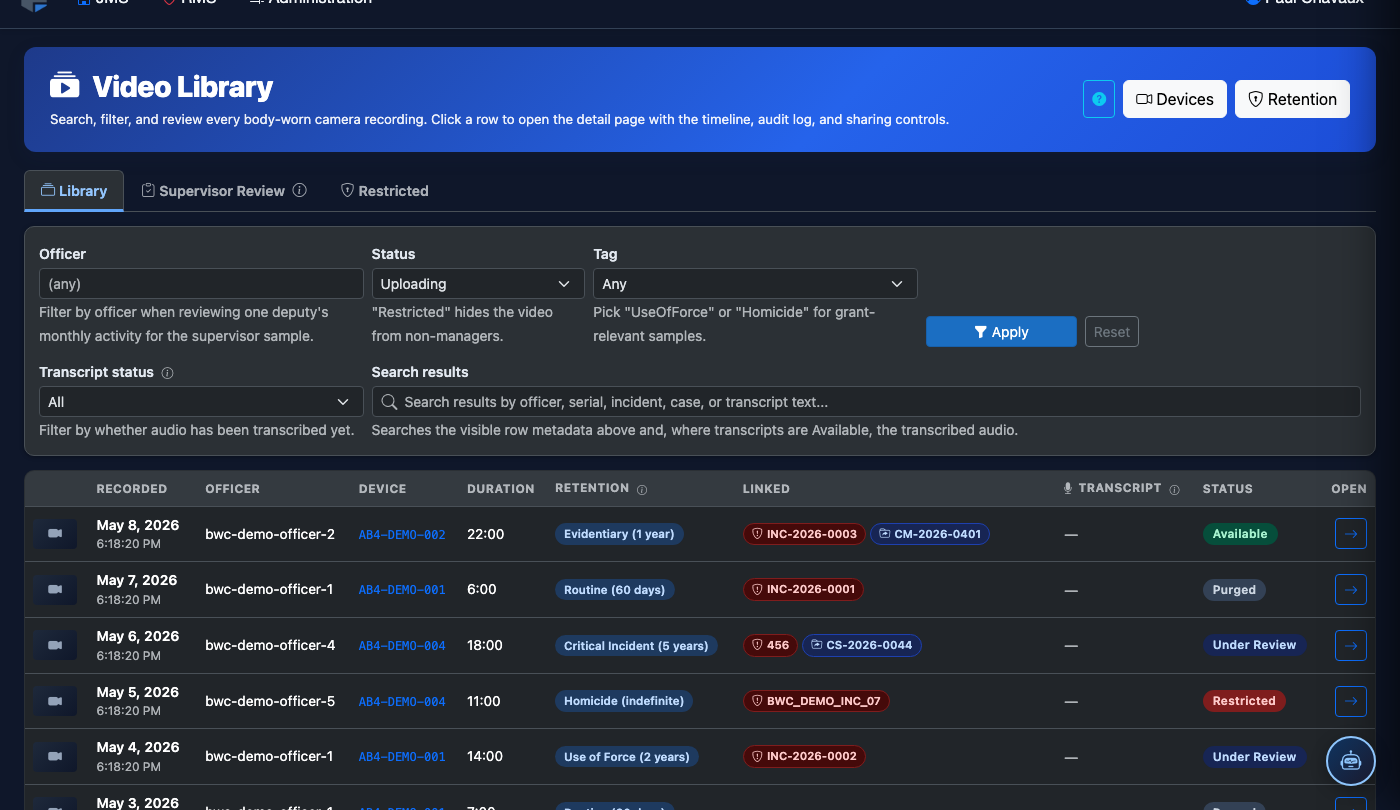
Type in the Search bar to filter by officer name, booking number, or incident tag. Use the Date Range filter to restrict results to a specific period. The Review Status dropdown (Pending / In Review / Approved / Flagged) lets supervisors quickly surface recordings that need attention.
Select and Play a Recording
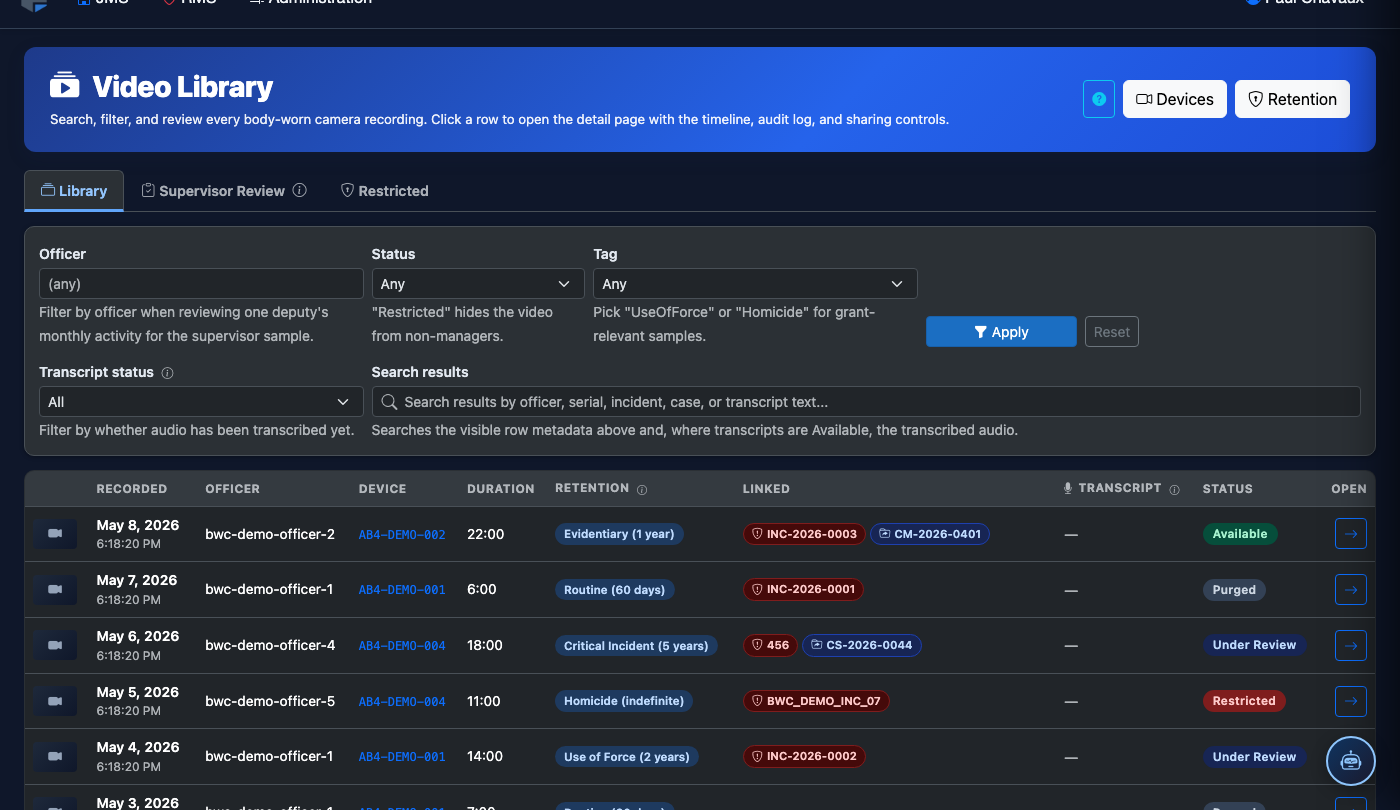
Click a thumbnail to expand the inline video player. Each recording card shows the officer’s badge number, the recording start time, and total duration before you click. The player opens below the grid without navigating away, so you can close and select a different clip immediately.
Add Annotations
While the player is open, click Add Annotation at the desired playback position. The annotation panel appears on the right side. Enter your note text, select a category (Use of Force, Contraband, Procedure Violation, or General), and click Save Annotation. Annotations are time-stamped and visible to any authorized reviewer who opens the recording.
Tag to an Incident Report
Click Tag Incident in the player toolbar. A search field appears — type the incident report number or inmate name to find the related incident. Select the correct record and click Confirm Tag. The recording is now linked bi-directionally to the incident, visible from the incident report view as well.
Assign for Supervisor Review
Click Assign for Review from the player or from the thumbnail card’s context menu. Choose the reviewing supervisor from the dropdown, set a Priority (Routine / Urgent / Critical), and click Send Assignment. The clip moves to the supervisor’s queue on the Supervisor Review tab with the selected priority flag.
Export or Place on Legal Hold
To export, click Export on any recording card. To protect a clip from retention-schedule deletion, click Legal Hold — the system marks the recording with a hold indicator visible across the library and prevents any automatic or manual deletion until the hold is explicitly released by an authorized administrator.
💡 Pro Tips
- Use the Review Status filter set to “Pending” at the start of each shift to immediately surface recordings that no supervisor has touched yet — reducing the risk of missing a policy-required review window.
- Tagging a recording to an incident report before assigning it for supervisor review gives the reviewer full incident context without requiring them to search the JMS separately.
- The library default sort is upload date (newest first) — if searching for an incident that occurred several days ago, apply a Date Range filter first to avoid scrolling through unrelated recent footage.