
Attachments & Evidence
The Attachments & Evidence tab enables officers to upload, catalog, and chain-of-custody-track all physical and digital evidence associated with a jail incident — photos, body camera footage references, written statements, medical reports, and lab results. Every file is timestamped and attributed to a specific officer, creating a tamper-evident evidentiary record directly within the incident report.
Secure File Upload
Attach photos, PDFs, videos, and documents up to the configured size limit, all stored in encrypted facility-controlled storage.
Chain of Custody Logging
Every upload, download, and access event is automatically logged with officer identity and timestamp, maintaining a complete chain of custody for court proceedings.
Evidence Categorization
Tag each file with a category (Photograph, Medical Record, Body Camera, Written Statement, Lab Report) for rapid retrieval and organized disclosure packages.
Role-Restricted Access
Sensitive evidence files are viewable only by officers with the appropriate clearance level, preventing unauthorized access to medical or investigative documents.
Step-by-Step: Attaching Evidence to an Incident Report
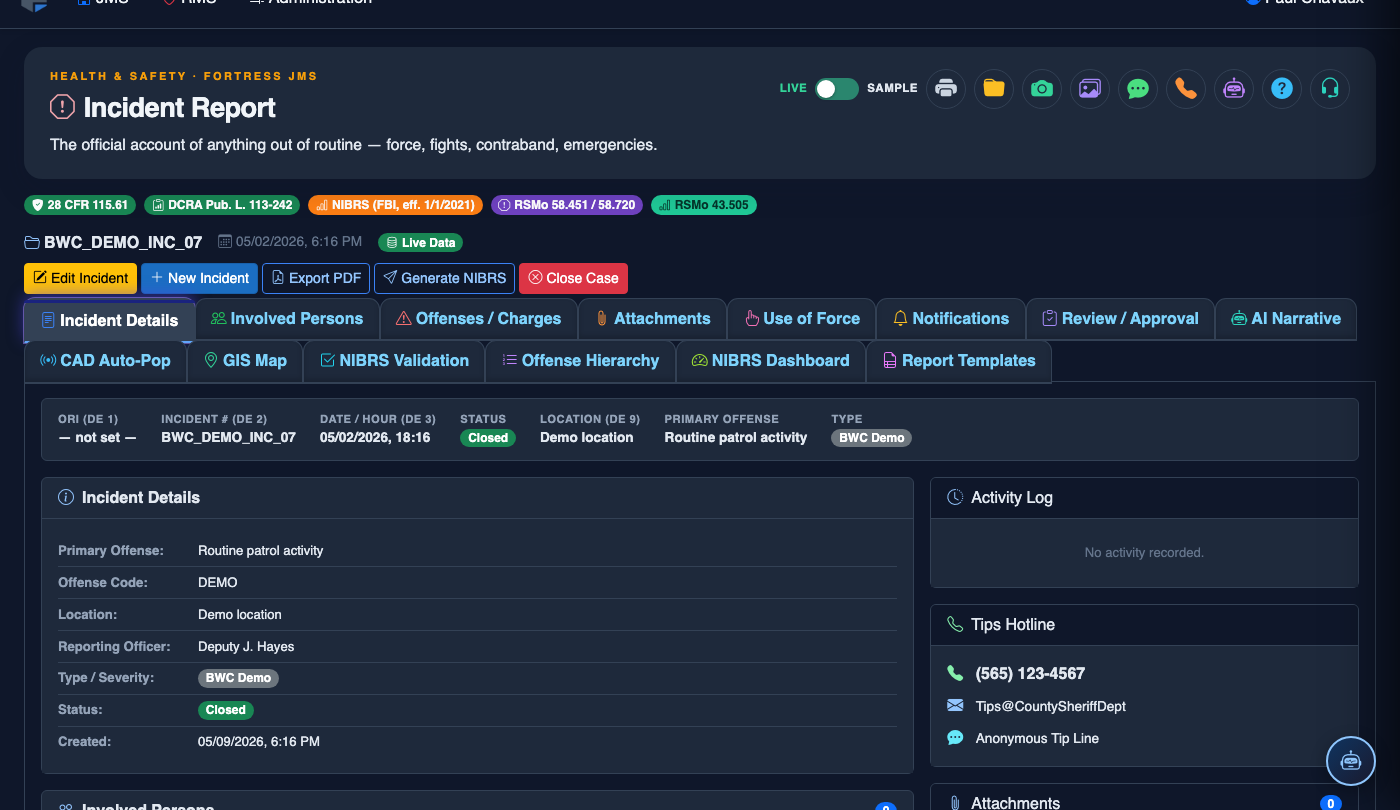
Open the Attachments & Evidence Tab
With the incident report open, click the Attachments & Evidence tab (Tab 4). The tab displays the current evidence inventory for this incident, including previously uploaded files and their access history.
Click “Upload Evidence” and Select Your File
Click Upload Evidence to open the file picker. Select the file from your workstation or mobile device. Supported formats include JPEG, PNG, PDF, MP4, and common document formats. The maximum file size per upload is set by your facility administrator in system settings.
Categorize and Describe the Evidence
After the file is selected, complete the evidence metadata form. Choose the Evidence Category (Photograph, Medical Record, Body Camera Reference, Written Statement, Lab Report, or Other), enter a brief Description, and optionally link the file to a specific Involved Person from the incident.
Set the Evidence Sensitivity Level
Select an Access Level from Standard, Restricted (supervisors only), or Confidential (investigators and above). Medical records and body camera footage typically require Restricted or Confidential access to comply with HIPAA and facility policy.
Confirm Upload and Verify Chain of Custody Entry
Click Confirm Upload. The file will appear in the evidence table with your name, badge number, upload timestamp, and file hash. This entry constitutes the first chain-of-custody record for the item. Verify the file preview or download to confirm it uploaded correctly.
Add Additional Evidence Items as Needed
Repeat the upload process for each additional piece of evidence — photographs of injuries, scanned written statements, or medical evaluation reports. There is no limit to the number of evidence items per incident. Each upload creates its own independent chain-of-custody entry.
Review the Evidence Inventory Before Submission
Before proceeding to the next tab, review the full Evidence Inventory list. Check that every relevant item has been uploaded, properly categorized, and assigned the correct access level. Supervisors will review this list during the approval process and may return the report if critical evidence is missing.
File a New Incident Report
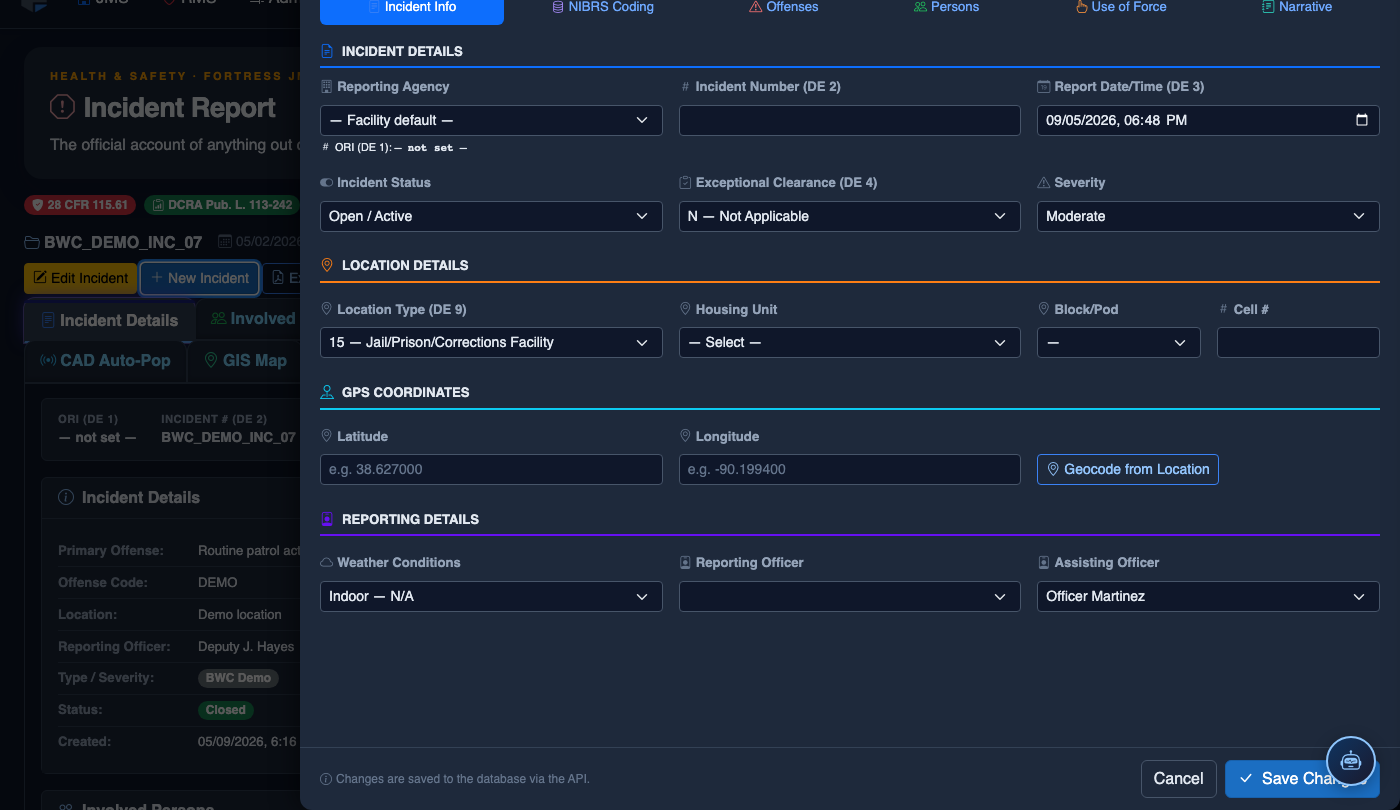
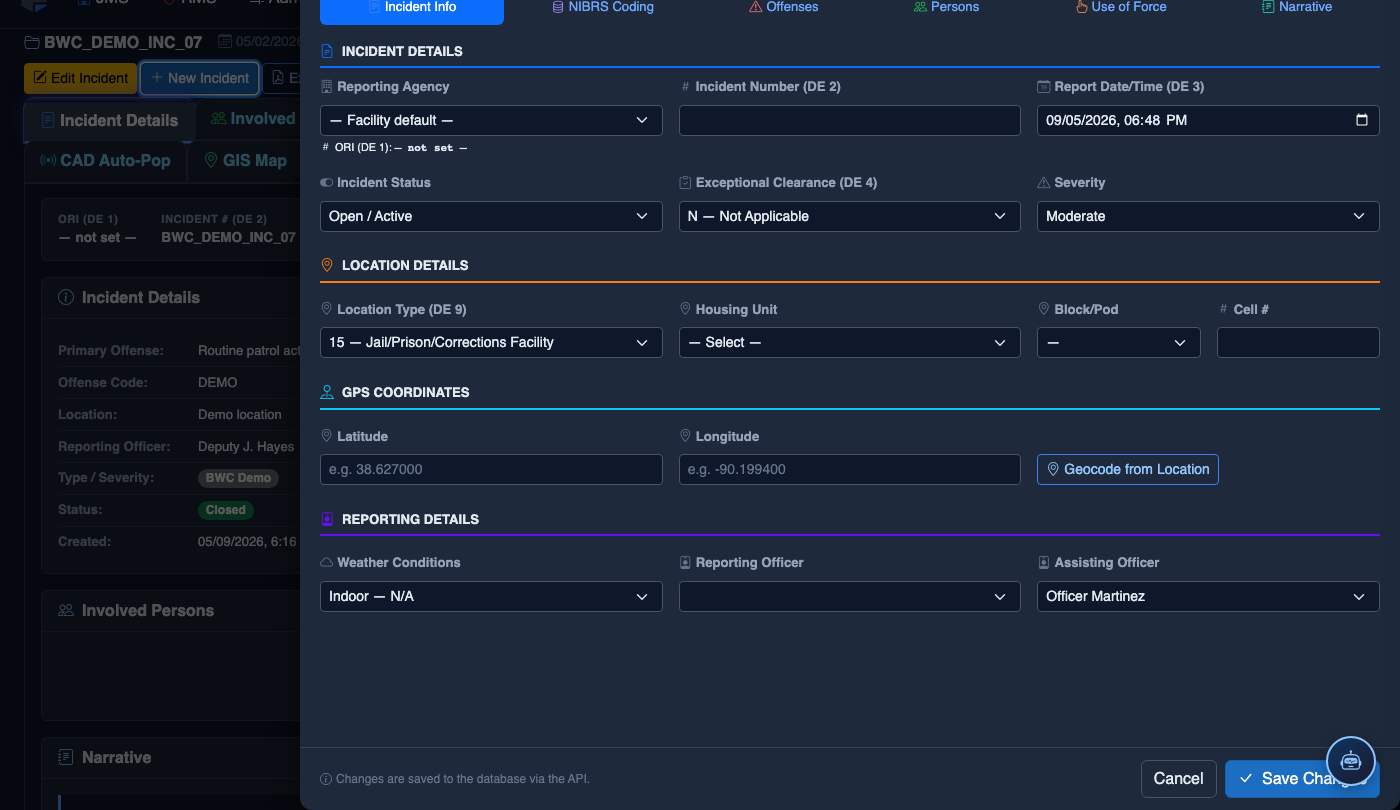
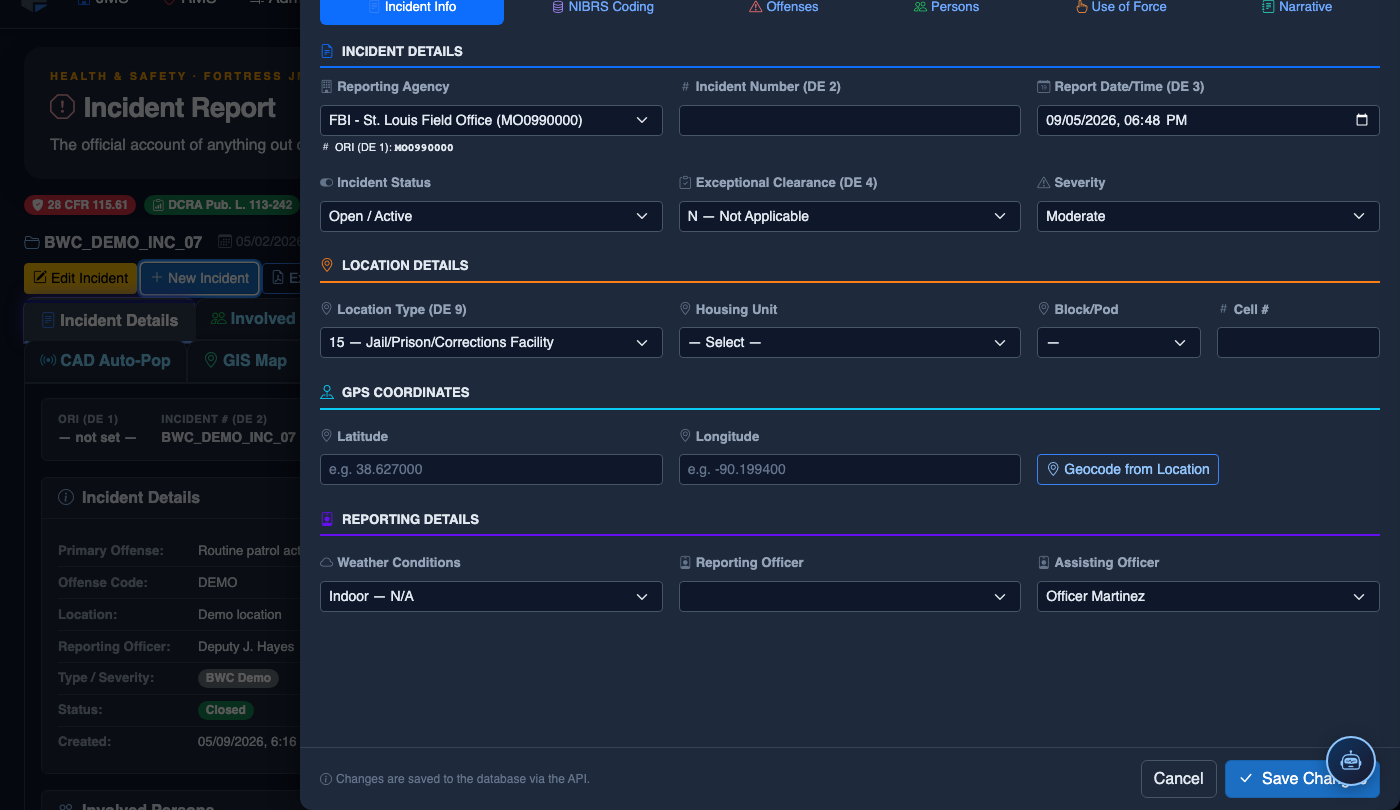
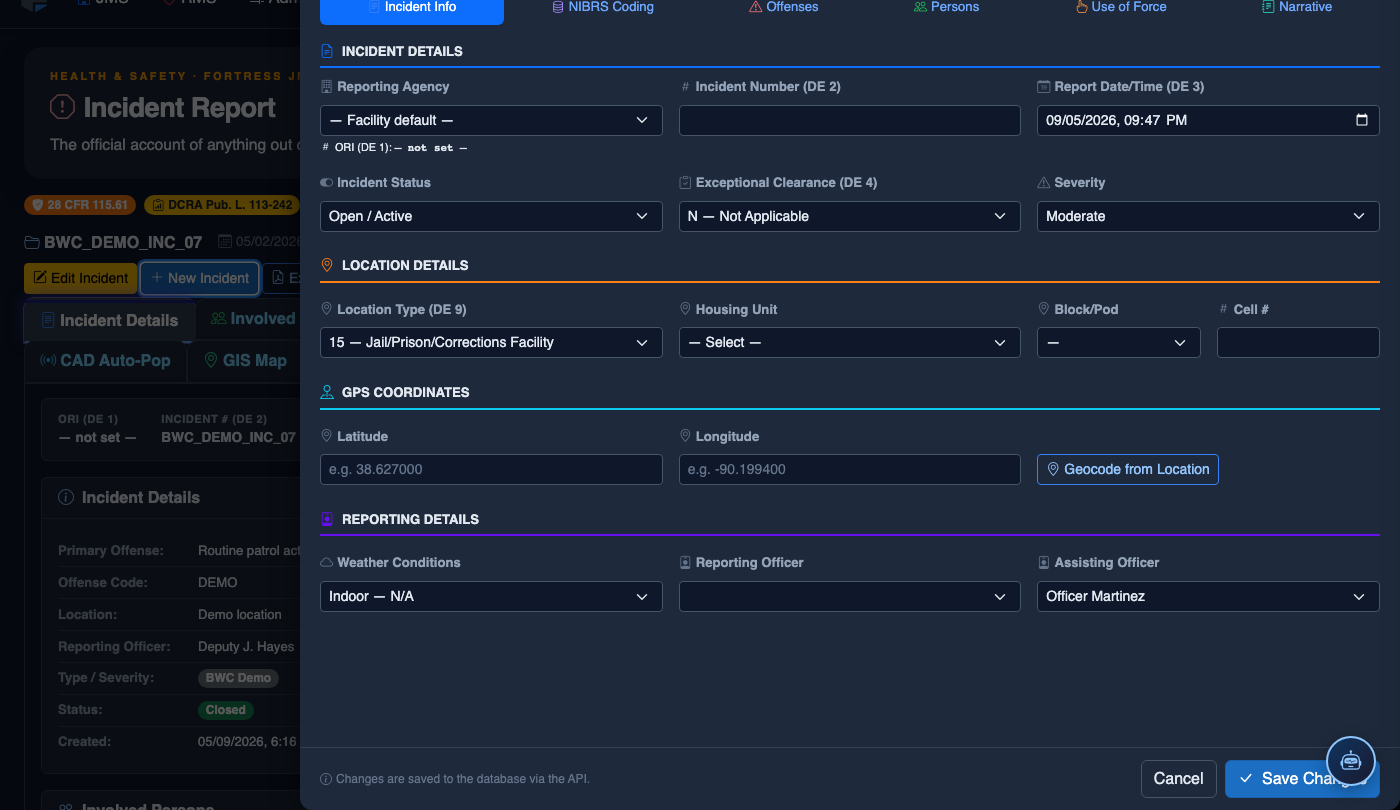
Click New Incident. Complete the incident report:
- Incident Type — select the category (Altercation, Medical Emergency, Escape Attempt, Property Damage, Use of Force, etc.).
- Date, Time, and Location — the precise time and place of the incident.
- Involved Persons — add all Inmates, Staff, and Witnesses using the search tool.
- Narrative — write the factual incident description in first person, past tense. The AI Narrative Assist can draft based on your bullet points.
- Severity — Minor, Moderate, or Major. Major incidents trigger automatic supervisor notification.
- Attachments — upload photos, BWC footage, or medical documentation directly.
- Click Save Draft to continue later, or Submit for Review to route to your supervisor.
💡 Pro Tips
- Upload injury photographs within the first hour of an incident — lighting and wound appearance change over time and early photos are far more compelling in court than delayed ones.
- Use descriptive file names before uploading (e.g., 2024-10-15_InmateDoe_InjuryFront.jpg) — the system preserves original filenames, which helps investigators locate files quickly.
- Body camera footage itself may be stored in a separate media system; use the Body Camera Reference category to attach a written cross-reference with the footage timestamp and officer ID.
- Never delete an evidence entry once it is submitted — if a file was uploaded in error, contact a supervisor who can flag it as Superseded in the chain-of-custody log while preserving the audit trail.
Mobile View — Attachments Evidence
FortressDMS is fully responsive. Officers can access the Attachments Evidence on a phone or tablet directly from the field — no app install required.
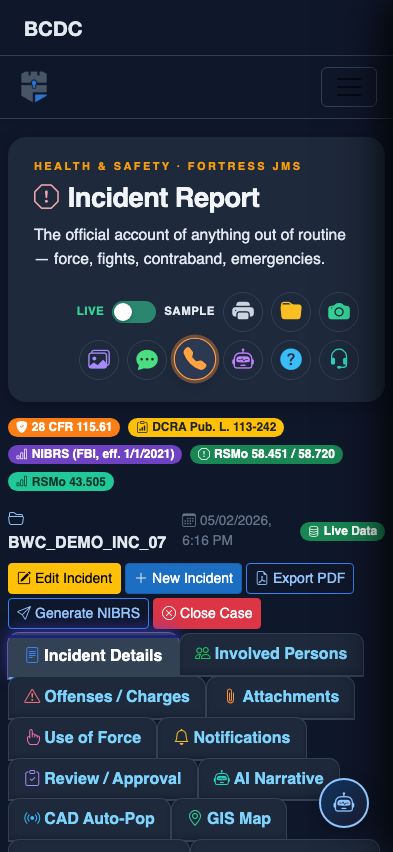
Tab view with data rows
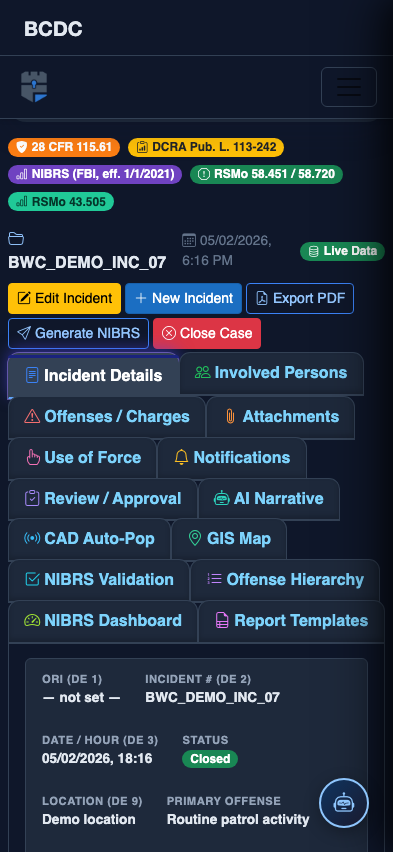
Scrolled / detail view