
Property Return
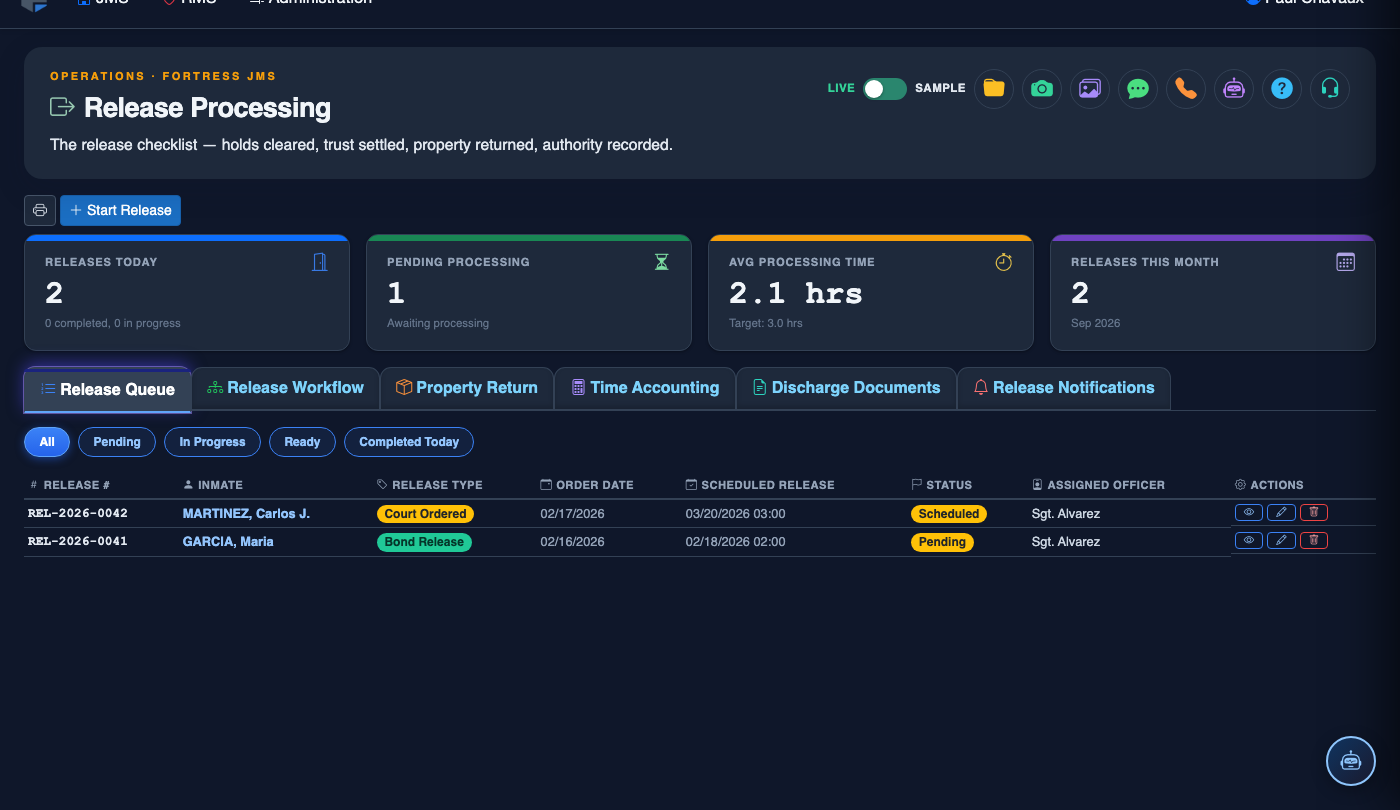
The Property Return tab manages the complete retrieval and return of all personal property logged at booking, ensuring every item is accounted for before an inmate is discharged from the facility. FortressDMS uses barcode scanning and a locked inventory manifest to verify each item individually, capturing the inmate’s electronic signature as final confirmation of receipt. Any discrepancy — missing, damaged, or unclaimed property — is flagged and must be resolved or documented before the release can be finalized.
Barcode Inventory Verification
Scan each item’s barcode against the booking manifest to confirm identity and completeness before handing off to the inmate.
Electronic Signature Capture
Capture the inmate’s digital signature confirming receipt of all returned property — stored permanently in the booking record.
Discrepancy Management
Any missing or damaged item triggers a discrepancy report requiring supervisor review and a written resolution before release proceeds.
Cash and Commissary Balance Return
Automatically calculates and disburses the inmate’s cash on hand and any remaining commissary balance at release.
Step-by-Step: Returning Inmate Property
Open the Property Return Tab
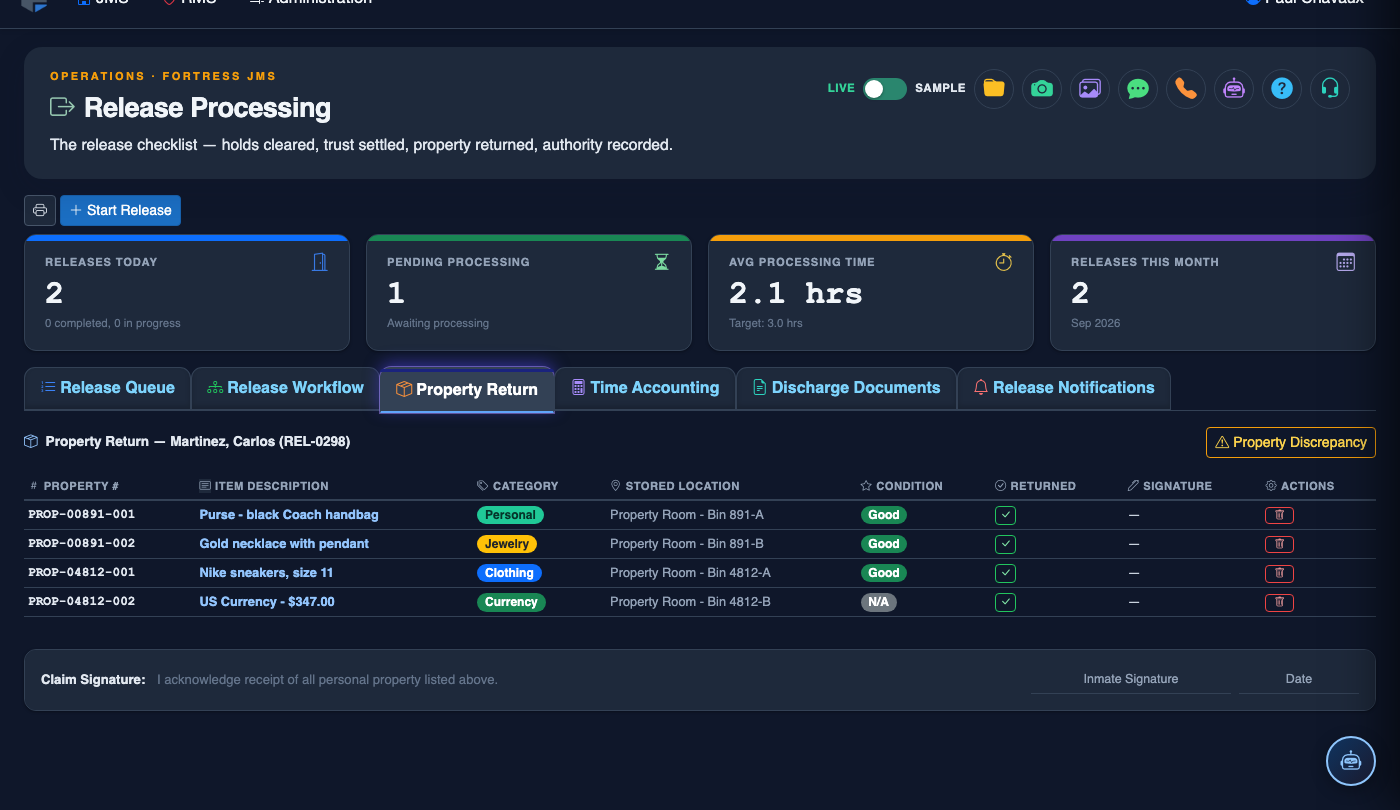
Navigate to Property Return within the Release Processing module. The tab displays the full property manifest logged at the inmate’s booking, including a description, barcode, and stored-location of each item. Confirm the inmate’s identity using their Wristband Barcode or Booking Number before retrieving any property.
Retrieve Property from Storage
Use the Storage Location column to locate each item in the property room. FortressDMS displays items grouped by storage bin or shelf to speed retrieval. High-value items (jewelry, electronics, cash) are flagged with a gold star indicator — these require a second officer witness before they are removed from storage.
Scan and Verify Each Item
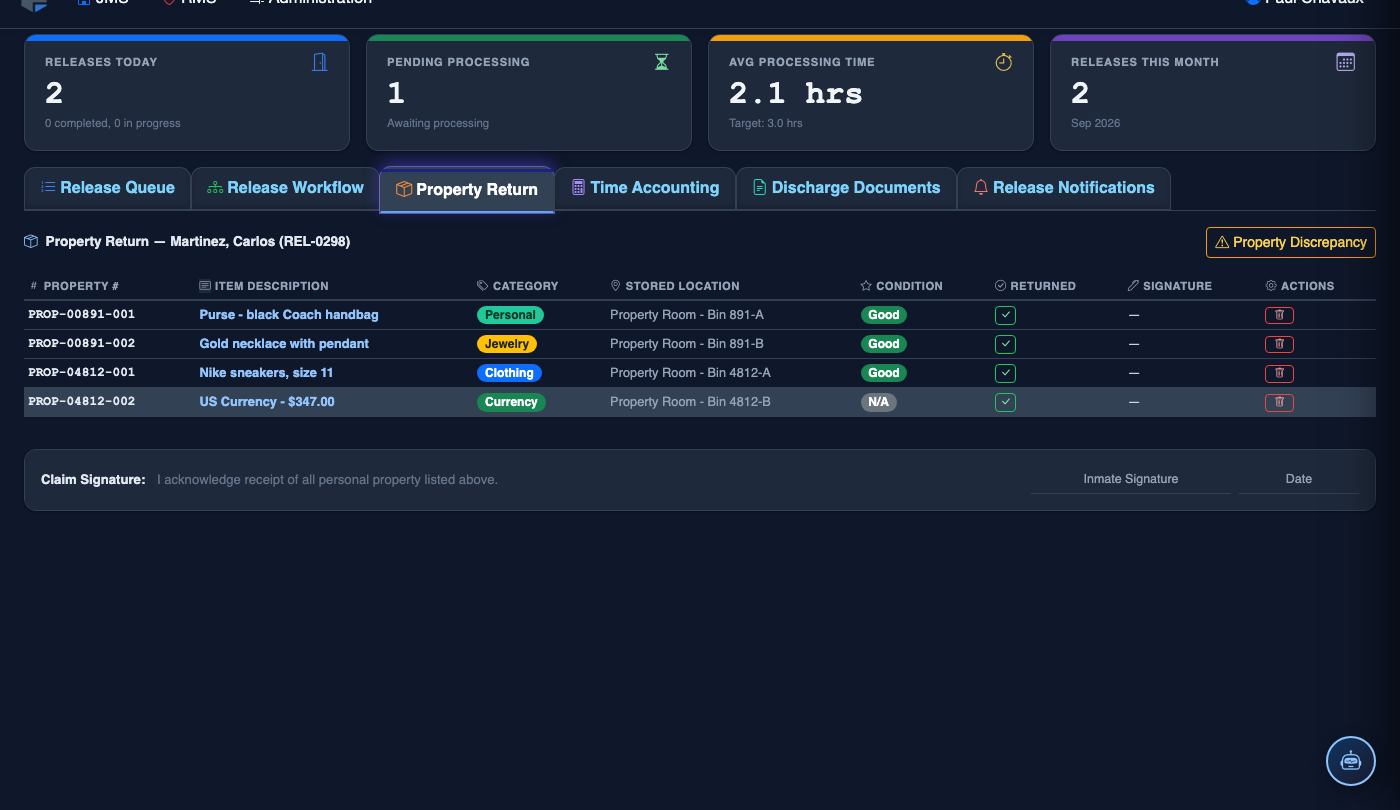
Use the barcode scanner to scan each item. The system matches the scan against the manifest and marks the item Verified with a green checkmark. Items that scan successfully are automatically removed from the pending list. Do not skip manual verification for items with damaged or unreadable barcodes — use the Manual Confirm option and note the reason.
Resolve Discrepancies
If an item cannot be located, click Report Discrepancy on that line. Select the discrepancy type: Missing, Damaged, or Transferred to Evidence. Enter a description and notify a supervisor — a supervisor PIN is required to acknowledge the discrepancy and allow the release to proceed. All discrepancy reports generate an automatic property claim form for the inmate.
Disburse Cash and Commissary Balance
The Cash & Funds section at the bottom of the tab displays the inmate’s Cash on Hand (booked in) and current Commissary Account Balance. Count and disburse the cash, then process the commissary balance disbursement (facility check, money order, or transfer per policy). Log the disbursement method and confirm the amounts match before checking off this step.

Capture Inmate Signature
Once all items are verified and funds disbursed, present the Property Receipt summary on screen to the inmate. Have the inmate sign the touchscreen or signature pad to confirm receipt of all returned property and funds. The signature is embedded into the property receipt PDF and stored in the booking record.
Complete and Close Property Return
Click Complete Property Return to mark this stage done. FortressDMS updates the release workflow checklist to show Property Return as complete and moves the inmate’s status to Awaiting Final Discharge. Print the property receipt if your facility provides a paper copy to the inmate.
Initiate the Release Process
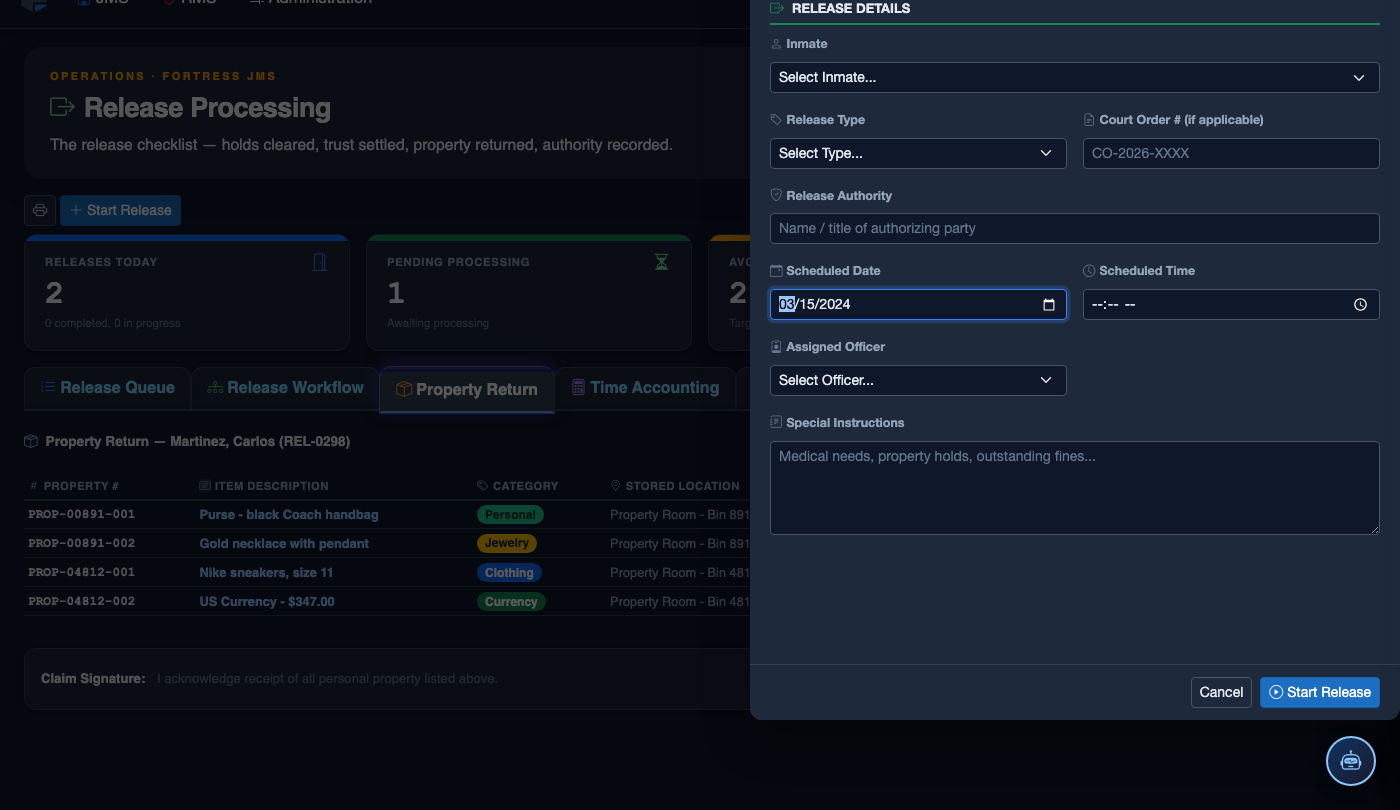
Click Start Release. Work through the release checklist:
- Inmate — search by name or booking number. Active detainers display as warnings.
- Release Type — Sentence Served, Bond Posted, Court Order, Transfer, or Supervised Release.
- Detainer Check — confirm no holds from other jurisdictions are active before proceeding.
- Property Return — verify all personal property is accounted for and the inmate signs the receipt.
- Release Date and Time — set the official release timestamp.
- Transportation — document how the inmate is leaving (self, family, transport agency).
- Post-Release Notes — conditions of release, supervision reporting requirements, etc.
- Click Finalize Release. Bed status changes to Available; housing and case records are closed.
💡 Pro Tips
- Always have a second officer present when handling cash and high-value jewelry — the system flags these items and requires a witness confirmation, protecting both the officer and the facility.
- If an inmate disputes the cash amount logged at booking, do not argue — document the dispute in the discrepancy notes and escalate to a supervisor before proceeding with disbursement.
- Items transferred to evidence during the inmate’s custody will show as Evidence Hold on the manifest — these cannot be returned at release and should be explained to the inmate with the corresponding case number provided.
Mobile View — Property Return
FortressDMS is fully responsive. Officers can access the Property Return on a phone or tablet directly from the field — no app install required.
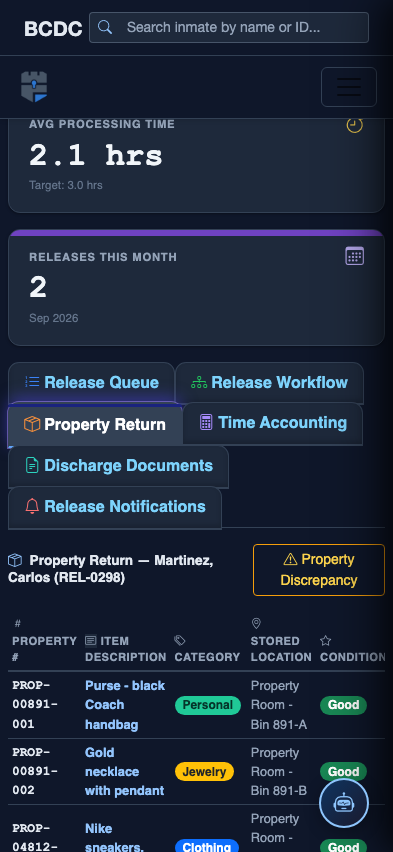
Tab view with data rows
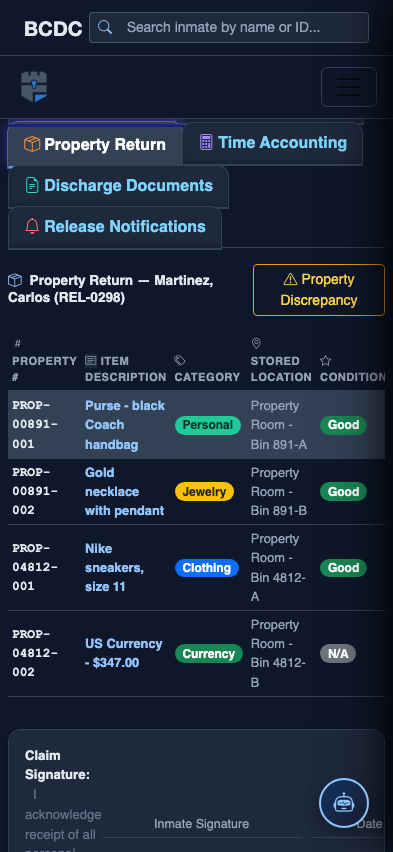
Scrolled / detail view