
CAD Auto-Population
CAD Auto-Population bridges your Computer-Aided Dispatch system with Fortress JMS, automatically importing call-for-service data into incident reports the moment a unit is dispatched to your facility. Officers no longer need to re-enter CAD event numbers, responding unit IDs, dispatch timestamps, or caller information — all structured data flows directly into the incident record. This eliminates duplicate entry errors and ensures your incident reports are always synchronized with dispatch records.
Real-Time CAD Import
Incident records are pre-populated within seconds of dispatch via live CAD integration, no manual re-entry required.
Cross-System Linkage
Each JMS incident is permanently linked to the originating CAD event number for seamless inter-agency records requests.
Unit & Officer Mapping
Responding officers and units are automatically matched to JMS staff records, populating the involvement section instantly.
Timestamp Synchronization
Dispatch time, on-scene time, and clearance time are pulled directly from CAD, ensuring accurate chronology.
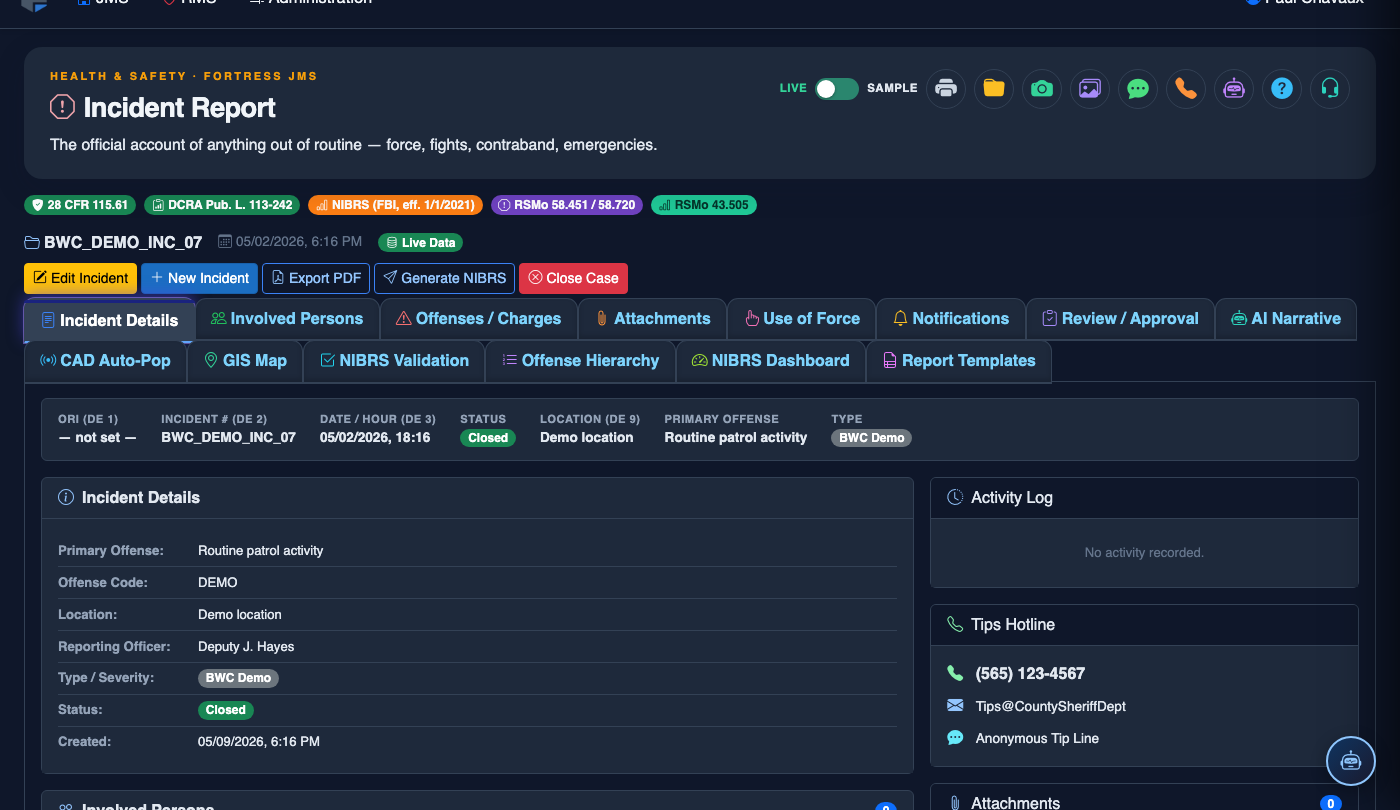
Step-by-Step: CAD Auto-Population
Verify CAD Integration is Active
Confirm the CAD feed indicator in the top navigation bar shows CAD: Connected (green). If it shows red, contact your system administrator to restore the CAD feed before creating new incidents.
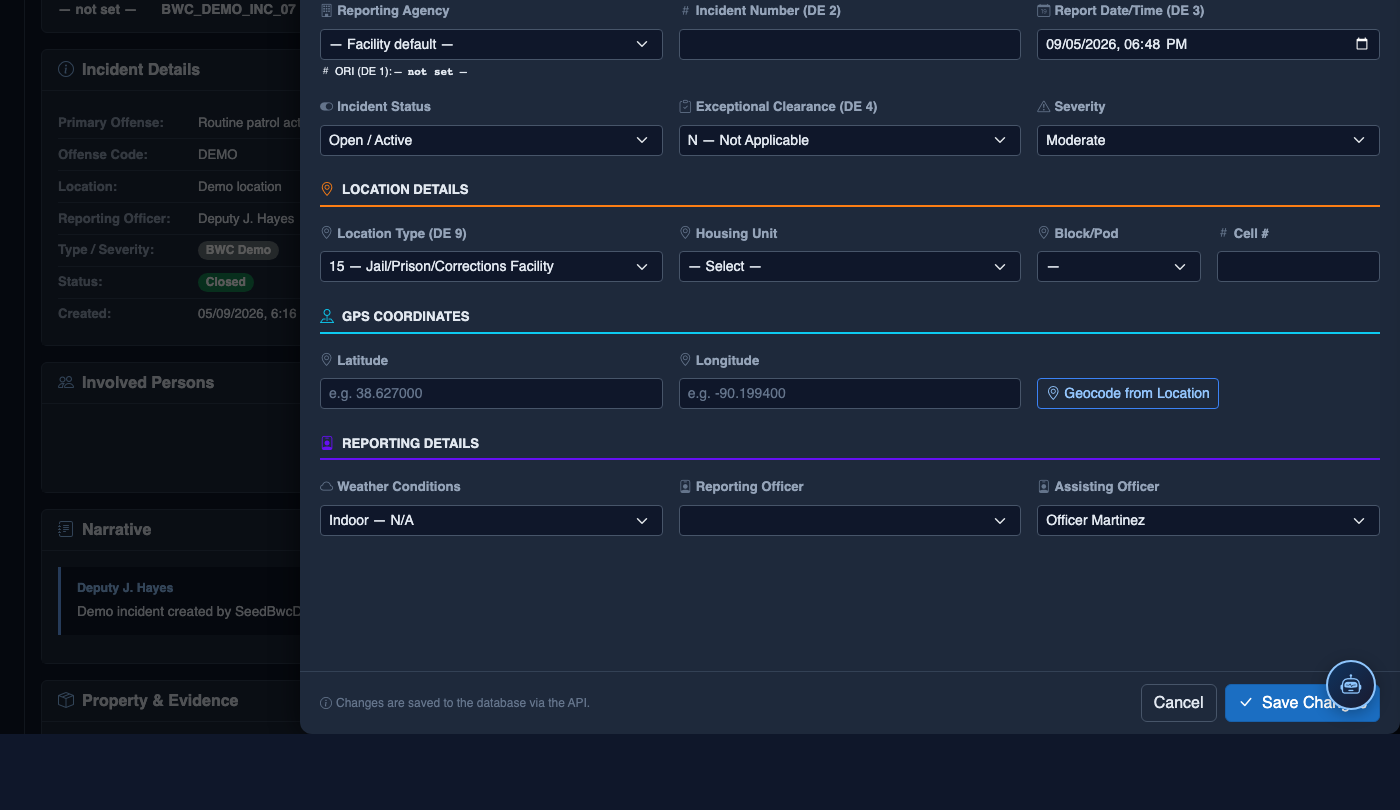
Open the CAD Auto-Population Tab
Inside an incident report, navigate to the CAD Auto-Population tab. A list of pending CAD events associated with your facility will appear, sorted by dispatch time with the most recent at the top.
Select the Matching CAD Event
Locate the correct CAD event by matching the Event Number, call type, and dispatch time. Click Link to This Incident to associate the CAD record with the open JMS incident report.
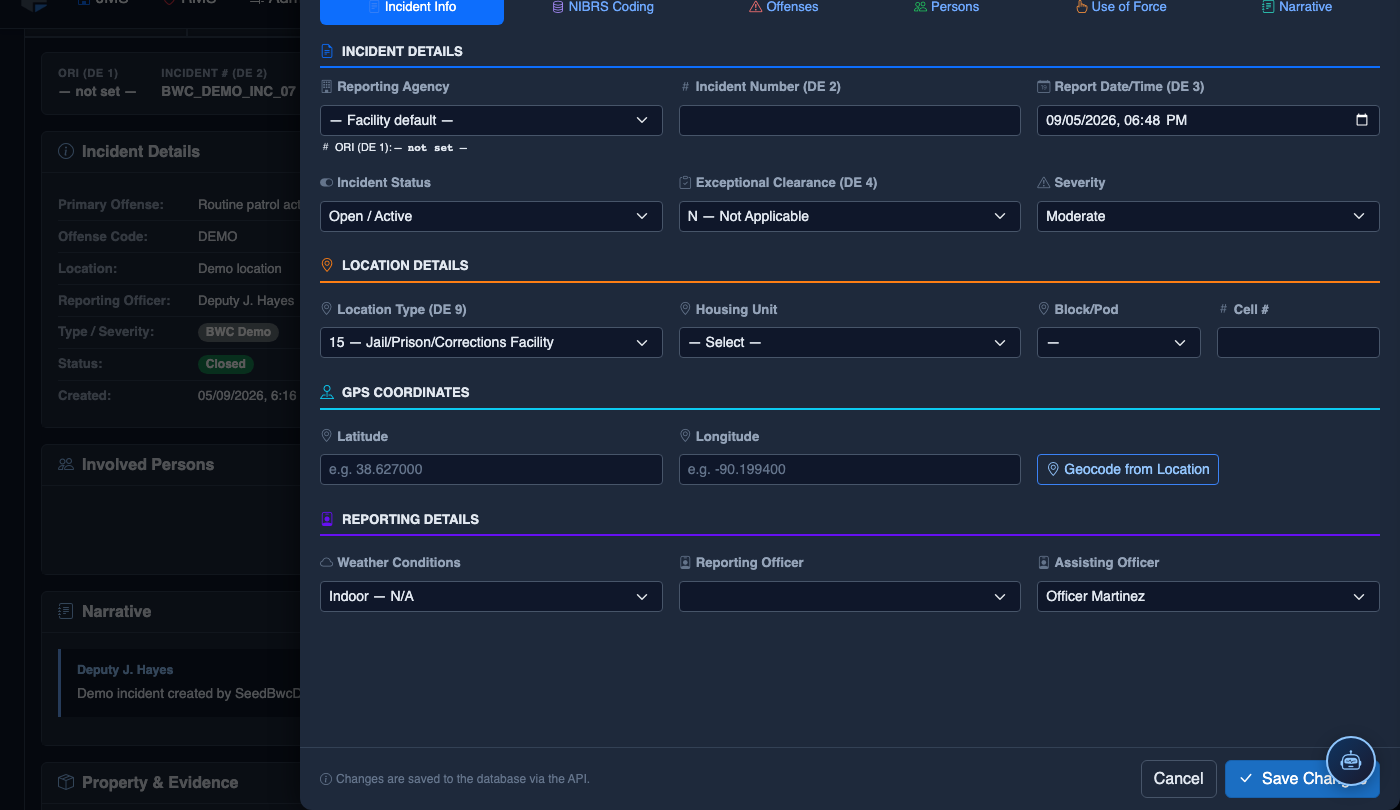
Review Auto-Populated Fields
FortressDMS will immediately populate the CAD Event Number, Dispatch Time, On-Scene Time, Responding Officers, and Call Type fields. Review each field for accuracy before proceeding.
Resolve Unmatched Officers
If CAD unit IDs do not match a JMS staff record, the system flags them in orange. Use the staff search field to manually link the officer, then click Confirm Match to save the association for future auto-mapping.
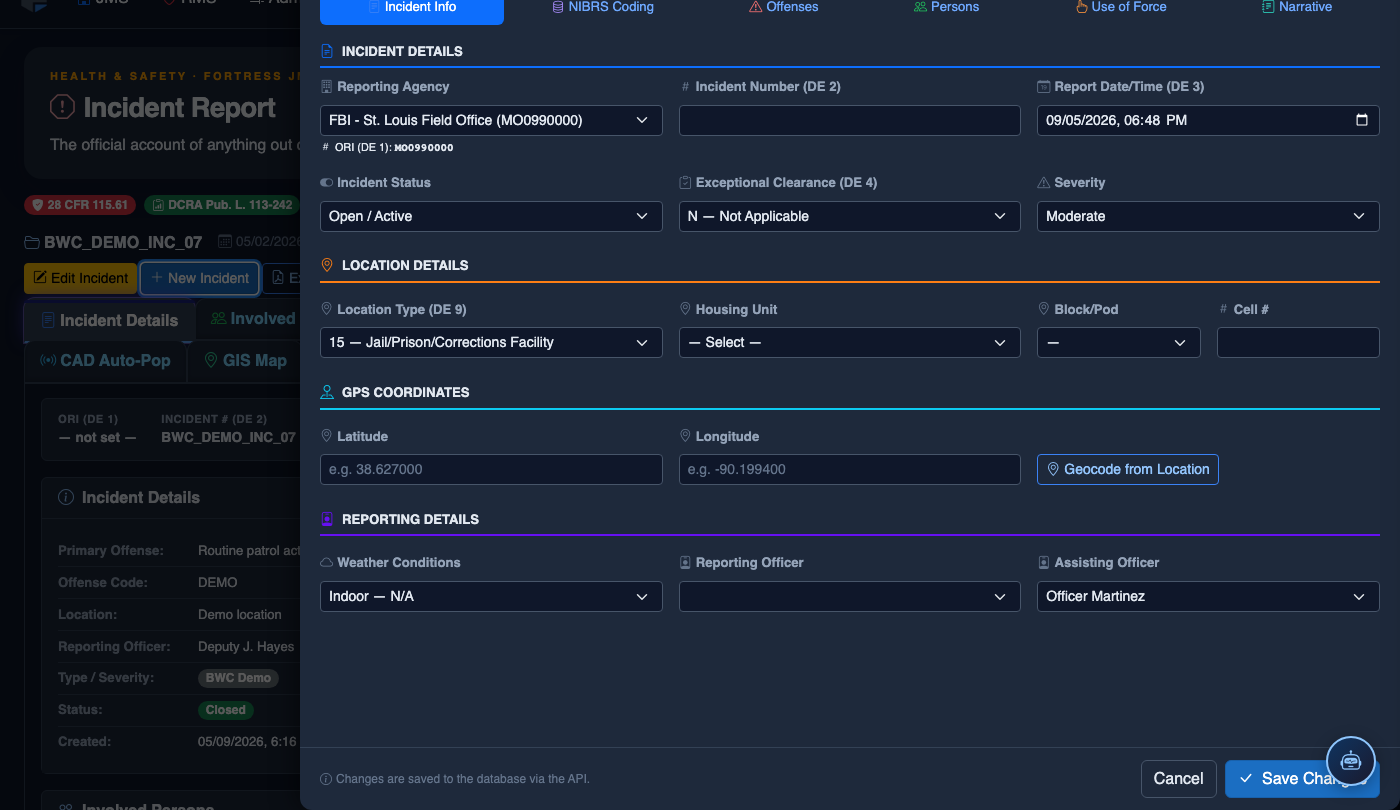
Confirm and Proceed
Click Confirm CAD Data to lock the imported fields. The CAD event number is now permanently embedded in the incident record and will appear on all printed reports and disclosures.
File a New Incident Report
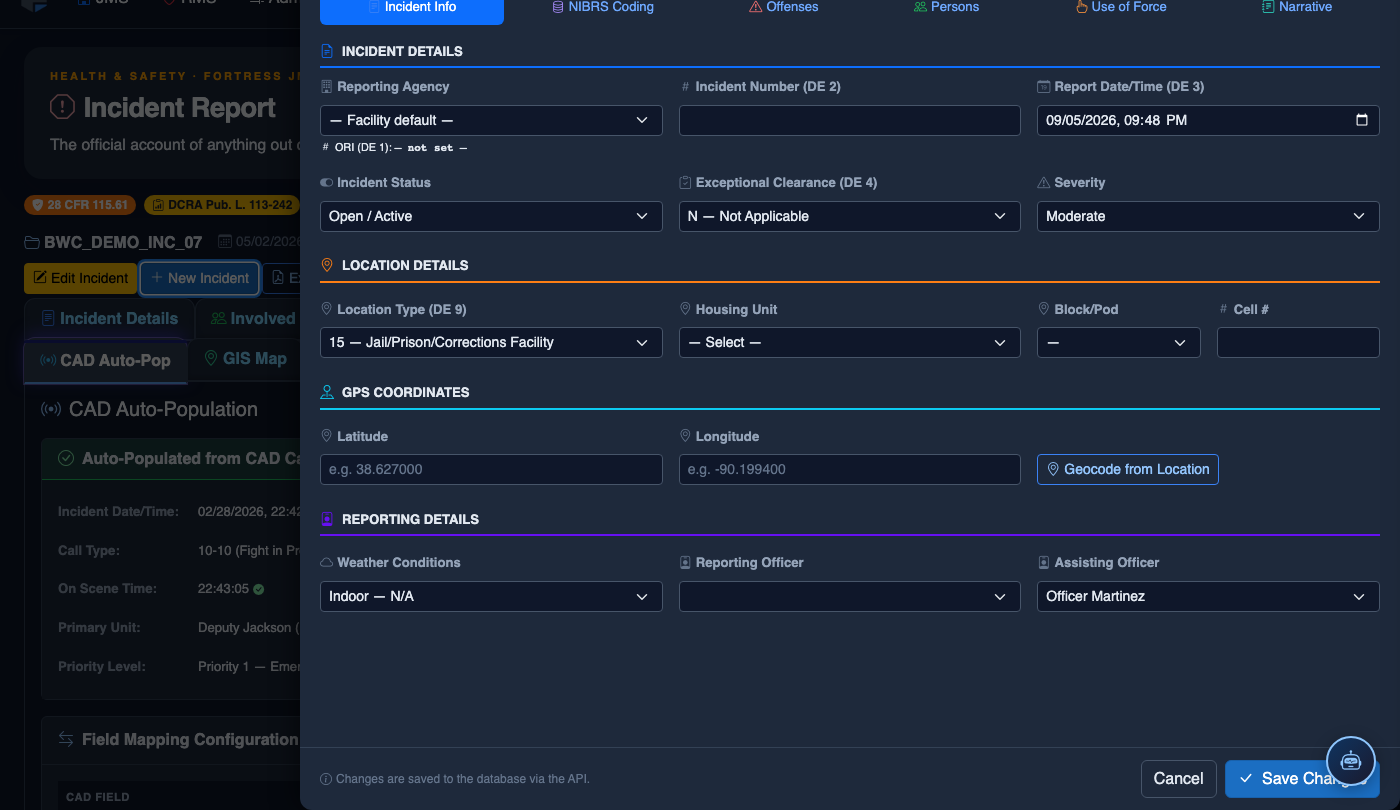
Click New Incident. Complete the incident report:
- Incident Type — select the category (Altercation, Medical Emergency, Escape Attempt, Property Damage, Use of Force, etc.).
- Date, Time, and Location — the precise time and place of the incident.
- Involved Persons — add all Inmates, Staff, and Witnesses using the search tool.
- Narrative — write the factual incident description in first person, past tense. The AI Narrative Assist can draft based on your bullet points.
- Severity — Minor, Moderate, or Major. Major incidents trigger automatic supervisor notification.
- Attachments — upload photos, BWC footage, or medical documentation directly.
- Click Save Draft to continue later, or Submit for Review to route to your supervisor.
💡 Pro Tips
- CAD events older than 72 hours are archived — link them promptly to avoid needing to search the archive queue.
- Run the Unit Mapping Audit (Admin > CAD Settings) monthly to keep officer CAD IDs matched to current JMS staff records.
- If your facility uses mutual-aid units with different CAD ID formats, configure prefix rules under CAD Integration > Unit ID Rules so they auto-match without manual intervention.
Mobile View — CAD Auto
FortressDMS is fully responsive. Officers can access the CAD Auto on a phone or tablet directly from the field — no app install required.
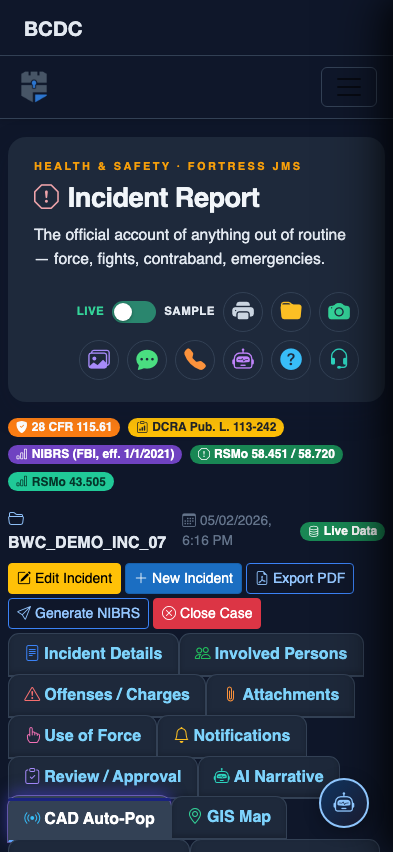
Tab view with data rows
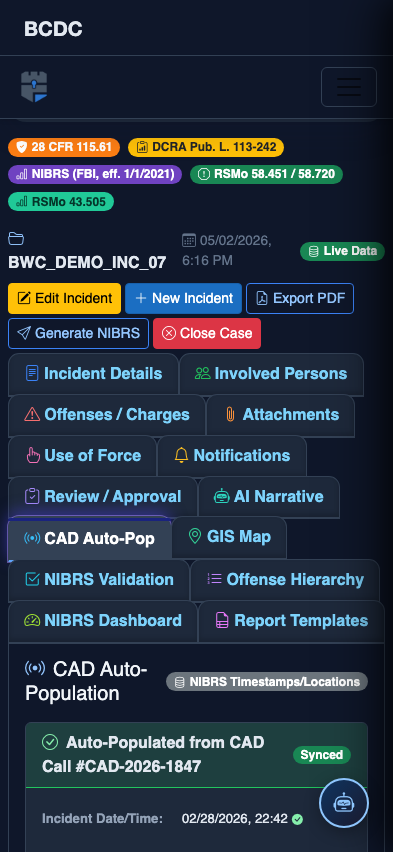
Scrolled / detail view