
GIS Mapping
The GIS Mapping tab integrates geospatial intelligence directly into incident reporting, allowing officers to pinpoint the exact location of an incident on an interactive facility map or jurisdiction-wide GIS layer. By anchoring each incident to a geographic coordinate, command staff gain powerful spatial analytics — identifying hotspots, patrol coverage gaps, and recurring incident corridors. Every location pin is stored with the incident record and renders in supervisory dashboards and statistical exports.
Interactive Facility Maps
Upload custom facility floor plans or use integrated GIS basemaps to pin incidents to specific cells, pods, or corridors.
Precise Coordinate Capture
GPS coordinates or facility-grid references are stored with each incident, enabling accurate spatial reporting.
Hotspot Heatmaps
View incident density heatmaps by date range, incident type, or housing unit to guide staffing and patrol decisions.
Spatial Analytics Export
Export incident location data as shapefiles or KML for use in external GIS platforms and grant reporting.
Step-by-Step: GIS Mapping
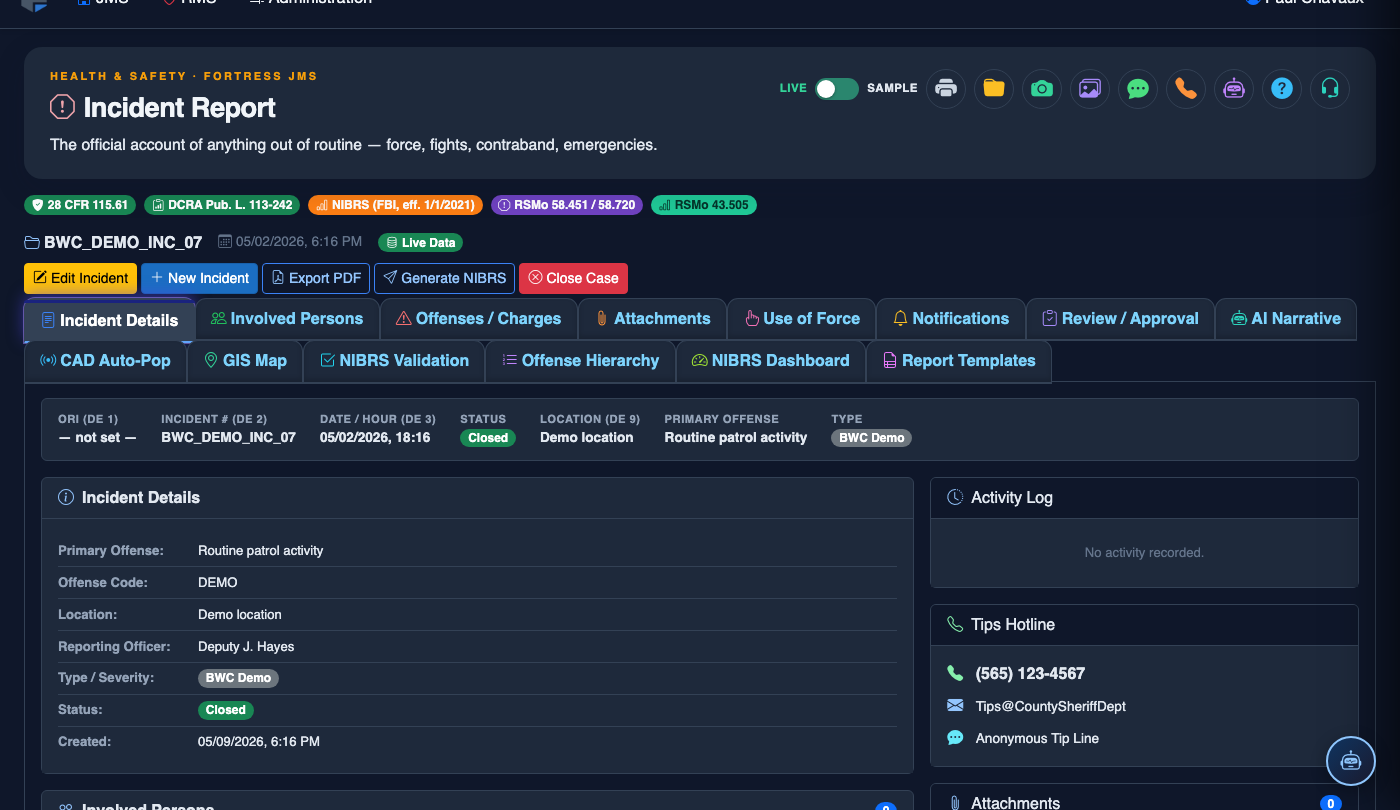
Open the GIS Mapping Tab
Within an incident report, click the GIS Mapping tab. The interactive map loads with your facility’s default basemap — either the uploaded floor plan or a county-level GIS layer, depending on your system configuration.
Select the Map Layer
Use the Layer Selector in the top-right of the map panel to choose between Facility Floor Plan, Aerial/Satellite, or Street Map views. For internal incidents, the floor plan layer provides the most precise location capture.
Drop the Incident Pin
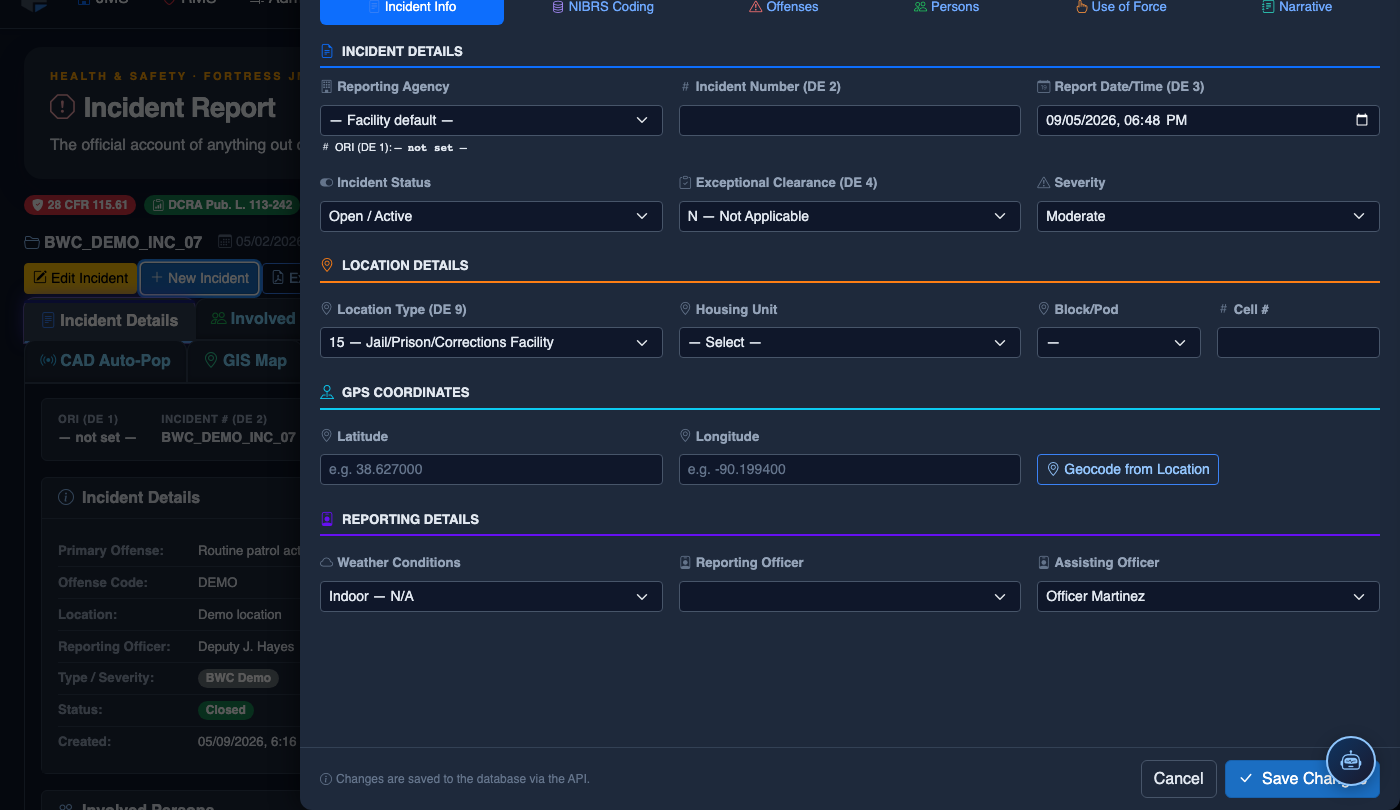
Click the Place Incident Pin button, then click the exact location on the map where the incident occurred. A red pin drops at that location, and the system records the coordinates in the incident record automatically.
Assign a Location Label
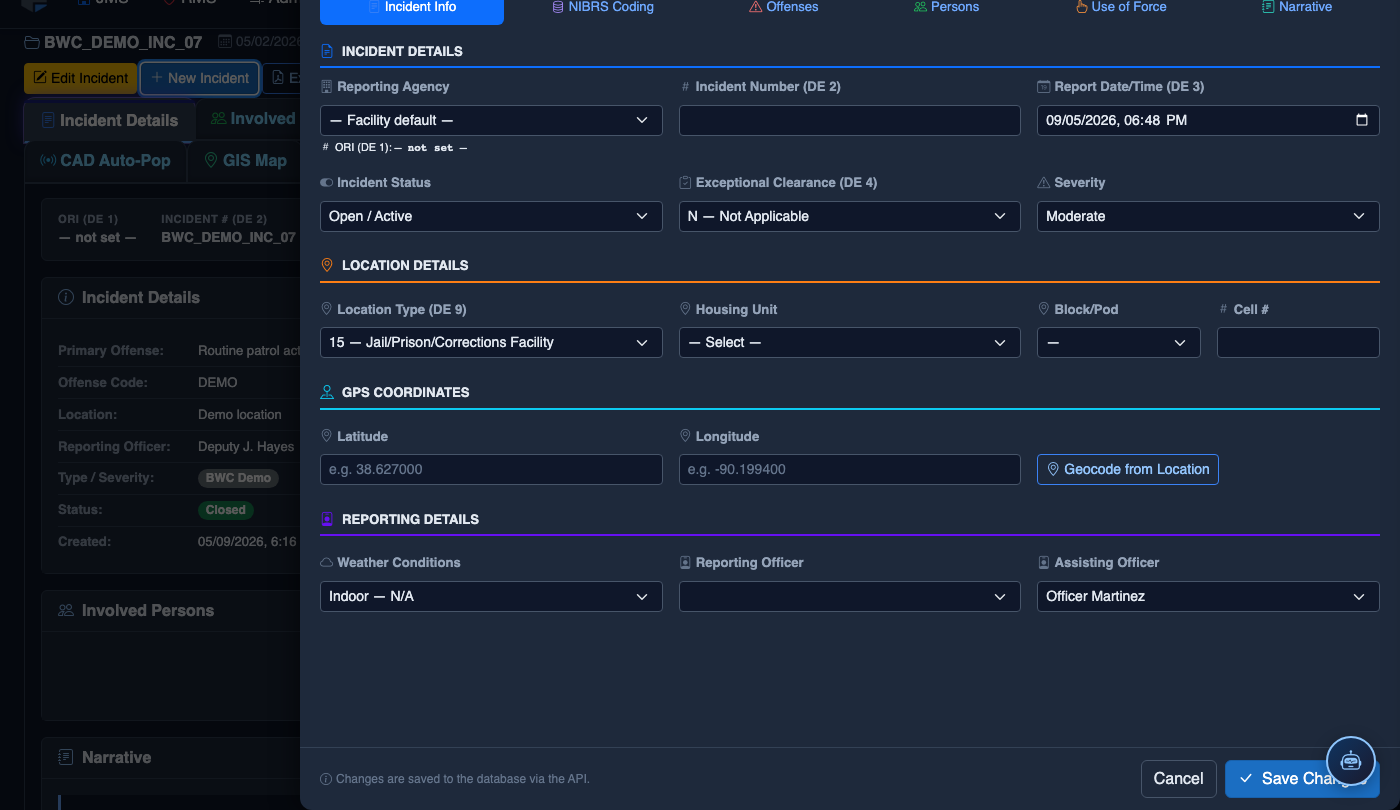
After placing the pin, a pop-up prompts you to select or type a Location Label such as "Pod C — Cell 14" or "Recreation Yard — East Perimeter." Labels from your facility’s predefined location library can be selected from the dropdown for consistency.
View Related Incident Pins
Toggle Show Nearby Incidents to display other incident pins within 50 feet of your current location, color-coded by incident type. This helps officers identify recurring problem areas while documenting a new event.
Save and Confirm Location
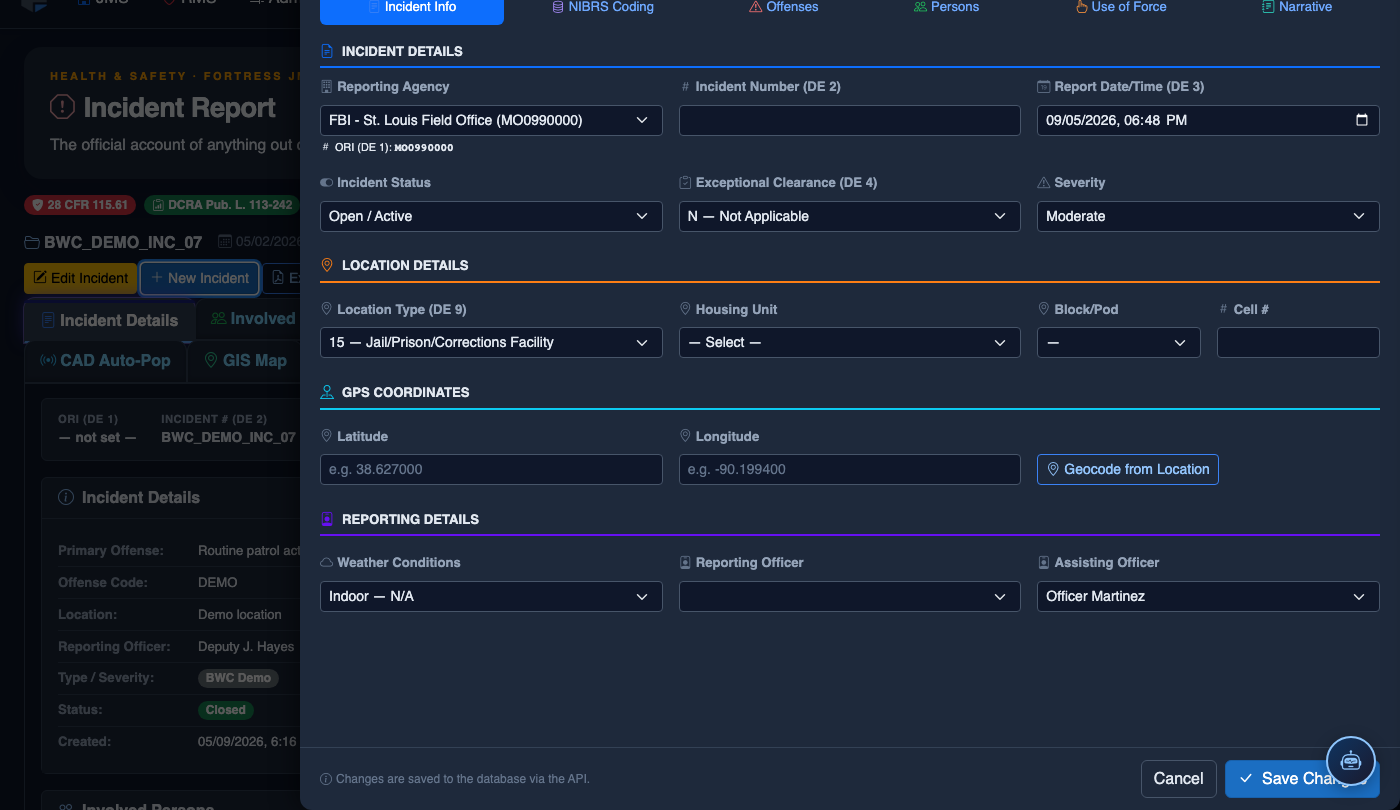
Click Confirm Location to save the pin and label to the incident record. The location data is immediately available in the GIS Dashboard and will appear in all supervisory and NIBRS exports that include geographic fields.
Access the Heatmap Dashboard
Supervisors can navigate to Reports > GIS Dashboard to view a heatmap of all incidents over a selected date range. Use the Incident Type Filter and Housing Unit Filter to drill into specific patterns for staffing and policy decisions.
File a New Incident Report
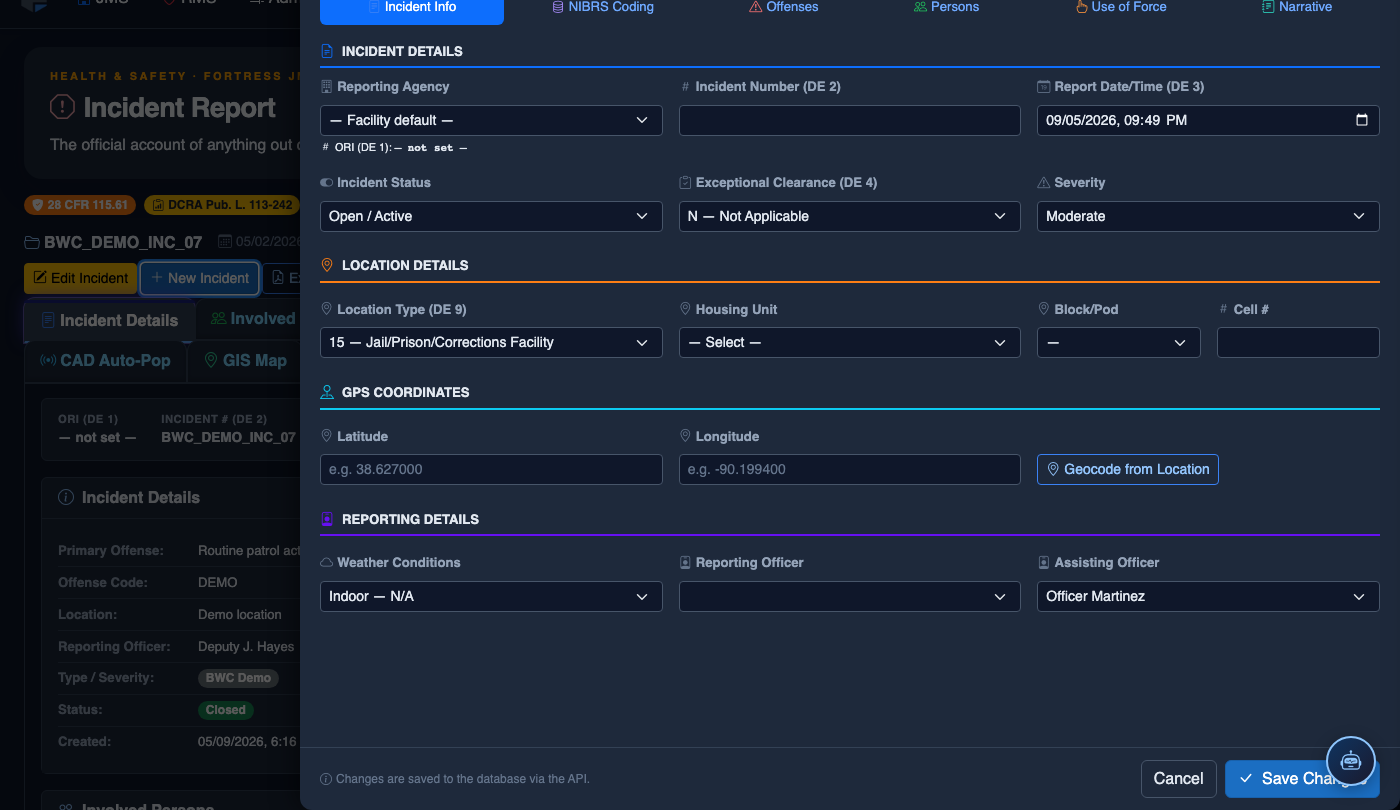
Click New Incident. Complete the incident report:
- Incident Type — select the category (Altercation, Medical Emergency, Escape Attempt, Property Damage, Use of Force, etc.).
- Date, Time, and Location — the precise time and place of the incident.
- Involved Persons — add all Inmates, Staff, and Witnesses using the search tool.
- Narrative — write the factual incident description in first person, past tense. The AI Narrative Assist can draft based on your bullet points.
- Severity — Minor, Moderate, or Major. Major incidents trigger automatic supervisor notification.
- Attachments — upload photos, BWC footage, or medical documentation directly.
- Click Save Draft to continue later, or Submit for Review to route to your supervisor.
💡 Pro Tips
- Maintain your facility’s predefined location library under Admin > GIS > Location Labels — consistent labeling is critical for heatmap accuracy and grant reporting.
- Export heatmap data as a KML file when preparing annual PREA or SB-68-equivalent compliance reports — most state auditors accept GIS overlays as spatial documentation.
- For outdoor incidents that occur off facility property, switch to the Street Map layer and use the address search bar to drop the pin accurately before zooming to street level.
Mobile View — GIS Mapping
FortressDMS is fully responsive. Officers can access the GIS Mapping on a phone or tablet directly from the field — no app install required.
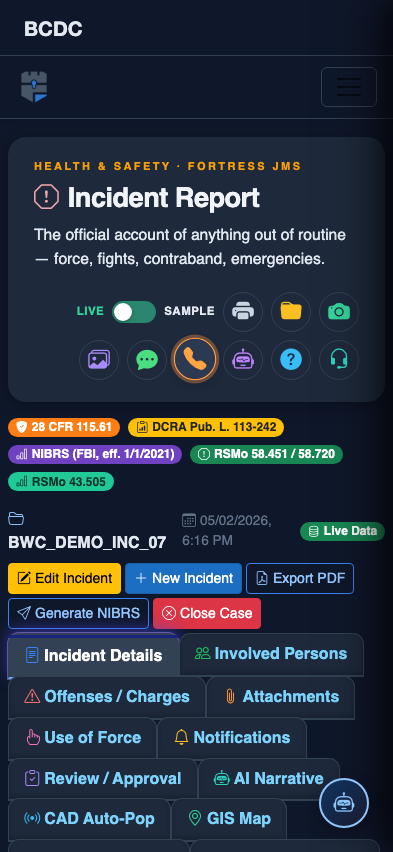
Tab view with data rows
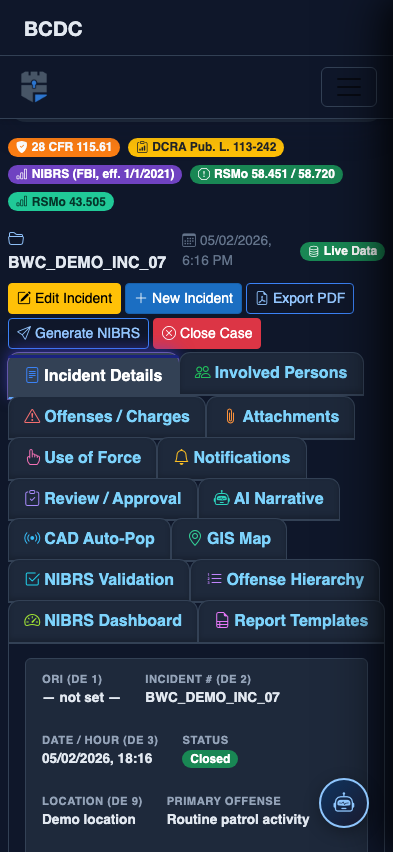
Scrolled / detail view