
PREA Screening
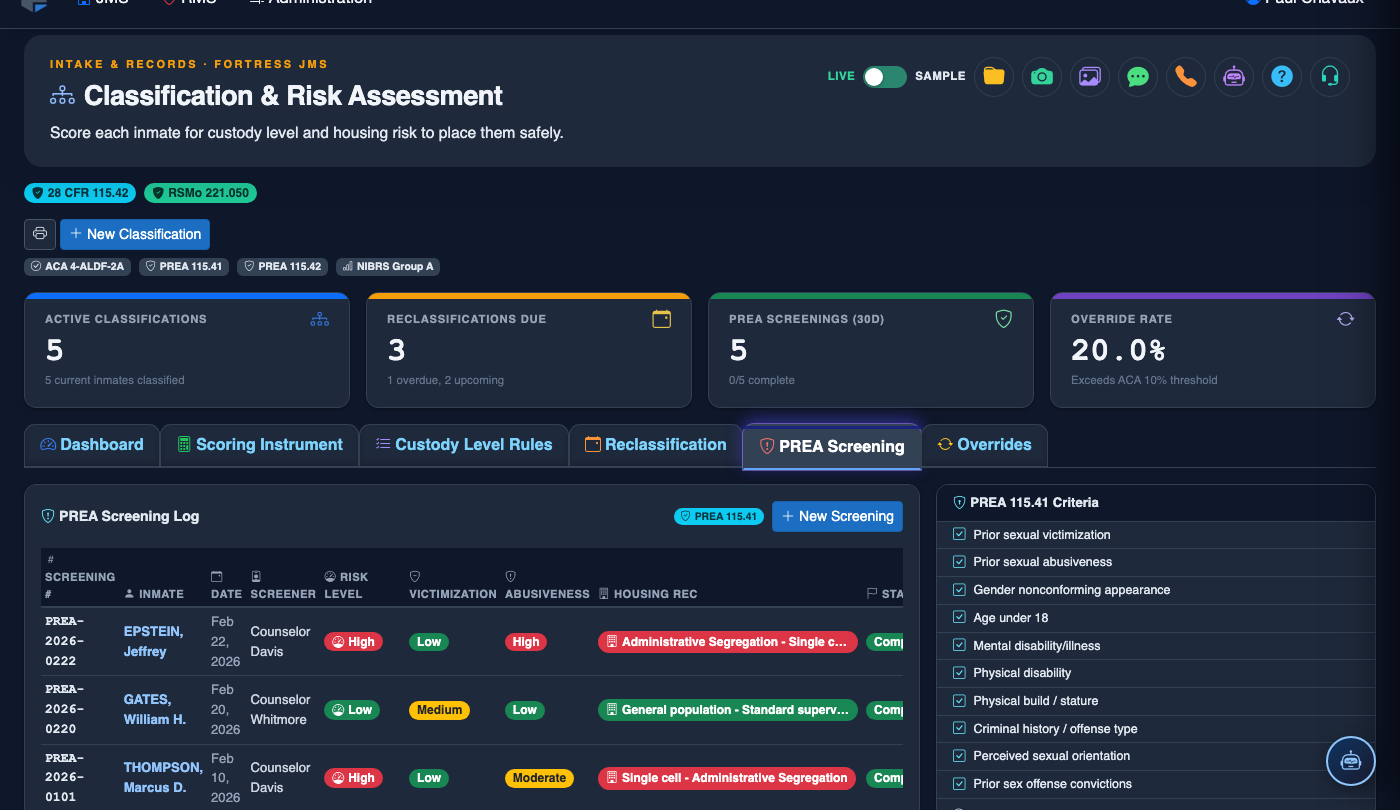
The PREA Screening tab guides classification staff through the Prison Rape Elimination Act intake screening required at booking and again at each facility transfer. FortressDMS structures the 2012 PREA standards screening questions, scores vulnerability and predatory risk, and automatically generates housing separation flags to keep at-risk individuals away from potential aggressors. All screening records are stored in compliance with the PREA auditor documentation standard.
Structured Intake Screening
Standardized question sets aligned to PREA 115.41 ensure every required data point is captured at intake and transfer.
Vulnerability & Predatory Scoring
Dual scoring identifies both individuals at heightened risk of victimization and those presenting aggressor indicators.
Automatic Housing Separation Flags
PREA-triggered flags block housing assignments that would place a vulnerable inmate near a flagged aggressor without supervisor override.
Auditor-Ready Documentation
Screening records export in a format accepted by PREA auditors, with timestamps, officer IDs, and inmate acknowledgment.
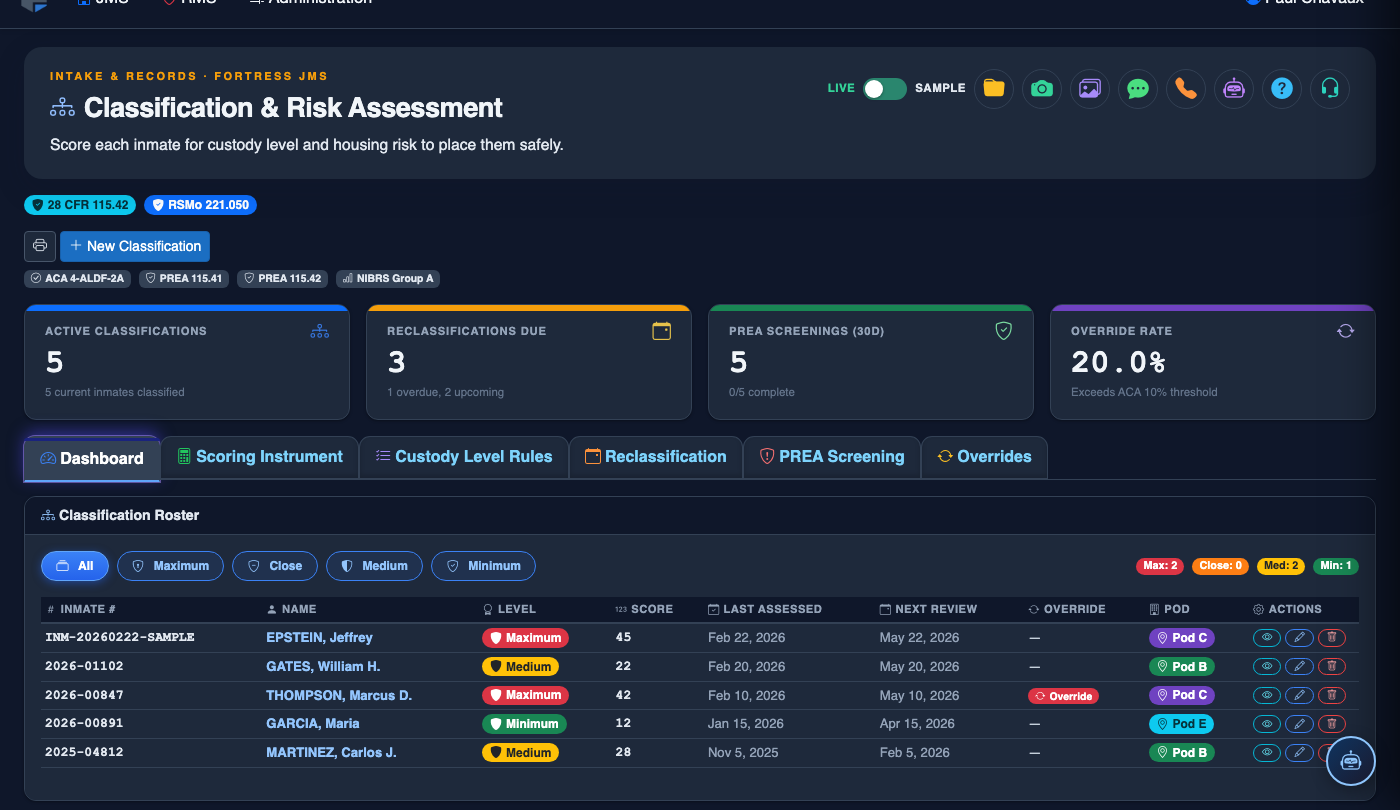
Step-by-Step: Completing a PREA Intake Screening
Open the PREA Screening Tab for the Inmate
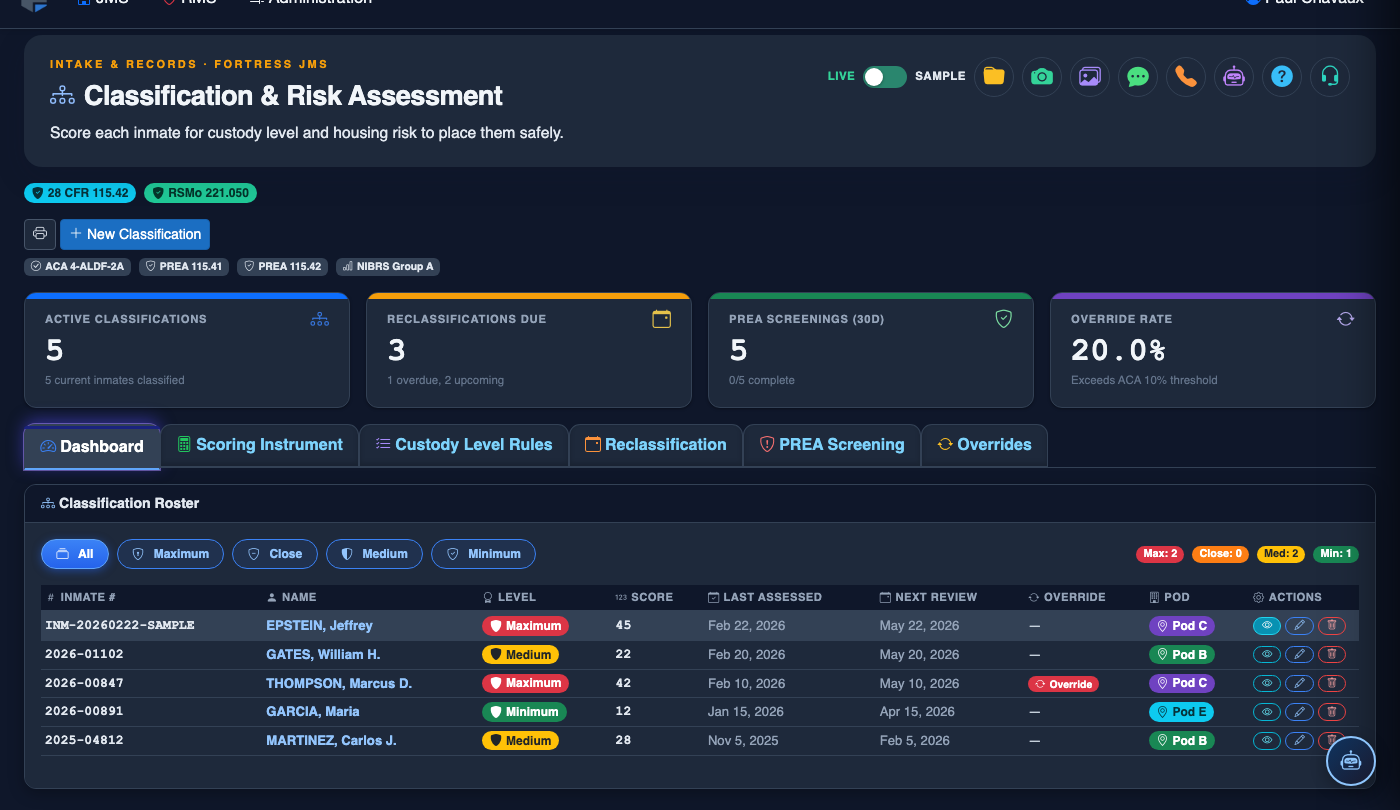
From Classification & Risk, select the inmate and click the PREA Screening tab. For newly booked inmates, the system automatically surfaces a PREA screening prompt when booking is completed. Confirm the inmate’s identity and the screening type — Initial Intake or Transfer.
Administer Section A — Background and History Questions
Section A covers prior sexual victimization or perpetration history, age, mental health status, and physical build. Ask each question verbally and record the inmate’s response using the provided radio buttons. Use the Interpreter Required toggle if a language barrier exists, and document the interpreter’s name and ID number.
Complete Section B — Behavioral and Institutional Risk Indicators
Section B documents officer-observed indicators such as gang affiliation, prior PREA incidents at other facilities, and current charges. These fields are completed by the officer based on records review, not inmate self-report. The Risk Composite Score panel updates in real time as you fill in responses.
Review Automatic Risk Scores and Flags
After Section B, the system displays separate Vulnerability Score and Predatory Risk Score with plain-language summaries. If either score exceeds the configured threshold, a PREA Housing Flag is attached to the inmate record automatically and will appear as a warning in any subsequent bed-assignment workflow.
Document Housing Recommendations
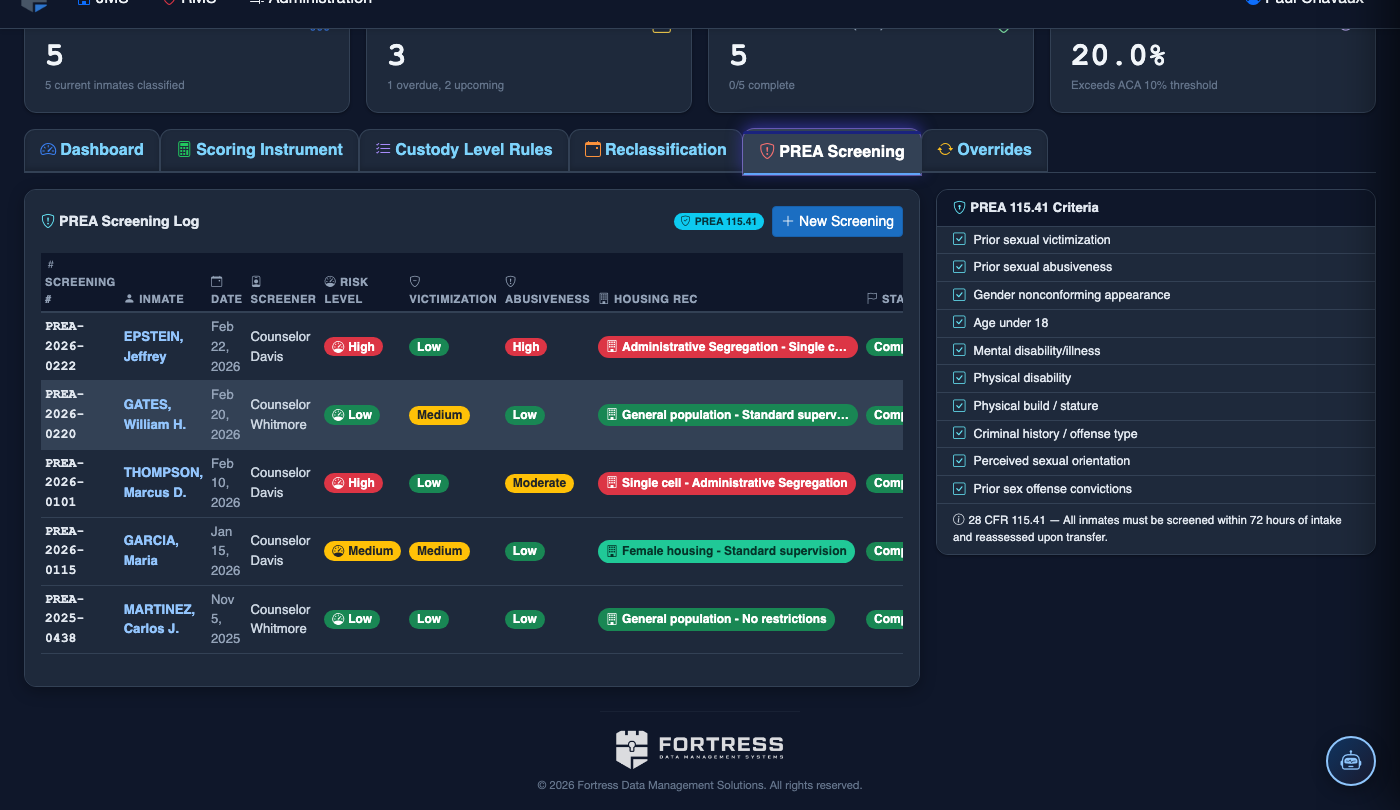
In the Housing Recommendation field, record the specific housing unit and cell that accommodates PREA separation requirements. Note any special conditions such as Single-Cell Requirement or No Cross-Gender Pat-Down. The system validates the recommendation against existing PREA flags for the proposed unit.
Obtain Inmate Acknowledgment
Read the PREA notification statement to the inmate and record their acknowledgment using the Inmate Acknowledgment checkbox. If the inmate refuses to acknowledge, select Refused and add a note — the screening remains valid. Print the notification letter for the inmate’s copy if your policy requires it.
Officer Signs and Saves the Record
Click Sign & Save Screening. The record is permanently stored in the inmate’s classification file with a timestamp, officer badge number, and facility ID. The completed screening is immediately available for PREA audit export from the reporting module.
💡 Pro Tips
- Conduct PREA screenings in a private area away from other inmates — note the location in the Screening Location field to document compliance with PREA 115.41(d).
- If an inmate discloses prior sexual victimization, immediately notify your PREA Coordinator through the built-in Coordinator Alert button rather than relying on a verbal handoff.
- Transfer screenings must be completed within 24 hours of arrival — configure the automatic reminder so staff are notified before the deadline lapses.
- Use the PREA Audit Report under Reports > Classification to generate the complete screening log required for your annual PREA audit package.