
Camera Management
The Camera Management tab gives administrators complete oversight of all surveillance cameras integrated with the video visitation platform. Register new cameras, configure recording settings, verify connectivity status, and map cameras to specific areas of the facility for rapid incident review. Integrated camera management reduces response time when reviewing incidents flagged during or after visitation sessions.
Camera Registry
Maintain a complete inventory of all cameras with their location, make/model, IP address, and current operational status.
Live Connectivity Status
Green/yellow/red status indicators update in real time to alert officers when a camera goes offline or loses feed quality.
Facility Area Mapping
Tag each camera with its facility zone (visitation room, booking, hallway, outdoor) to streamline incident investigation workflows.
Recording Configuration
Set recording schedules, retention periods, and resolution settings per camera to balance storage costs with evidentiary requirements.
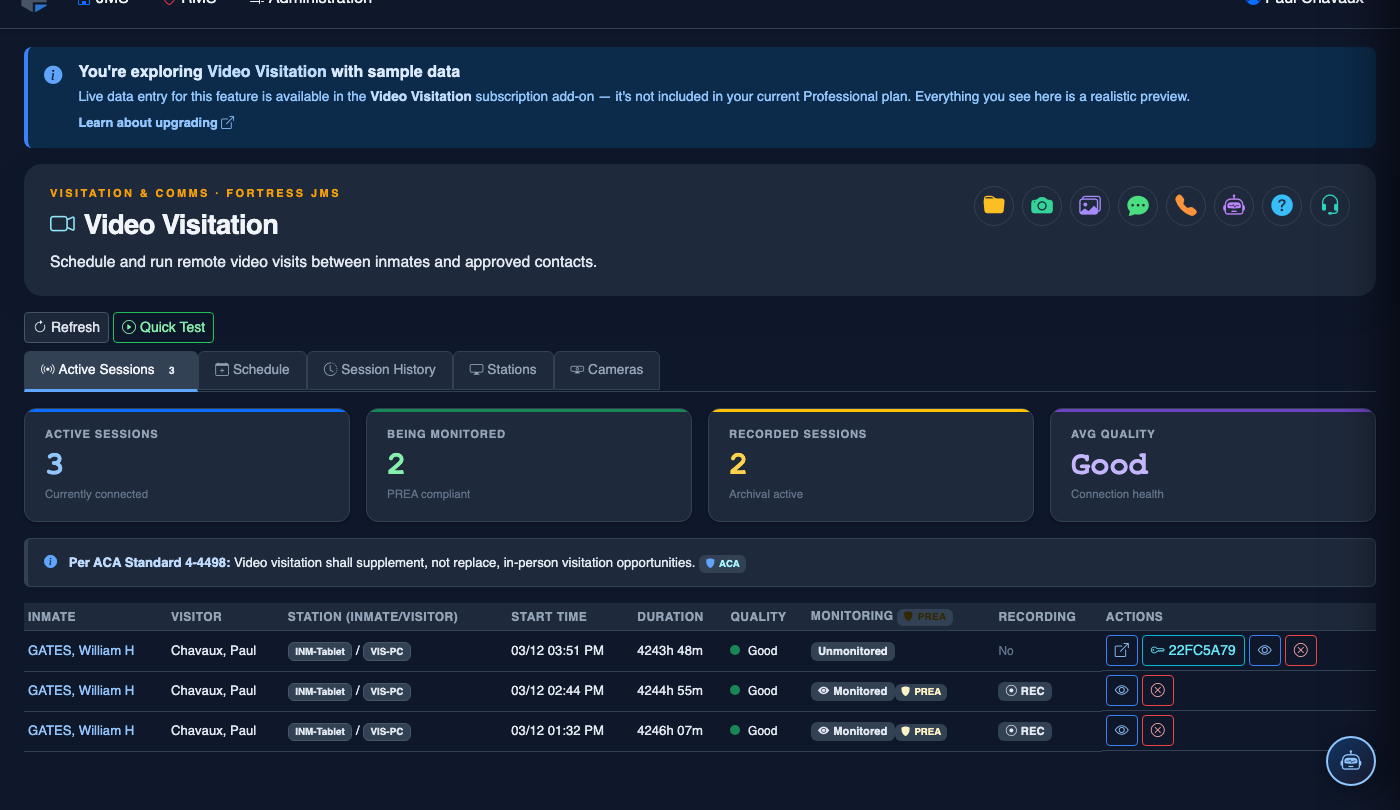
Step-by-Step: Managing Facility Cameras
Open Camera Management
From Video Visitation, click the Camera Management tab. The camera registry grid lists all registered devices with their Status, Location, and Last Seen timestamp.
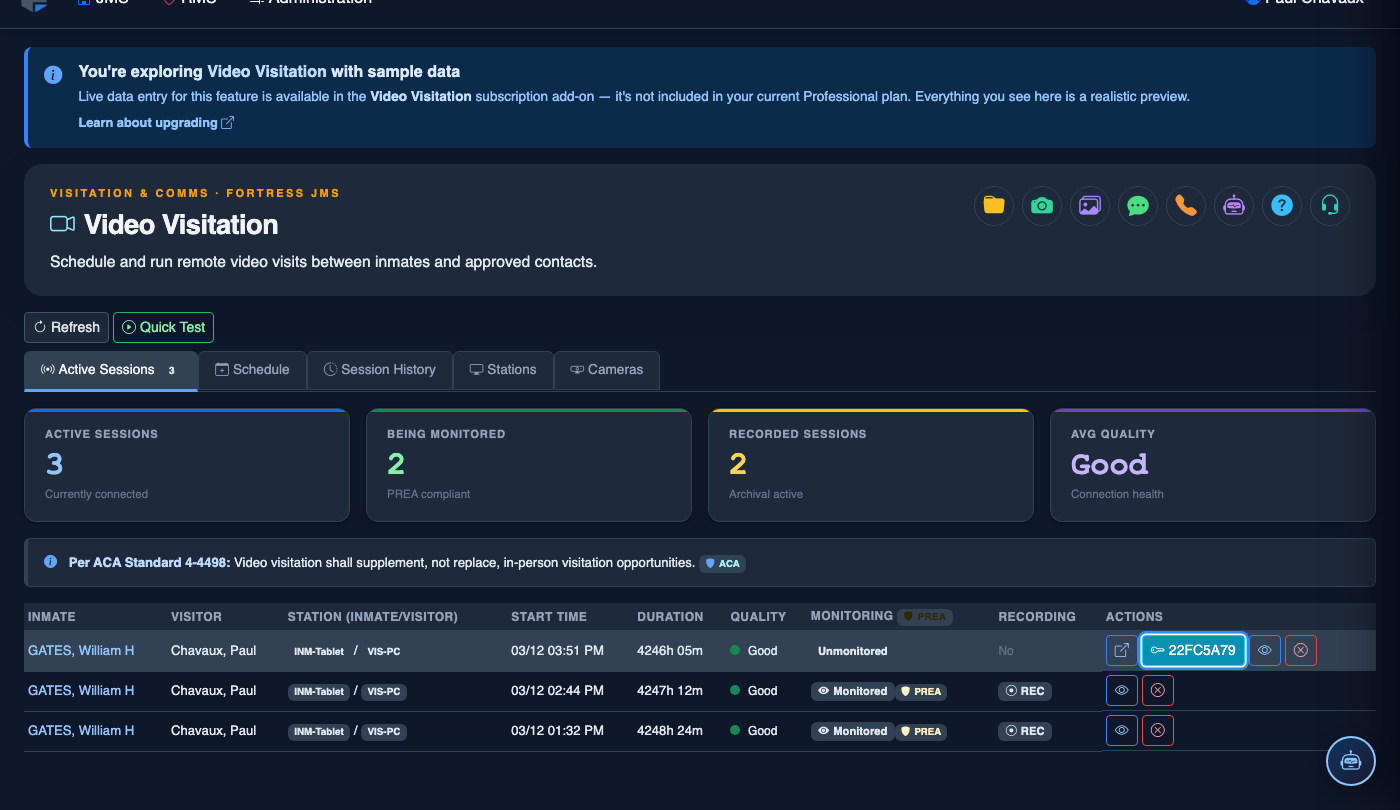
Register a New Camera
Click + Add Camera. Complete the form with the camera’s Name, IP Address or Stream URL, Facility Zone, and Make/Model. Click Save to add it to the registry.
Verify Camera Connectivity
After saving, the system performs an automatic ping and stream check. The Status badge will update to Online (green) if the feed is accessible, or Unreachable (red) if a network configuration issue exists.
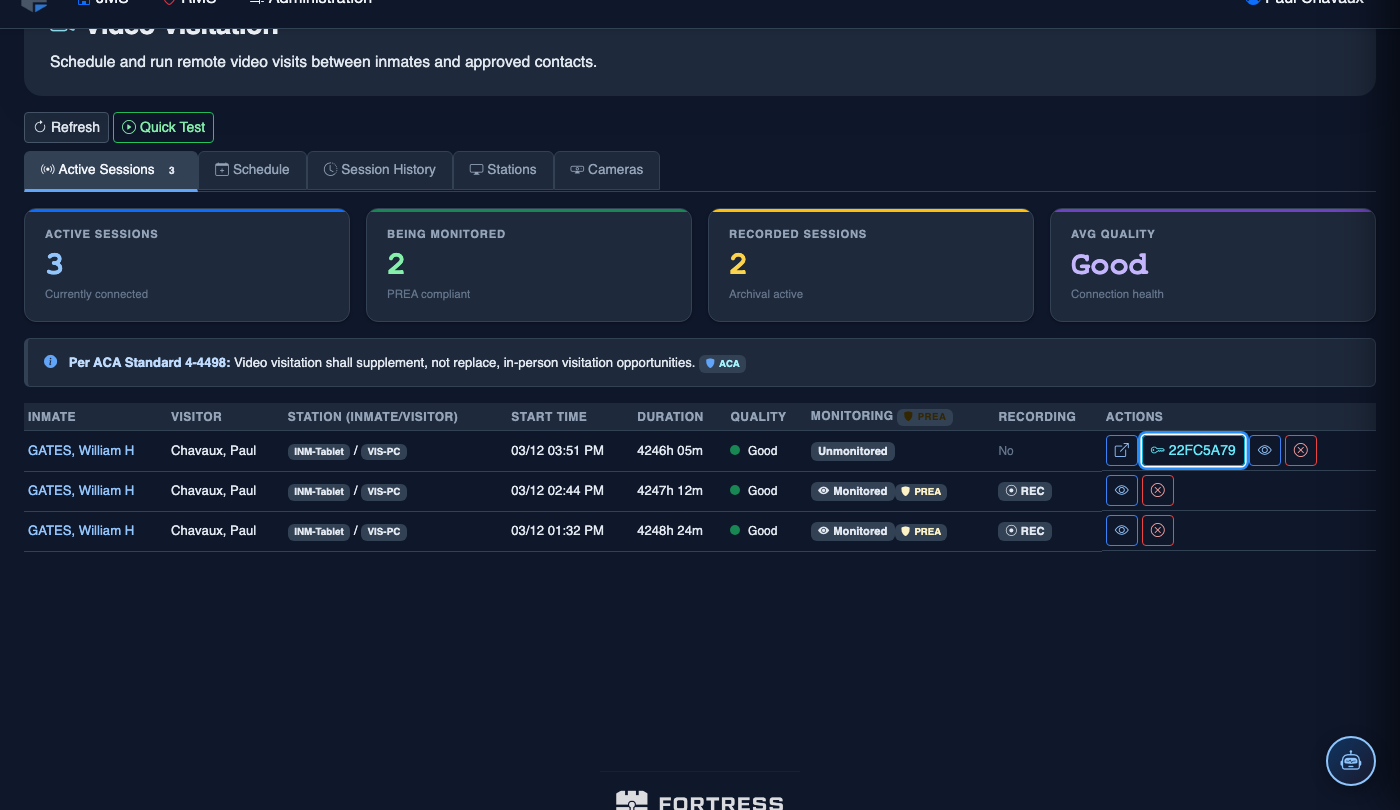
Configure Recording Settings
Click the Edit icon on any camera row and navigate to the Recording tab within the edit panel. Set the Schedule (24/7 or custom hours), Resolution, and Retention Period in days. Click Apply to save recording parameters.
Map Camera to Facility Zone
Use the Facility Zone field to assign cameras to named areas such as Visitation Room A, Booking Area, or Outdoor Perimeter. Zoned cameras appear in the correct area when officers pull incident footage from the Session History tab.
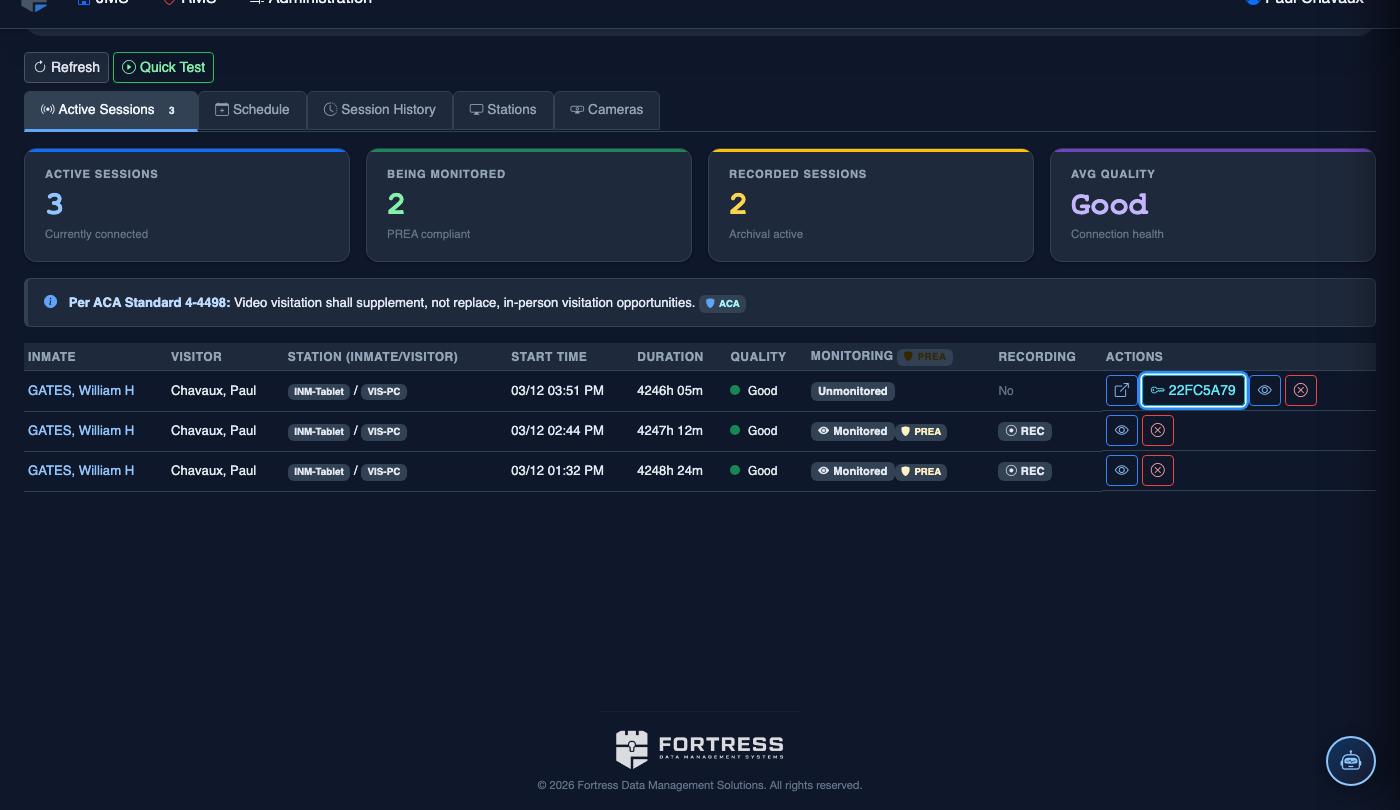
Respond to Offline Alerts
Cameras with a red Offline badge generate an automatic alert in the Fortress JMS notification panel. Click the camera row, review the Last Seen time and Error Detail, and escalate to IT if the camera has been unreachable for more than 15 minutes.
Decommission a Camera
To remove a camera that has been physically replaced or relocated, click its row and select Decommission. The camera record is archived — not deleted — preserving its historical session associations in the audit log.
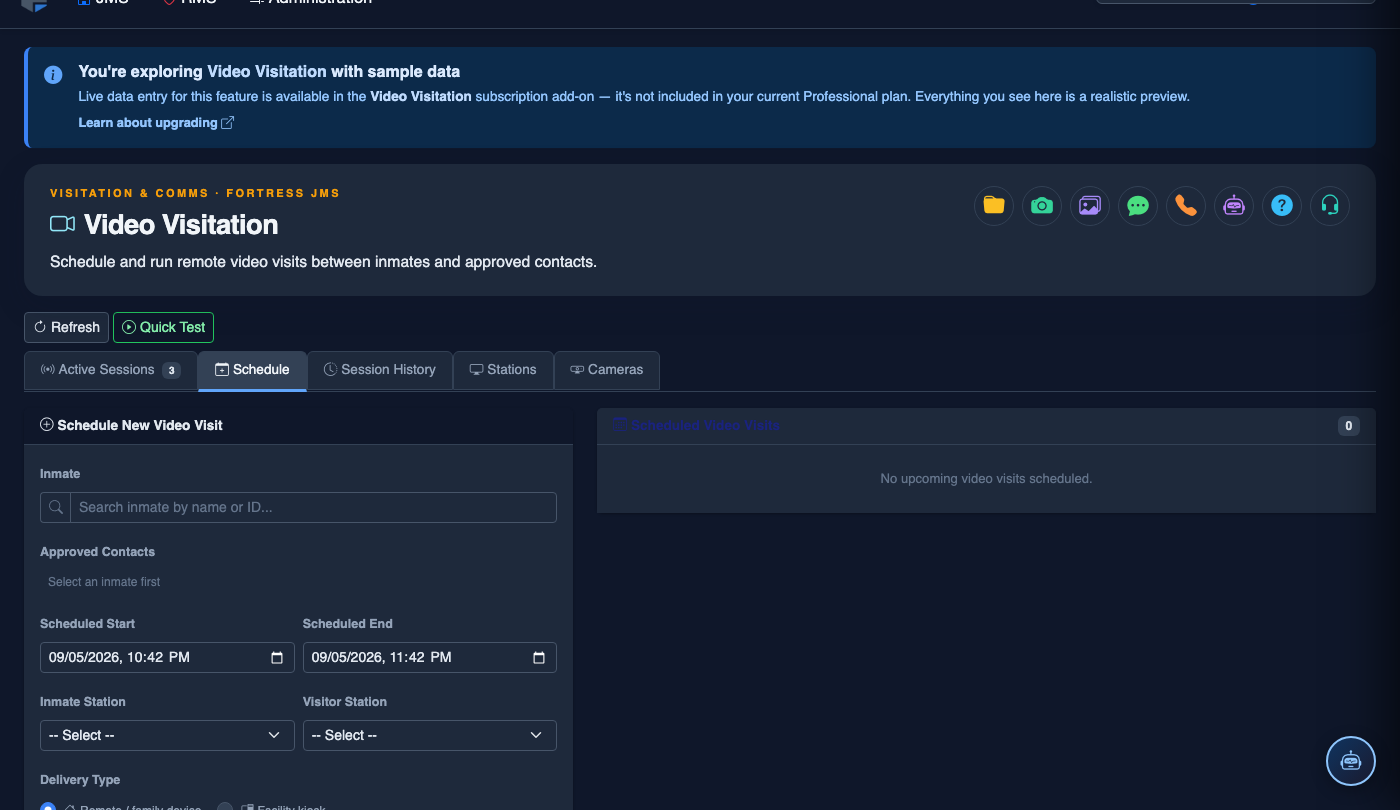
Schedule a Video Visitation Session
Click Schedule. Complete the video session booking:
- Inmate — search by name or booking number.
- Visitor — select from the approved visitor list; remote visitors receive an email invitation link.
- Session Type — Remote Video (visitor connects from home), In-Facility Kiosk, or Legal (private channel, no recording).
- Date and Time Slot — choose from available slots; the system enforces visit frequency limits per facility policy.
- Station Assignment — select the video station or kiosk to use.
- Duration — typically 30 minutes; extended slots require supervisor approval.
- Click Confirm Booking. Confirmation emails go to the visitor; session appears on the facility video schedule.
💡 Pro Tips
- Use a consistent naming convention for cameras (e.g., “VIS-ROOM-A-CAM-1”) so officers can immediately identify the physical location from a system alert without consulting a map.
- Set retention periods to meet your state’s minimum evidence preservation requirements — typically 30–90 days for visitation footage — and document this policy in your facility’s media retention SOP.
- Schedule a monthly connectivity health check by filtering the camera grid by Status: All and exporting the report; cameras with repeated offline events should be prioritized for hardware inspection.
Mobile View — Camera Management
FortressDMS is fully responsive. Officers can access the Camera Management on a phone or tablet directly from the field — no app install required.
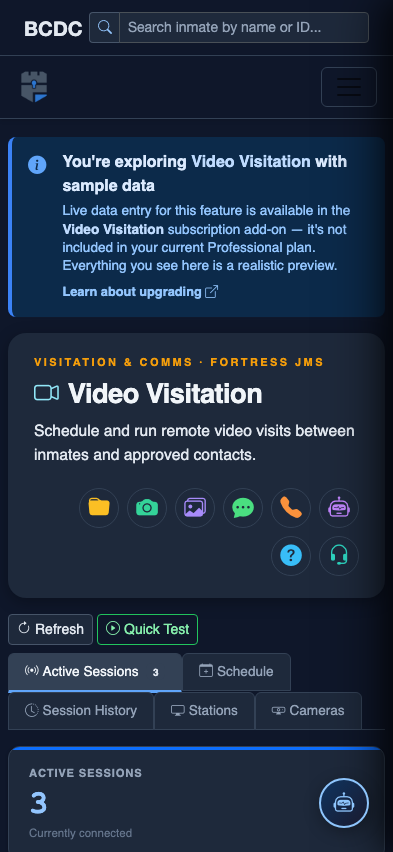
Tab view with data rows
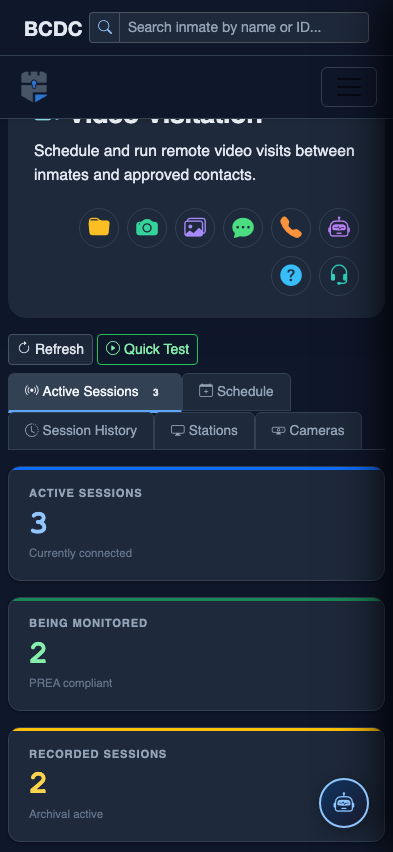
Scrolled / detail view