
Booking & Intake
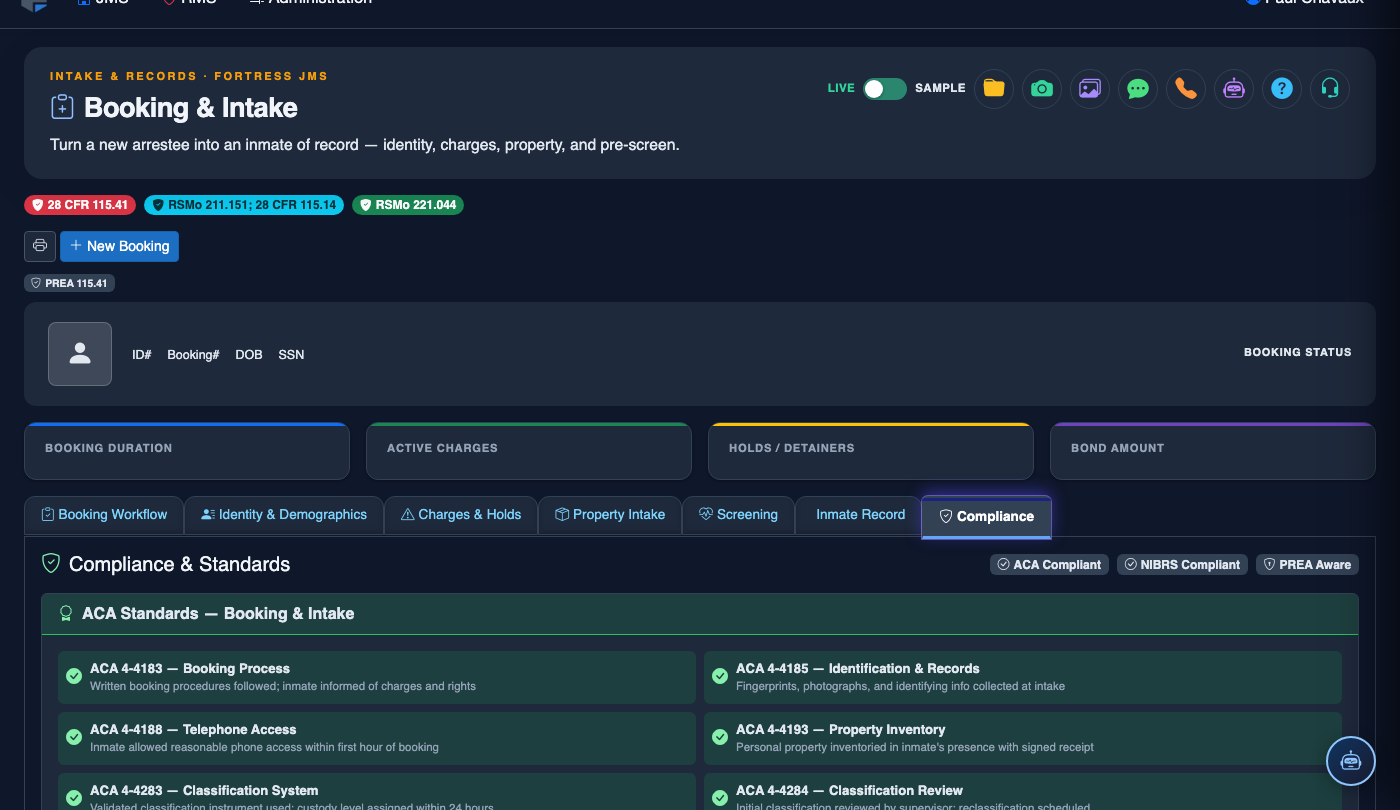
The Booking & Intake module is the central hub for processing new inmates into the facility — from initial arrest data entry through fingerprinting, medical screening, property inventory, classification, and cell assignment. Every step is guided by configurable workflows that ensure legal compliance, accurate record-keeping, and officer accountability from the first moment an inmate enters your facility. Seamless integration with state law enforcement databases and medical systems reduces duplicate data entry and accelerates processing time.
Guided Booking Workflow
Step-by-step booking process ensures no required fields are skipped and all legal notifications are completed.
Medical Screening
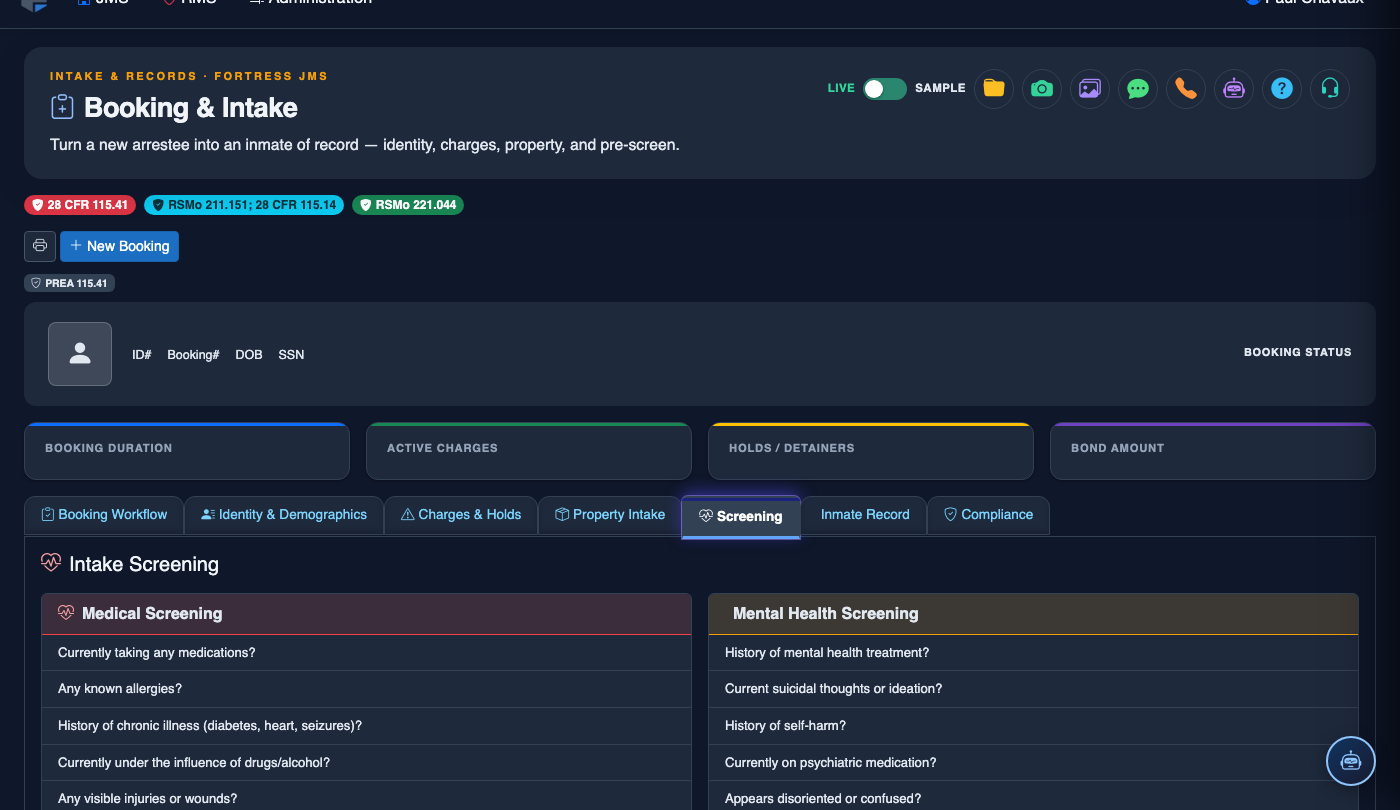
Integrated intake health screening captures medications, conditions, and immediate medical needs at booking.
Property & Inventory
Itemize and photograph personal property at booking with barcode scanning and secure storage assignment.
Cell Assignment
Real-time housing grid shows available cells with classification compatibility checks before assignment.
State Database Integration
Pull prior arrest history, warrants, and criminal records directly from state NCIC/SIS interfaces.
Mugshot & Biometrics
Capture mugshots, fingerprints, and tattoo documentation directly within the booking record.
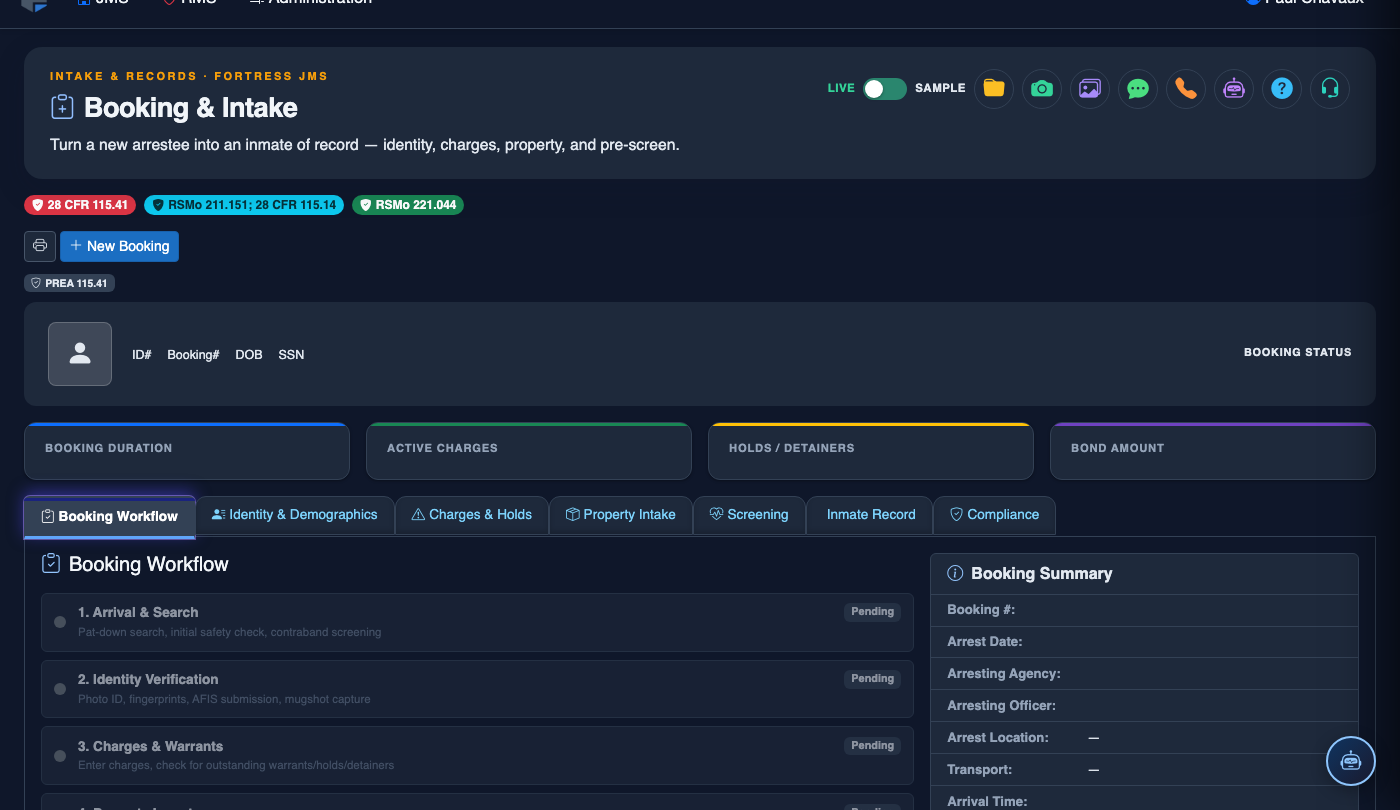
Module Tabs — All Dark Mode Views
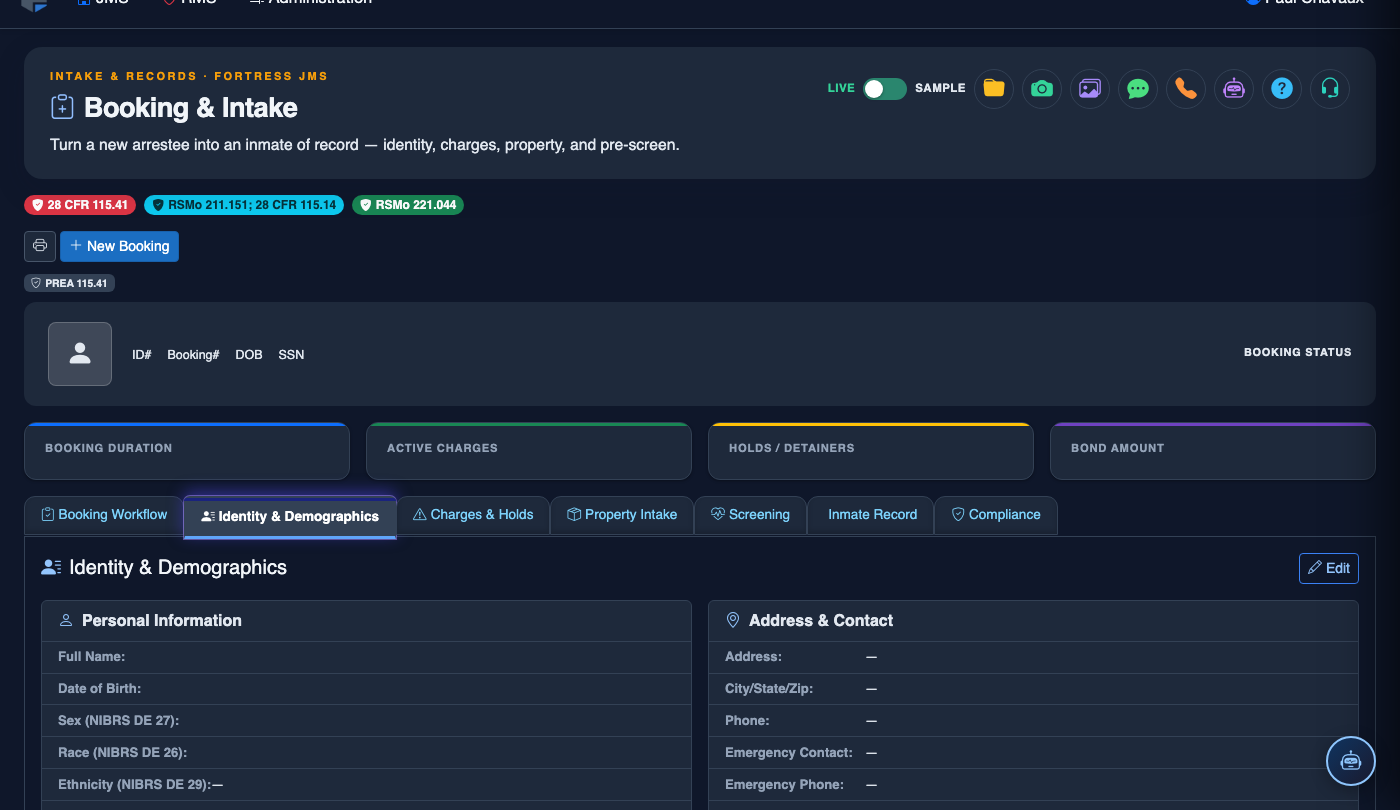
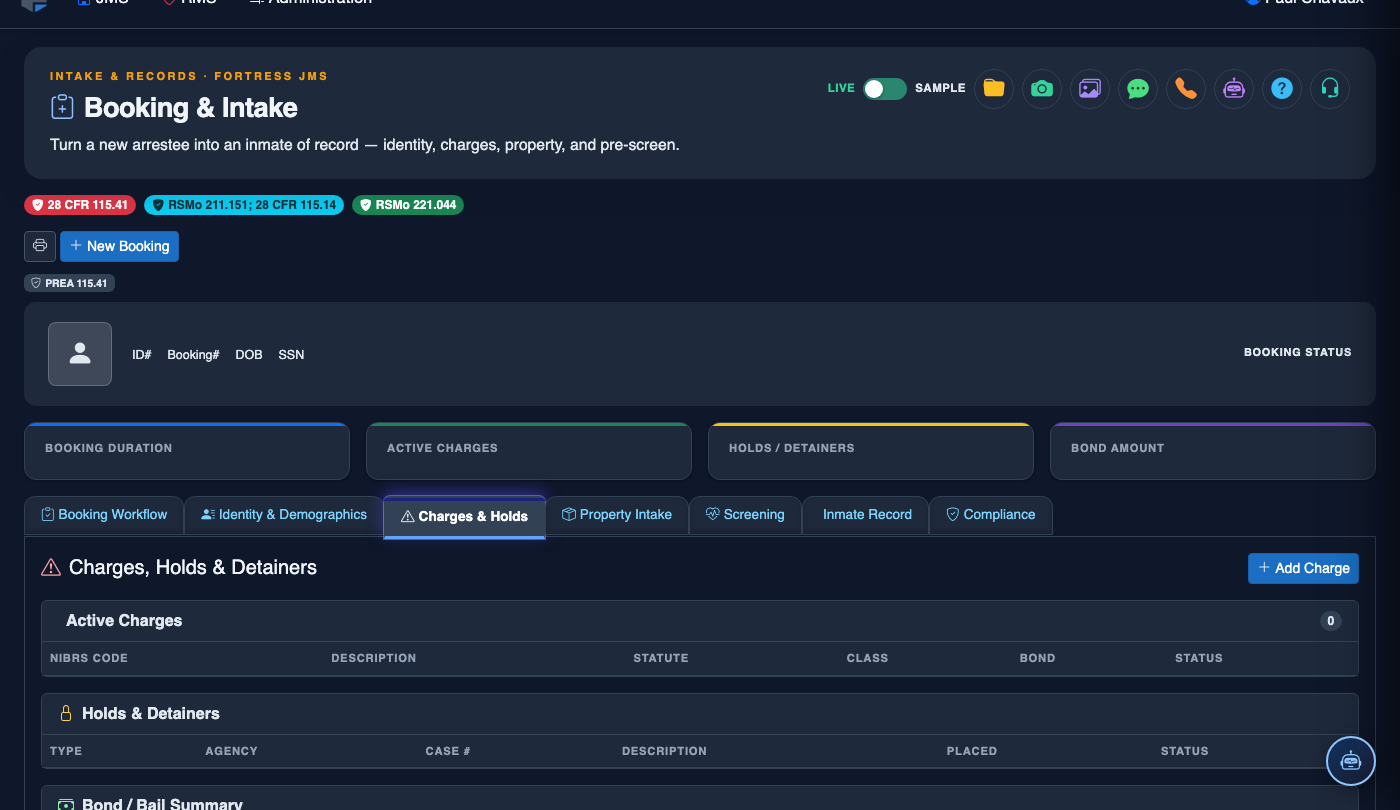
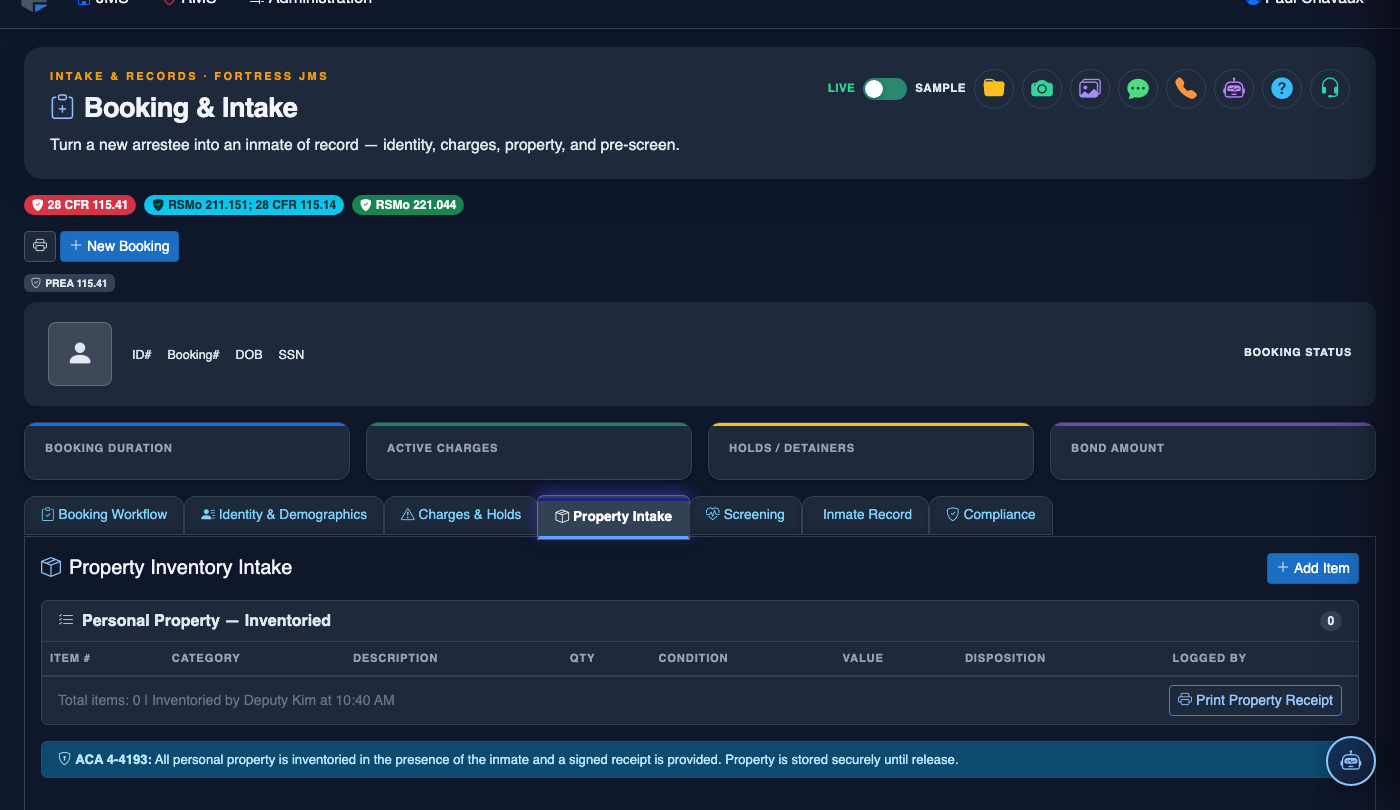
Step-by-Step: Processing a New Inmate Through Booking & Intake
Create a New Booking Record
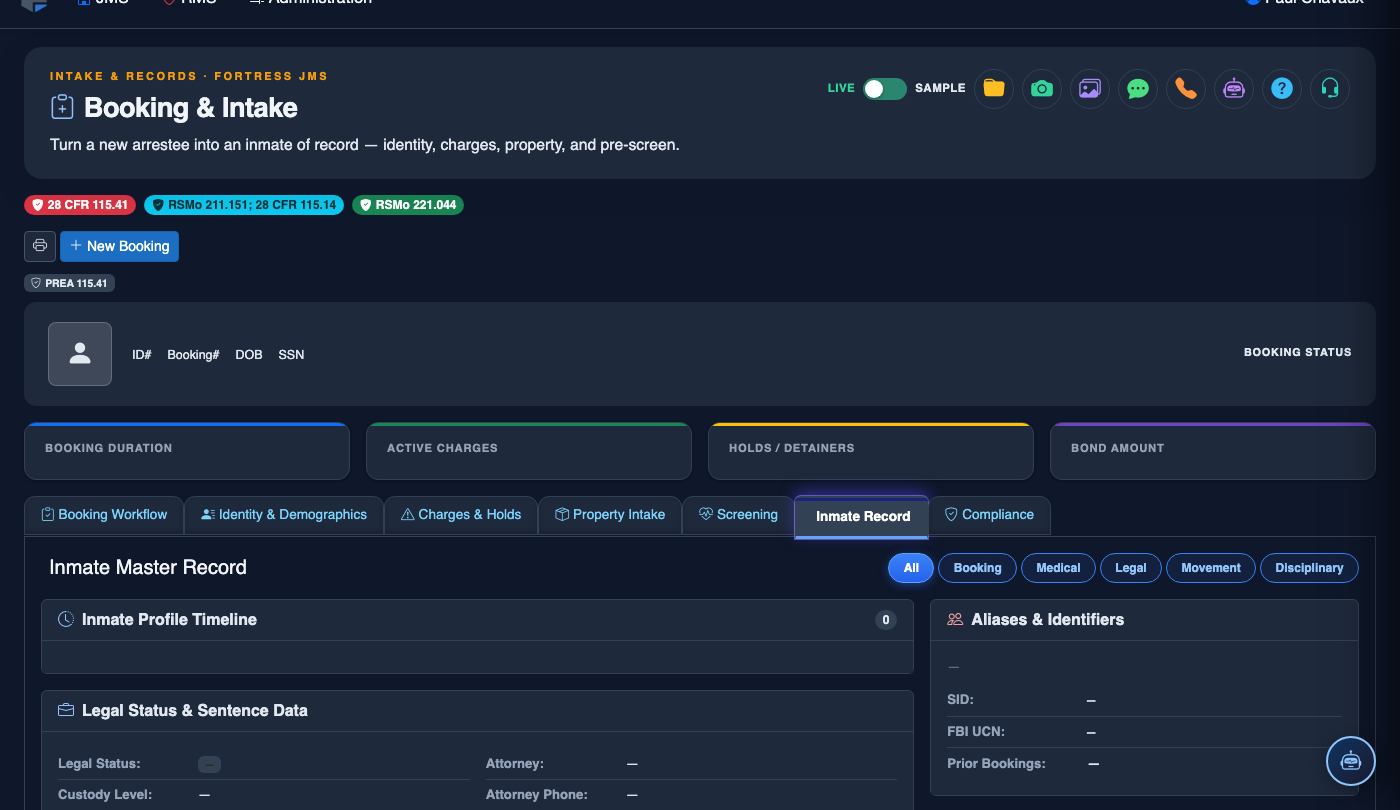
Navigate to Booking & Intake and click New Booking. Enter or scan the inmate’s identifying information. If the individual has a prior record in the system, a Prior Bookings alert will appear — select the existing profile to pre-populate fields and link booking history.
Enter Charges and Arrest Information
On the Charges tab, add each charge using the statute search. Enter the Arresting Agency, Arresting Officer, Arrest Date/Time, and Probable Cause narrative. The system will calculate hold type and bond eligibility based on charge class.
Complete Medical Intake Screening
The Medical Screening tab opens a structured intake questionnaire covering current medications, chronic conditions, withdrawal risk, mental health history, and suicide risk factors. Responses flagged as high-risk automatically generate a Medical Alert and notify the on-call nurse.
Capture Mugshot and Biometric Data
Using the integrated camera interface, capture the inmate’s Mugshot (front and profile). Use the fingerprint scanner interface to record Ten-Print biometrics. Add any identifying tattoos or scars under the Physical Descriptors section with photos and location notes.
Inventory Personal Property
On the Property & Inventory tab, itemize all personal property. Use the barcode scanner or manually enter each item. High-value items (cash, jewelry, electronics) require a supervisor co-signature. Print the Property Receipt and have the inmate sign before items are secured in the property room.
Run Classification Assessment
Open the Classification section to run the automated risk scoring tool. The system evaluates charge severity, prior history, institutional behavior risk, and gang affiliation indicators to produce a recommended Security Level. Supervisors may override with a documented justification.
Assign Housing and Complete Booking
The Housing Assignment grid displays available cells compatible with the inmate’s classification level. Select a cell — the system checks for known enemy conflicts and overcrowding. Click Complete Booking to finalize the record, generate the Booking Summary, and notify housing officers.
Notify Emergency Contact and Attorney
Use the Notifications tab to log the inmate’s Emergency Contact notification and Right to Counsel advisement. Record the time, method (phone, in-person), and officer completing each notification — these records are legally required in most jurisdictions.
💡 Pro Tips
- Use the Prior Bookings lookup before creating a new profile — duplicate records create chain-of-custody issues and complicate reporting.
- Medical screening flags generate alerts to nursing staff automatically, but always verbally notify the nurse on duty as well for high-risk cases (withdrawal, suicidal ideation).
- The booking workflow enforces required fields by tab — you cannot advance to Housing Assignment until Medical Screening is complete, preventing inadvertent skips.