
Workflow Builder
The Workflow Builder empowers jail administrators to design, configure, and publish custom operational workflows that govern inmate processing, classification, and interdepartmental task routing. Using a visual drag-and-drop designer, supervisors can define multi-step approval chains, automate routine correctional tasks, and enforce institutional policy without writing code. Every workflow created here becomes available for deployment on the Workflow Floor, ensuring consistent and auditable operations across all shifts and units.
Visual Designer
Drag-and-drop canvas lets administrators build complex multi-step workflows without technical expertise.
Conditional Branching
Define if/then logic so workflows automatically route tasks based on inmate classification, risk level, or unit assignment.
Role-Based Assignment
Assign workflow steps to specific staff roles — booking officers, medical, classification — for proper accountability.
Template Library
Start from pre-built templates for common workflows like intake processing, medical clearance, and disciplinary hearings.
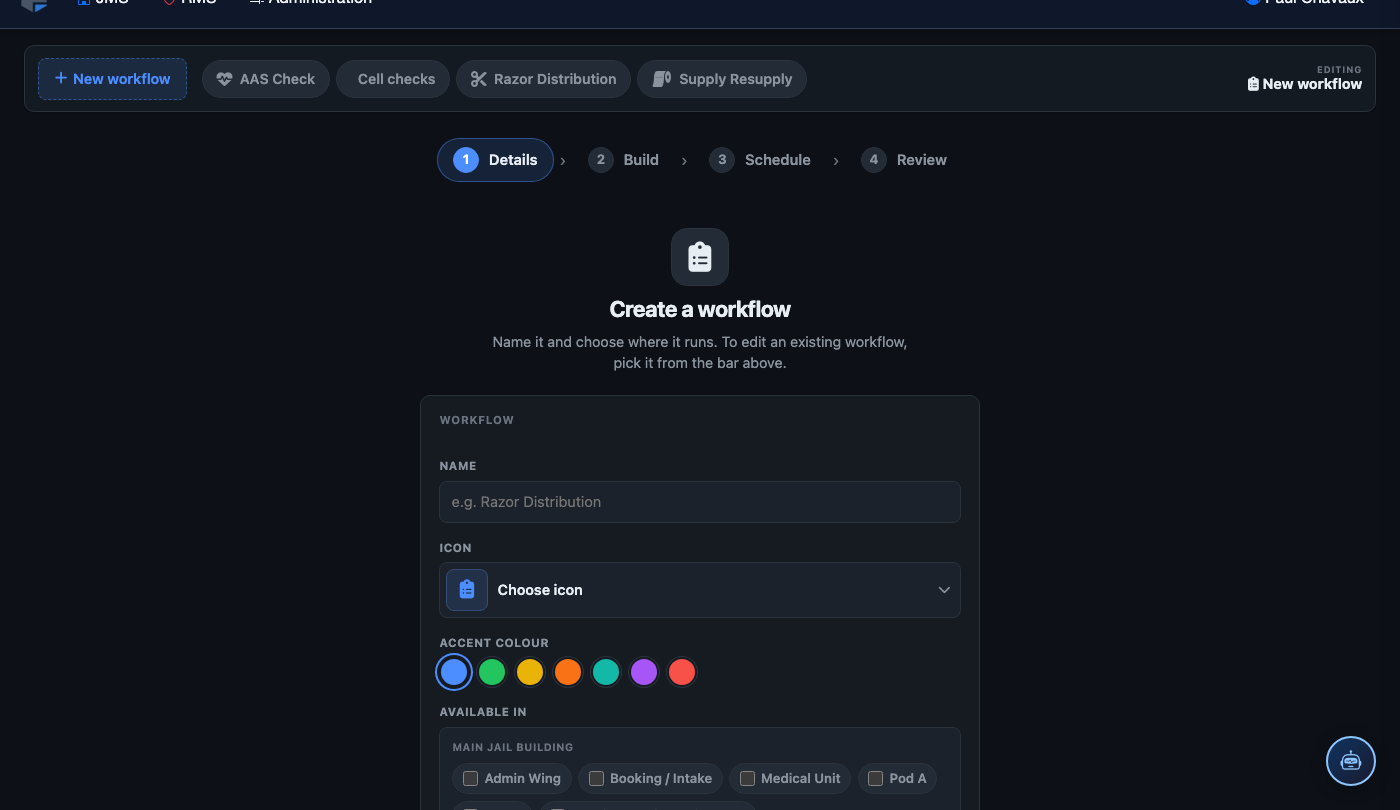
Step-by-Step: Building a Custom Workflow
Access the Workflow Builder
From the main navigation, select Workflows then click Workflow Builder. The designer canvas opens with an empty grid. Click New Workflow in the top toolbar to begin, or select a template from the Template Library panel on the left.
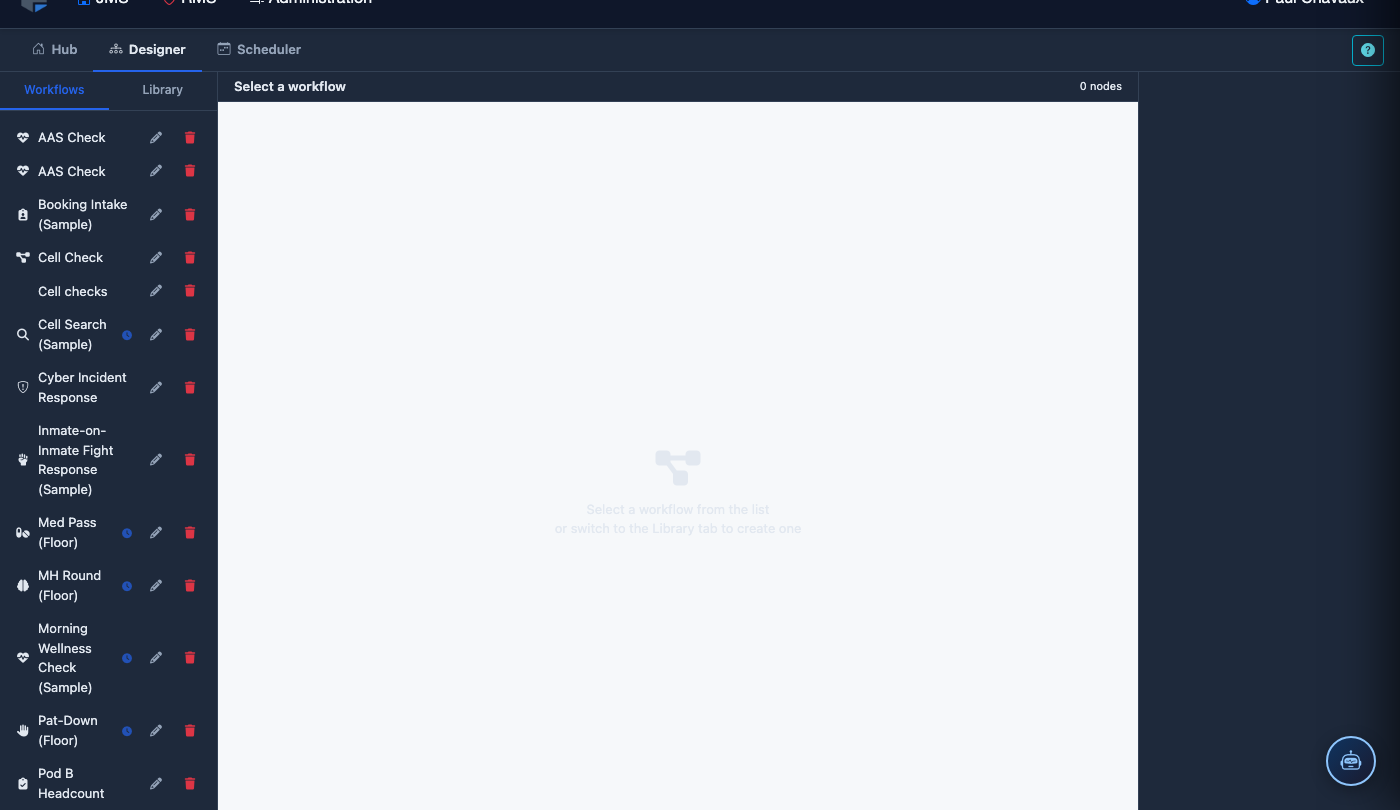
Name and Categorize Your Workflow
In the Workflow Properties panel, enter a descriptive Workflow Name (e.g., “Intake Medical Screening”), select the relevant Category (Booking, Classification, Medical, Disciplinary), and set the Trigger Type — either manual activation by staff or automatic trigger based on a system event such as a new booking record creation.
Add Workflow Steps from the Palette
Drag step types from the left Step Palette onto the canvas. Available step types include Task (assign work to a role), Approval (require supervisor sign-off), Notification (alert staff via the system), Condition (branch based on data), and Integration (trigger an external action like a medical alert). Drop steps onto the canvas grid to position them.
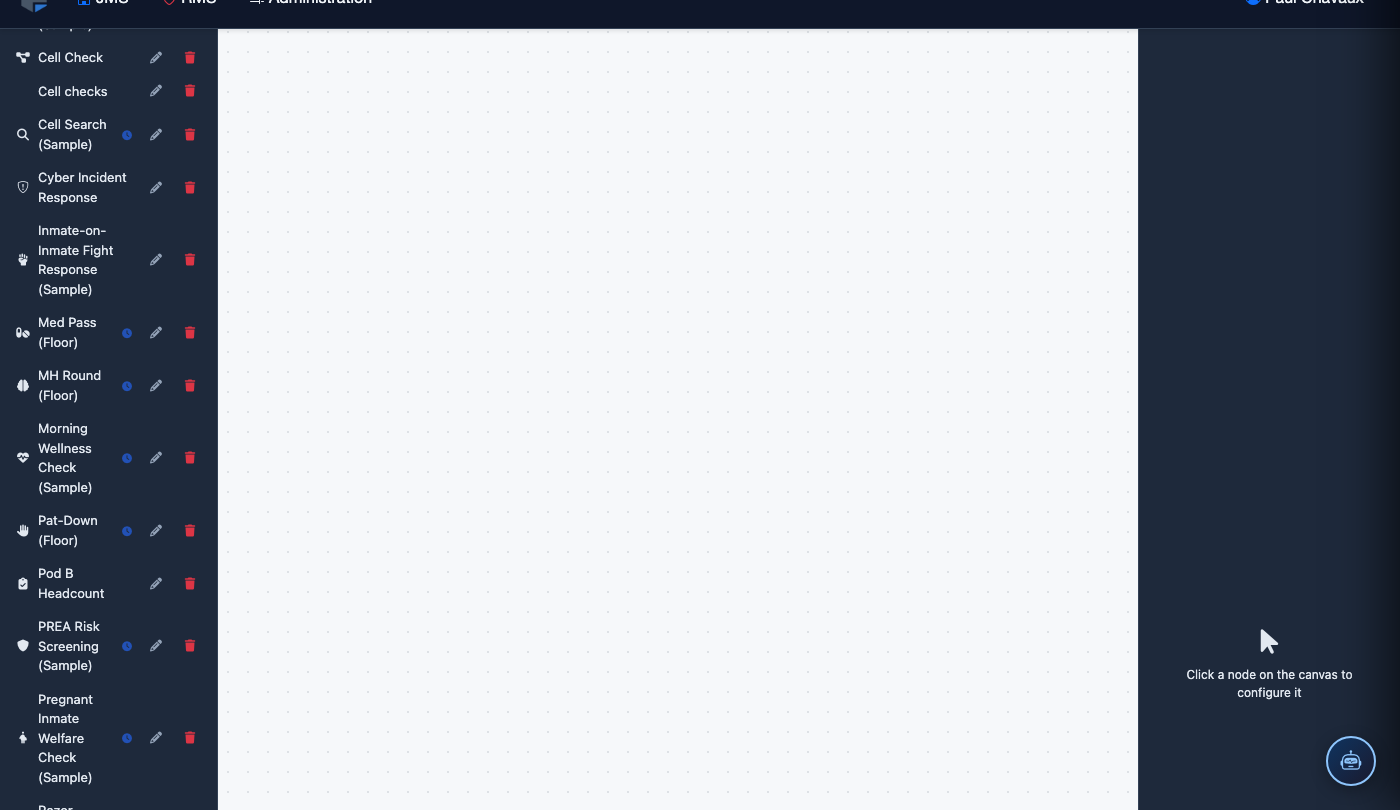
Connect Steps and Configure Transitions
Click the output port on one step and drag to the input port of the next to create a transition arrow. For Condition steps, you will see multiple output branches — label each branch with its condition (e.g., “Positive Screen” or “Cleared”) by clicking the arrow and entering criteria in the Transition Properties panel that appears on the right side.
Assign Roles and Due-Time Constraints
Click any Task or Approval step to open its configuration panel. Set the Assigned Role (e.g., Booking Officer, Medical Staff, Classification Sergeant), enter a Due In value such as “2 hours” for time-sensitive steps, and optionally check Escalate if Overdue to automatically notify a supervisor when a step is not completed on time.
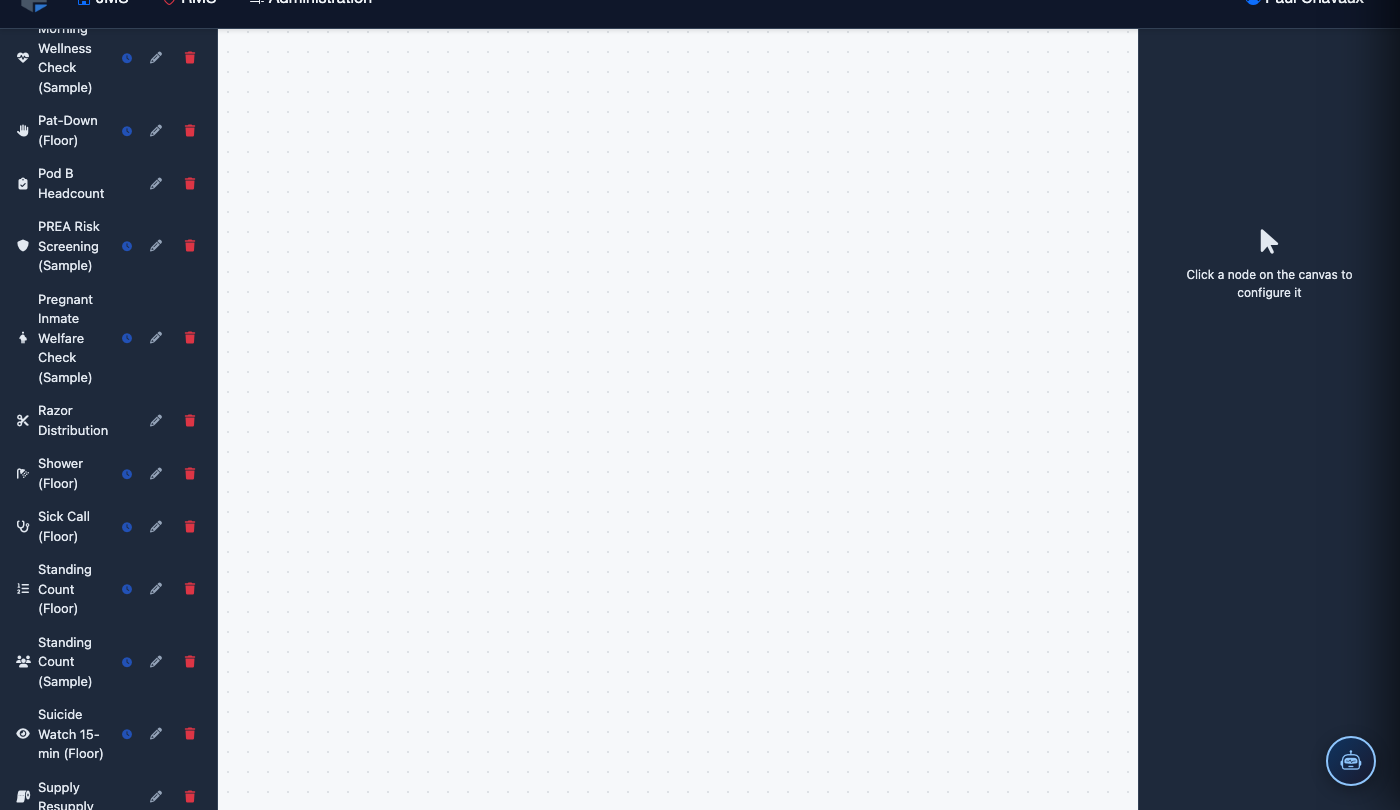
Validate and Save the Workflow
Click Validate in the toolbar — the system will highlight any disconnected steps, missing role assignments, or unreachable branches in red. Resolve all validation errors, then click Save Draft to preserve your work, or Save & Publish to immediately make the workflow available on the Workflow Floor.
Review Workflow Version History
Every saved change creates a versioned snapshot. Access prior versions using the Version History button in the top-right corner. You can preview any past version, compare it to the current design, or Restore a previous version if a recent edit introduced an error. All version changes are logged with the editing administrator’s name and timestamp for audit compliance.
💡 Pro Tips
- Use the Template Library as a starting point — duplicating a working template is faster than building from scratch and reduces validation errors.
- Set escalation timers on every Approval step; unacknowledged tasks during shift changes are a leading cause of compliance gaps.
- Keep workflow names consistent with your facility’s SOPs so floor officers immediately recognize which workflow applies to their task.
- Test a new workflow in Draft mode with a simulated case before publishing to ensure all branches resolve correctly.