
Workflow Floor
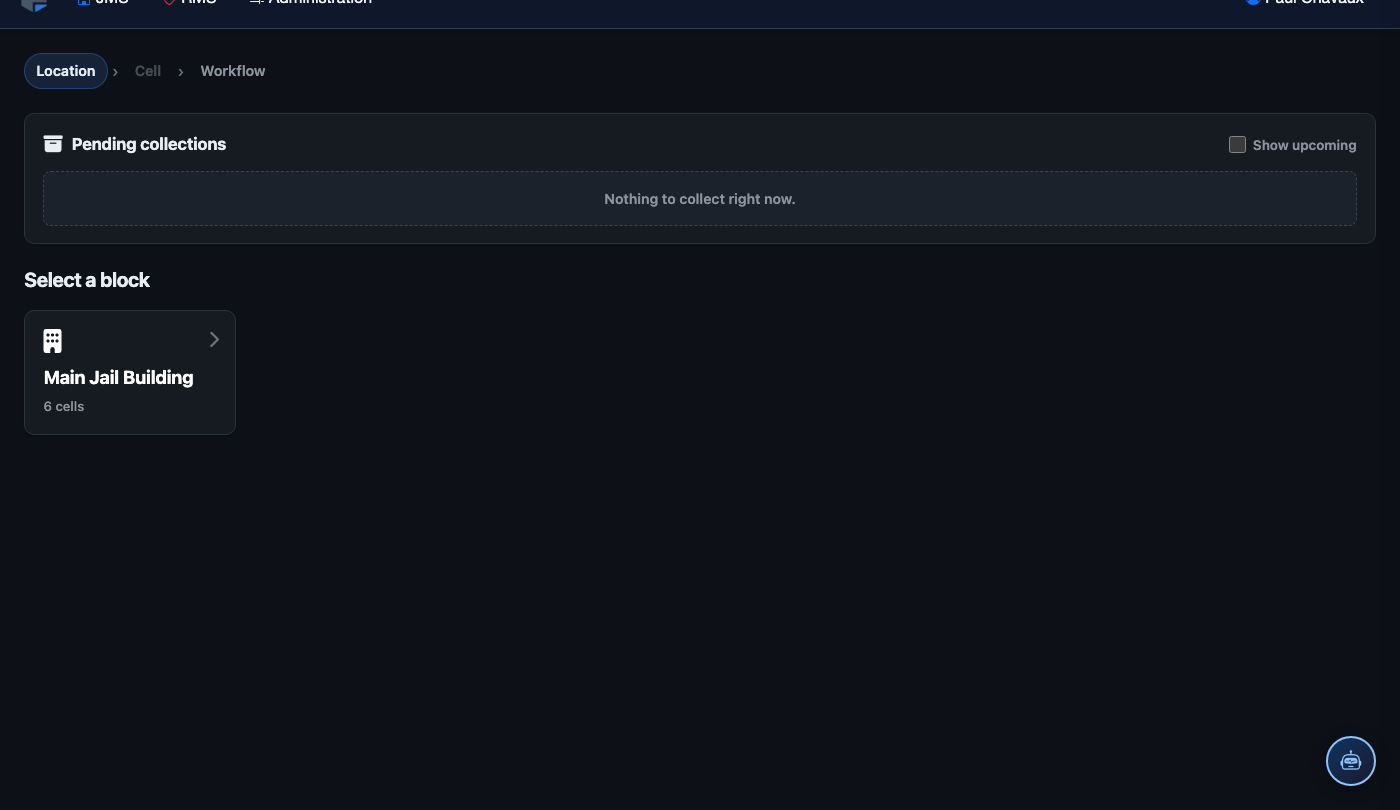
The Workflow Floor is the live operational hub where published workflows are executed by correctional staff in real time. Officers, sergeants, and specialists see only the tasks assigned to their role, claim work items, complete required steps, and advance cases through the workflow pipeline. The Floor provides supervisors with a real-time dashboard showing every active workflow instance, its current step, assigned owner, and time-to-deadline — ensuring nothing falls through the cracks during shift changes or high-volume booking periods.
My Task Queue
Each staff member sees a personalized queue of pending workflow tasks filtered by their assigned role and unit.
Deadline Countdown
Visual countdown timers highlight tasks approaching their due time in amber and overdue tasks in red for immediate attention.
Real-Time Notifications
Staff receive in-system alerts the moment a new task is assigned or when a task is escalated by a supervisor.
Supervisor Dashboard
Supervisors monitor all active workflow instances facility-wide, view bottlenecks, and manually reassign or escalate tasks.
Step-by-Step: Working the Workflow Floor
Open Your Task Queue
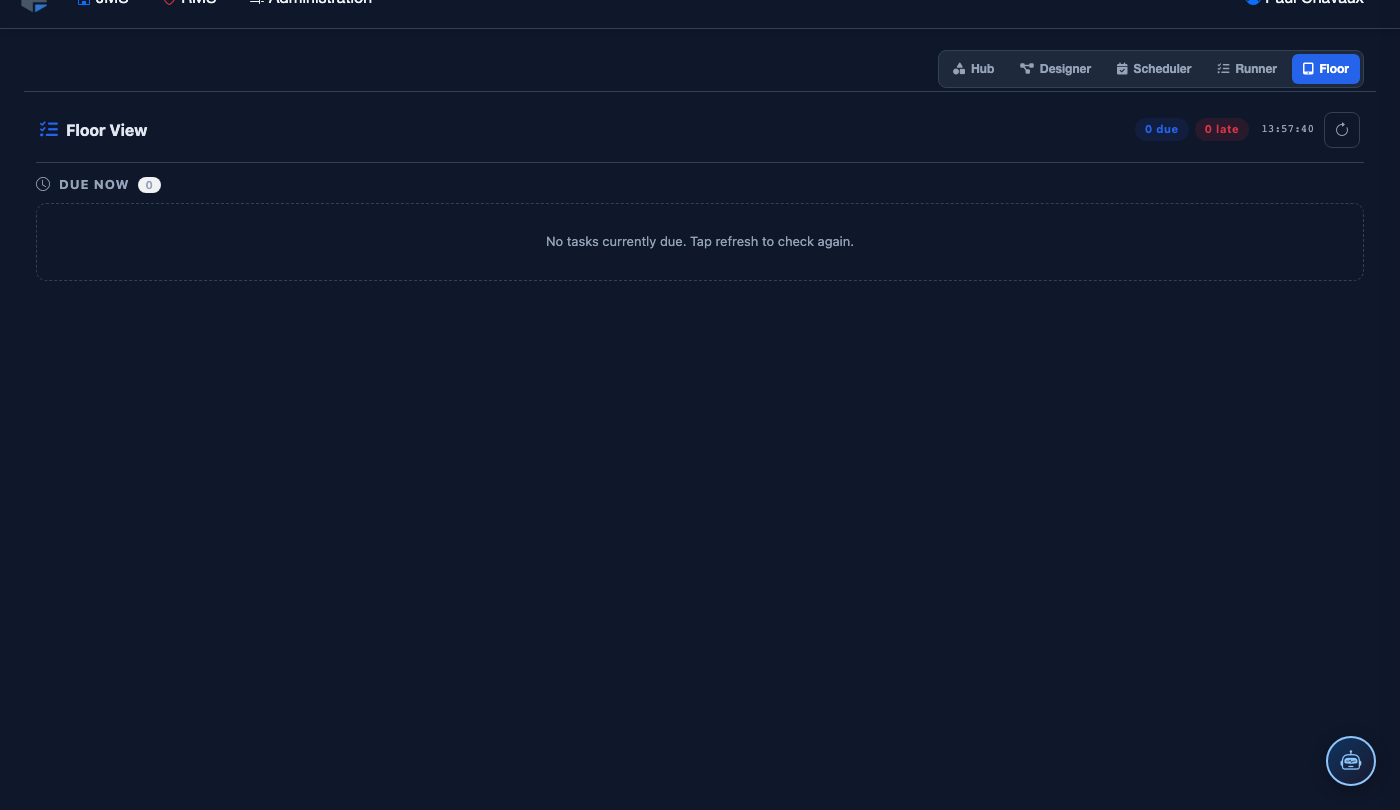
Navigate to Workflows > Workflow Floor. The system automatically displays your My Tasks queue — a filtered list of all workflow steps currently assigned to your role. Tasks are sorted by deadline urgency with color-coded priority indicators: green (on track), amber (due soon), red (overdue).
Claim a Task
Click on any task row to expand its details. Review the Inmate Name, Booking Number, task instructions, and any attachments from prior steps. Click Claim Task to formally take ownership — this records your name and timestamp in the audit log and removes the task from other officers’ unassigned queues.
Complete the Required Step Fields
Each workflow step presents a structured form with fields specific to that step type. Fill in all required fields — for example, a medical screening step requires Vitals Recorded, Mental Health Flag, and Medical Clearance Status. Attach supporting documents or photos using the Attach File button if required by the workflow definition.
Advance or Branch the Workflow
After completing all required fields, click Complete Step. If the workflow contains a conditional branch at this step (for example, “Positive Drug Screen” vs. “Cleared”), the system presents the branch options — select the appropriate outcome. The workflow engine then automatically routes the case to the next step and notifies the next assigned role.
Monitor Active Workflows as Supervisor
Switch to the Supervisor View tab to see every active workflow instance across the facility. The grid shows Workflow Name, Inmate, Current Step, Assigned Officer, and a color-coded Status Bar. Filter by unit, workflow type, or overdue status to quickly surface problems requiring intervention.

Escalate or Reassign Overdue Tasks
From Supervisor View, click any overdue task row and select Reassign to transfer it to another available officer, or click Escalate to notify the on-duty administrator and log a formal escalation event. All escalations are time-stamped and appear in the Workflow History report for post-incident review.
💡 Pro Tips
- At shift change, use the Handoff Summary button to generate a printable list of all in-progress tasks your outgoing shift must pass to incoming officers.
- Configure Escalation Timers in the Workflow Builder to auto-escalate tasks 30 minutes before their deadline — not after they expire.
- Use the Supervisor View filter for “My Unit” to keep your dashboard focused and avoid alert fatigue from facility-wide noise.
- If an inmate is released mid-workflow, use Cancel Instance to close all pending tasks and log the reason — never leave orphaned workflow steps in the queue.